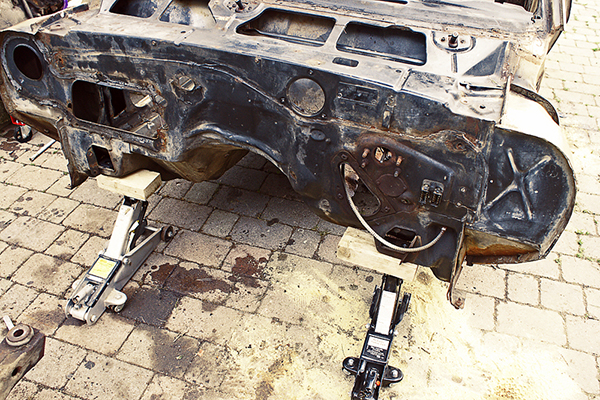
So, where the car stands… 2 noise complaints from the council down the line, all the grinding of welds is done. The body and panels have been shotblasted again and not by a cowboy with an air compressor and a bucket of sand, this time hopefully by a professional. Everything is primered in Eastwood epoxy.
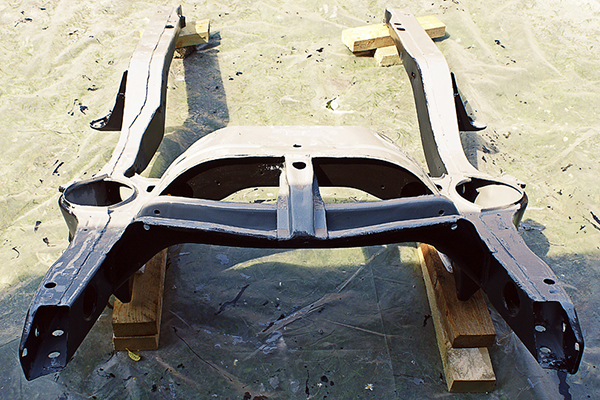
Before:
During:
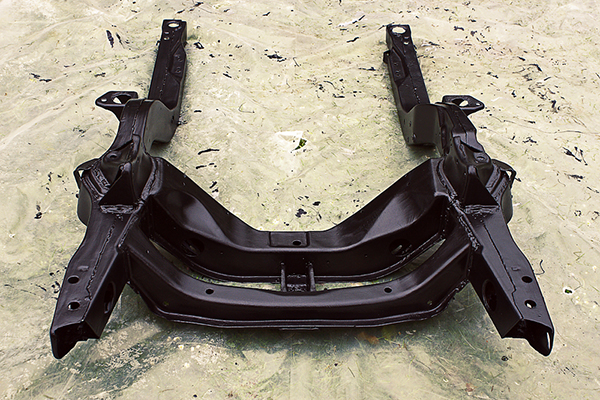
Now:
The subframe has been fully rebuilt with new…
 ;)

 ;)
 ;)
 ;)
 ;)
 ;)

 ;)