
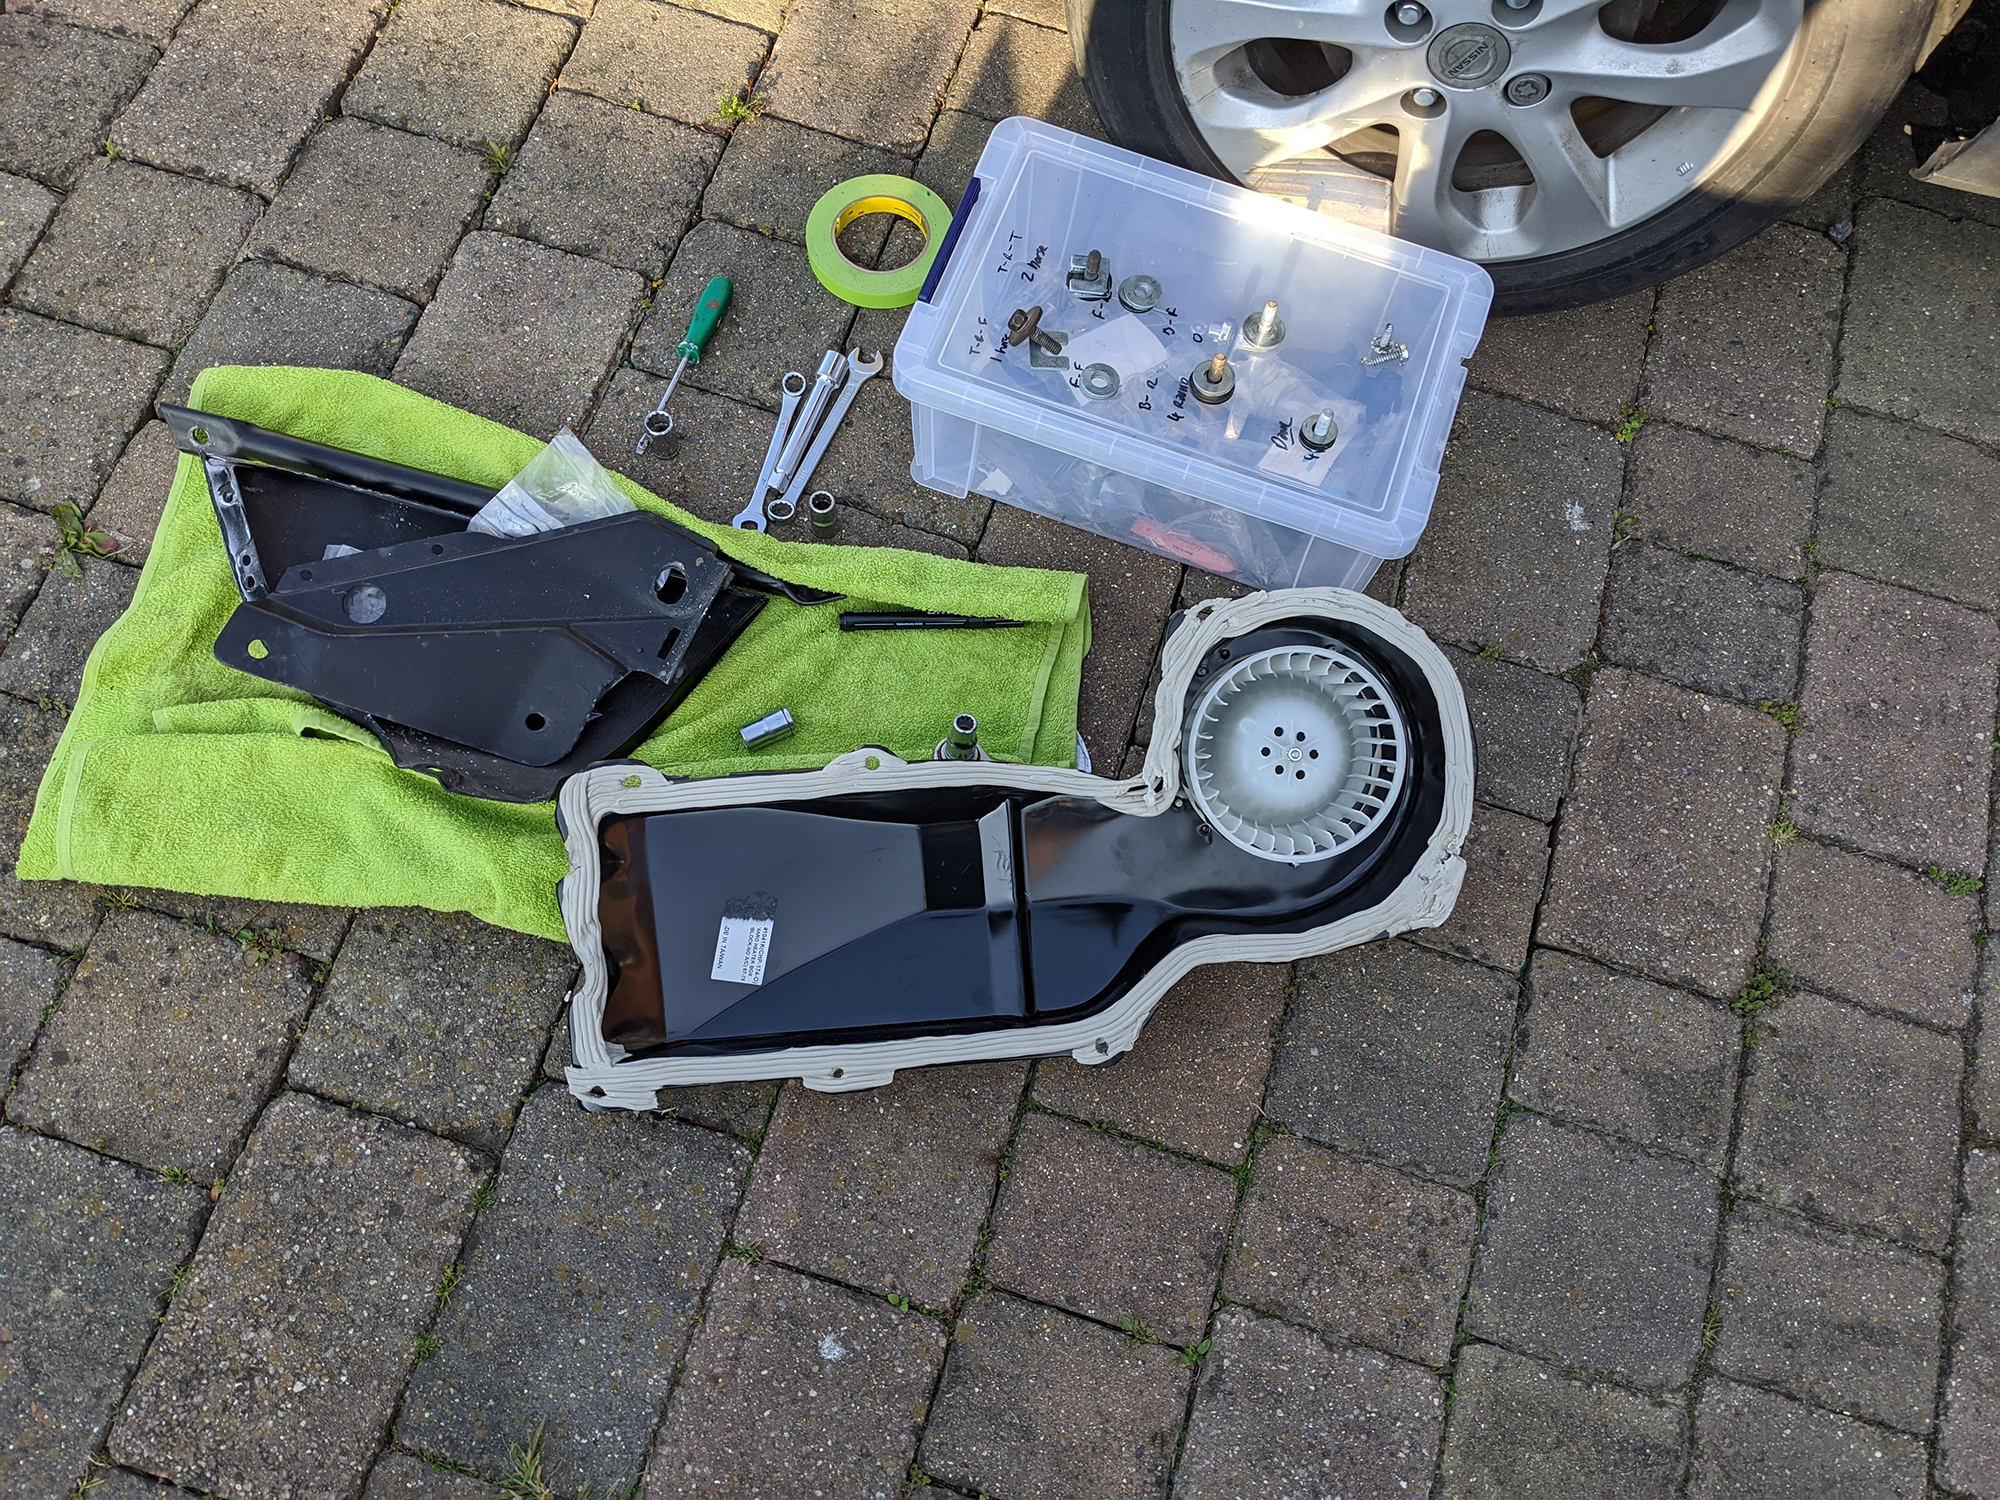
How I installed the complete heater and blower motor assembly (non-AC).
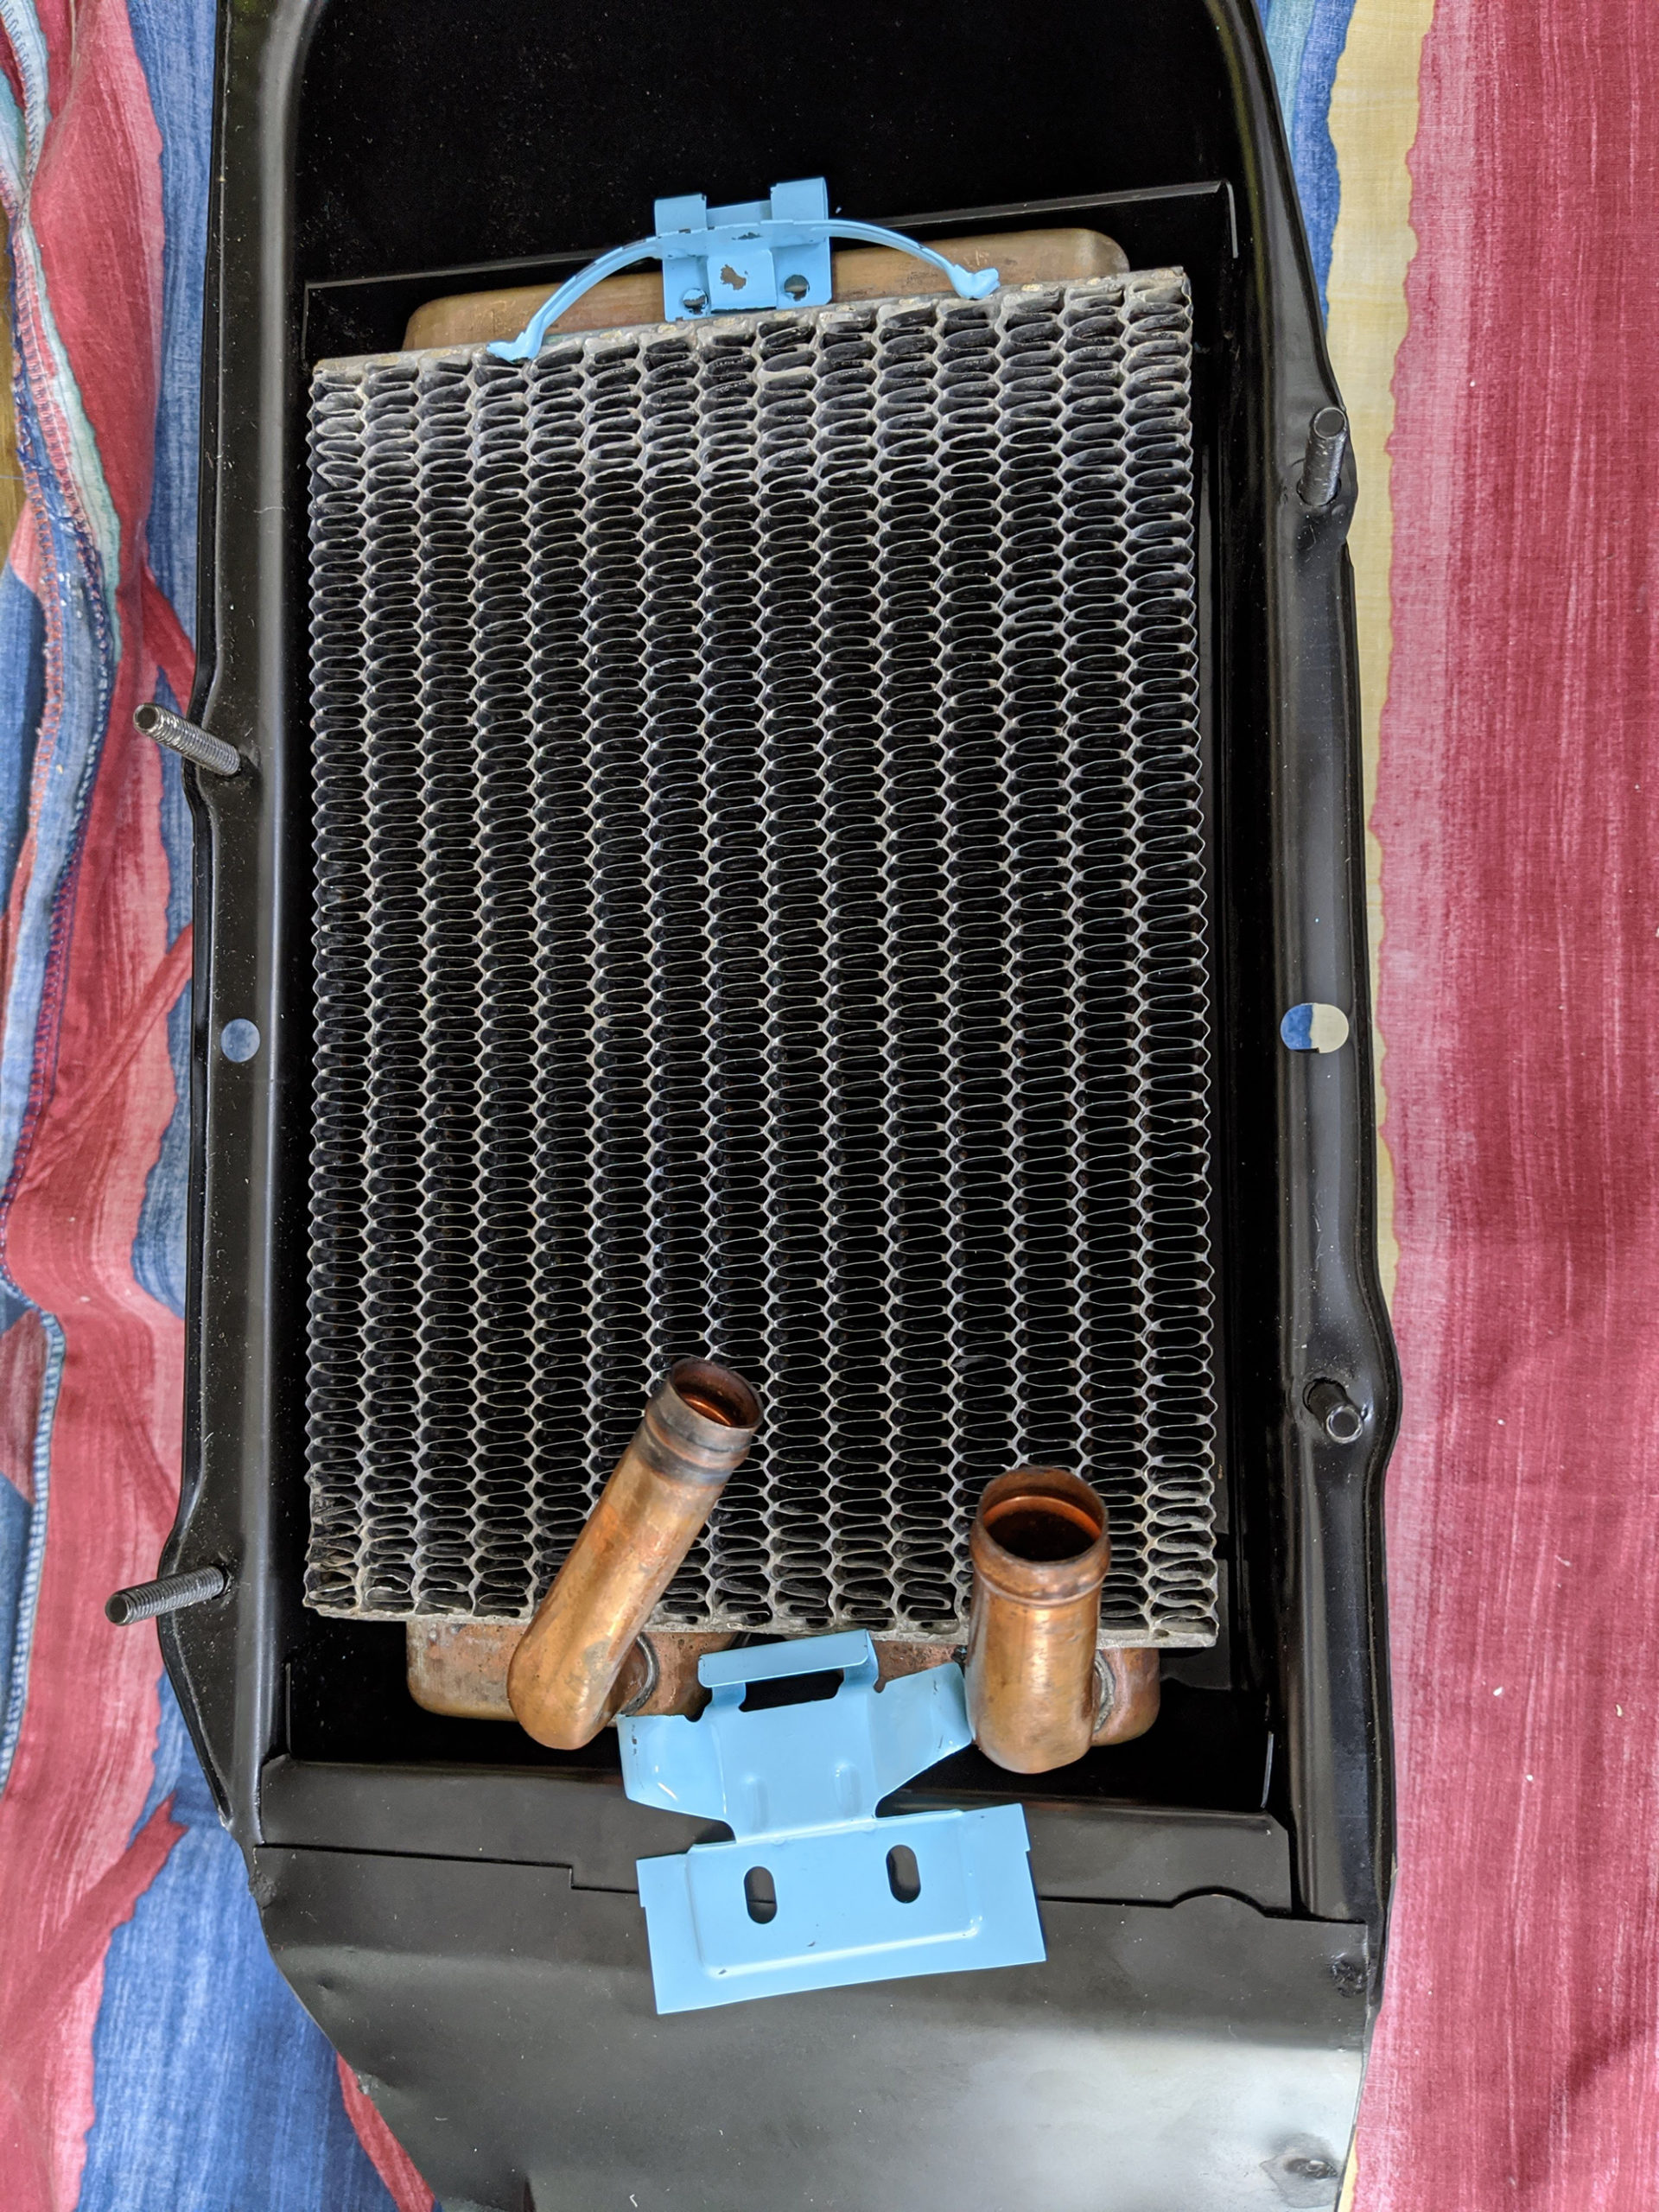
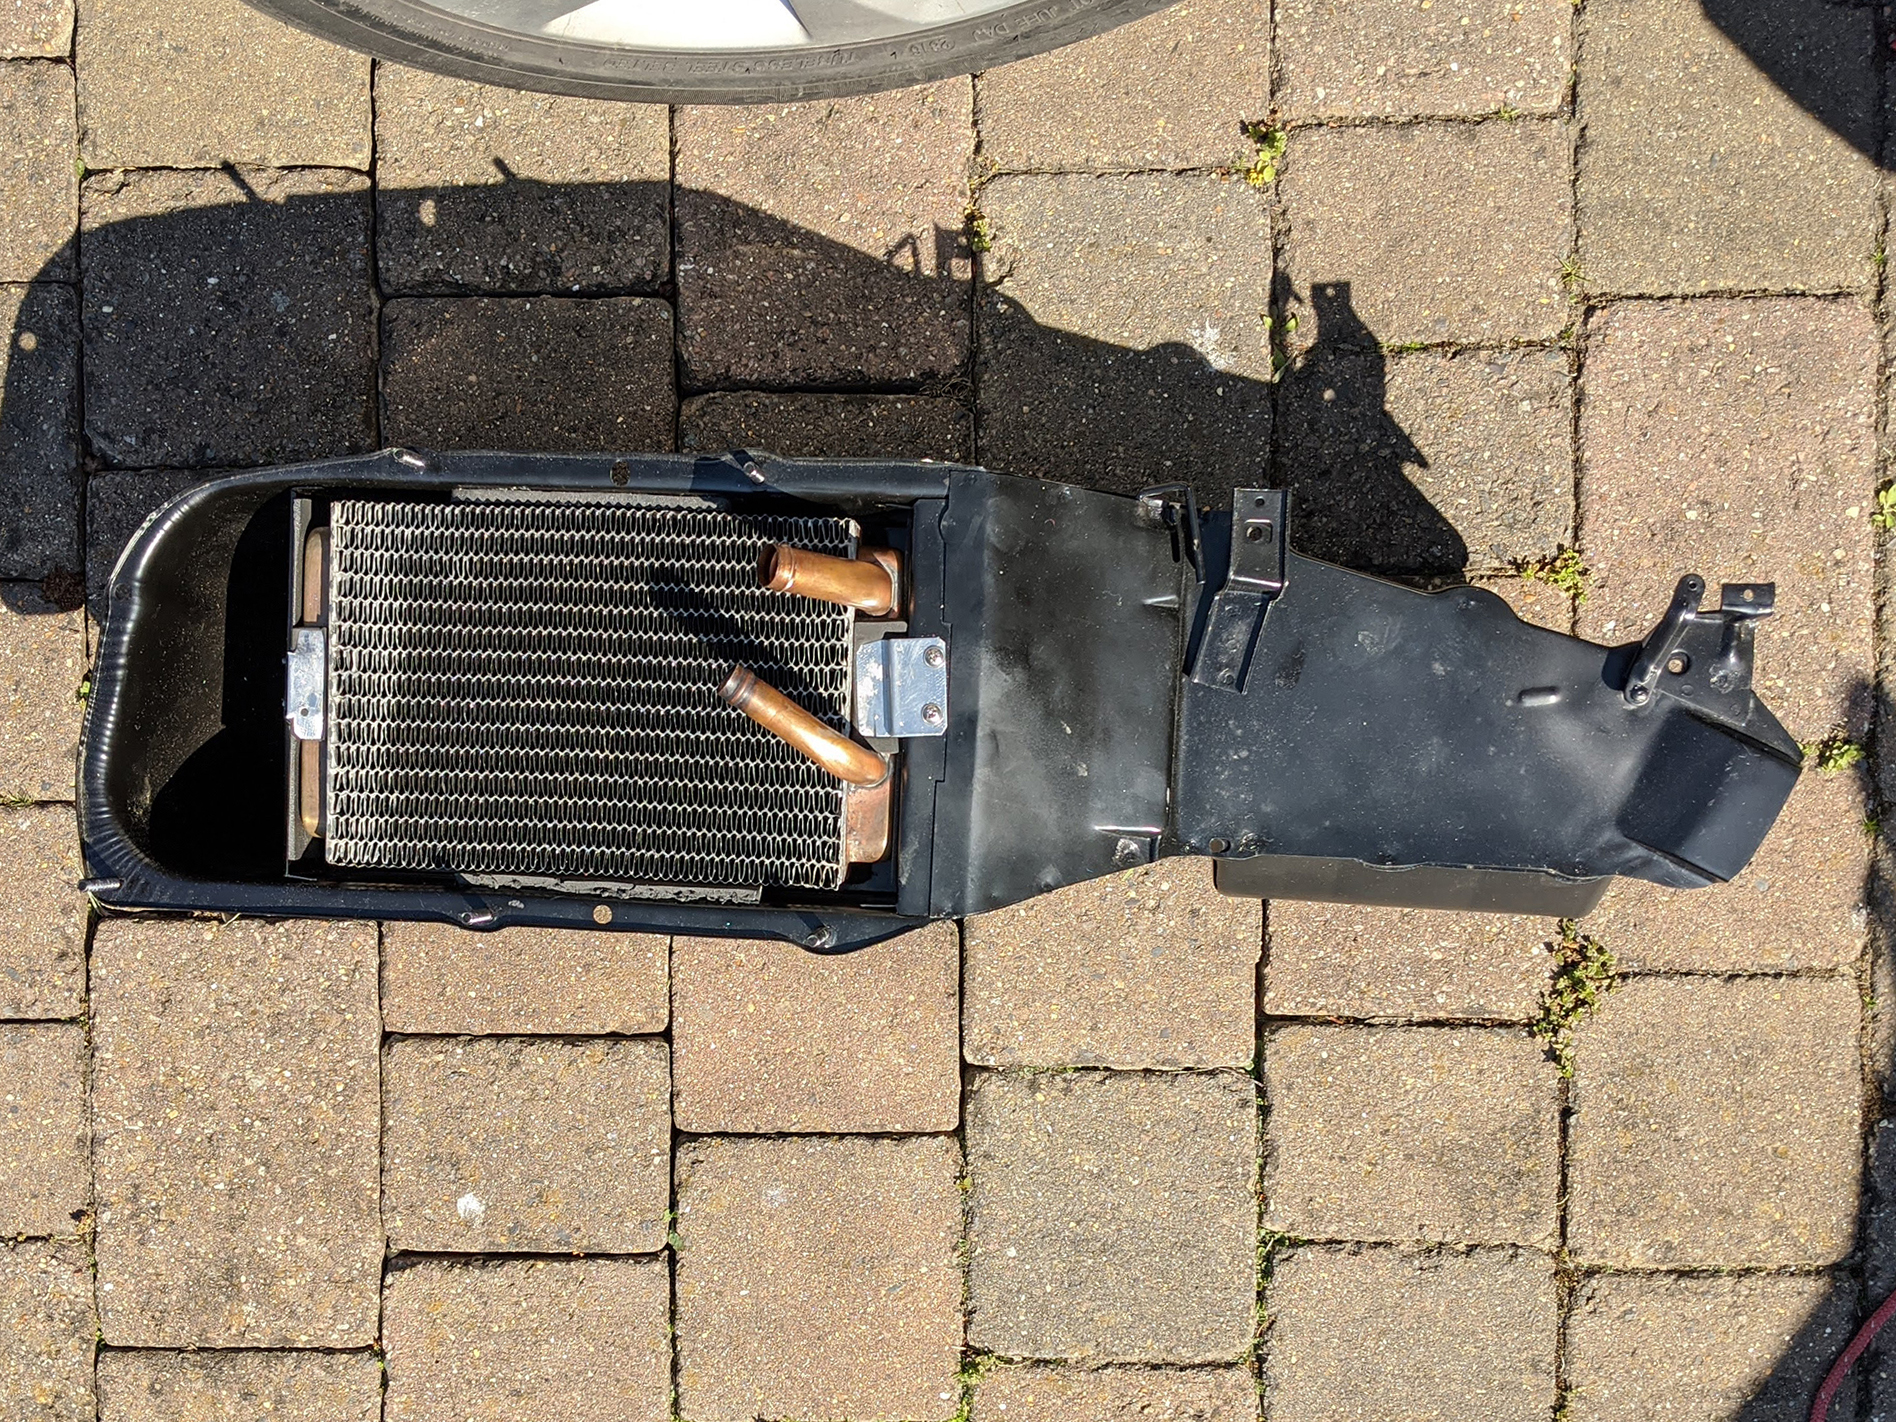
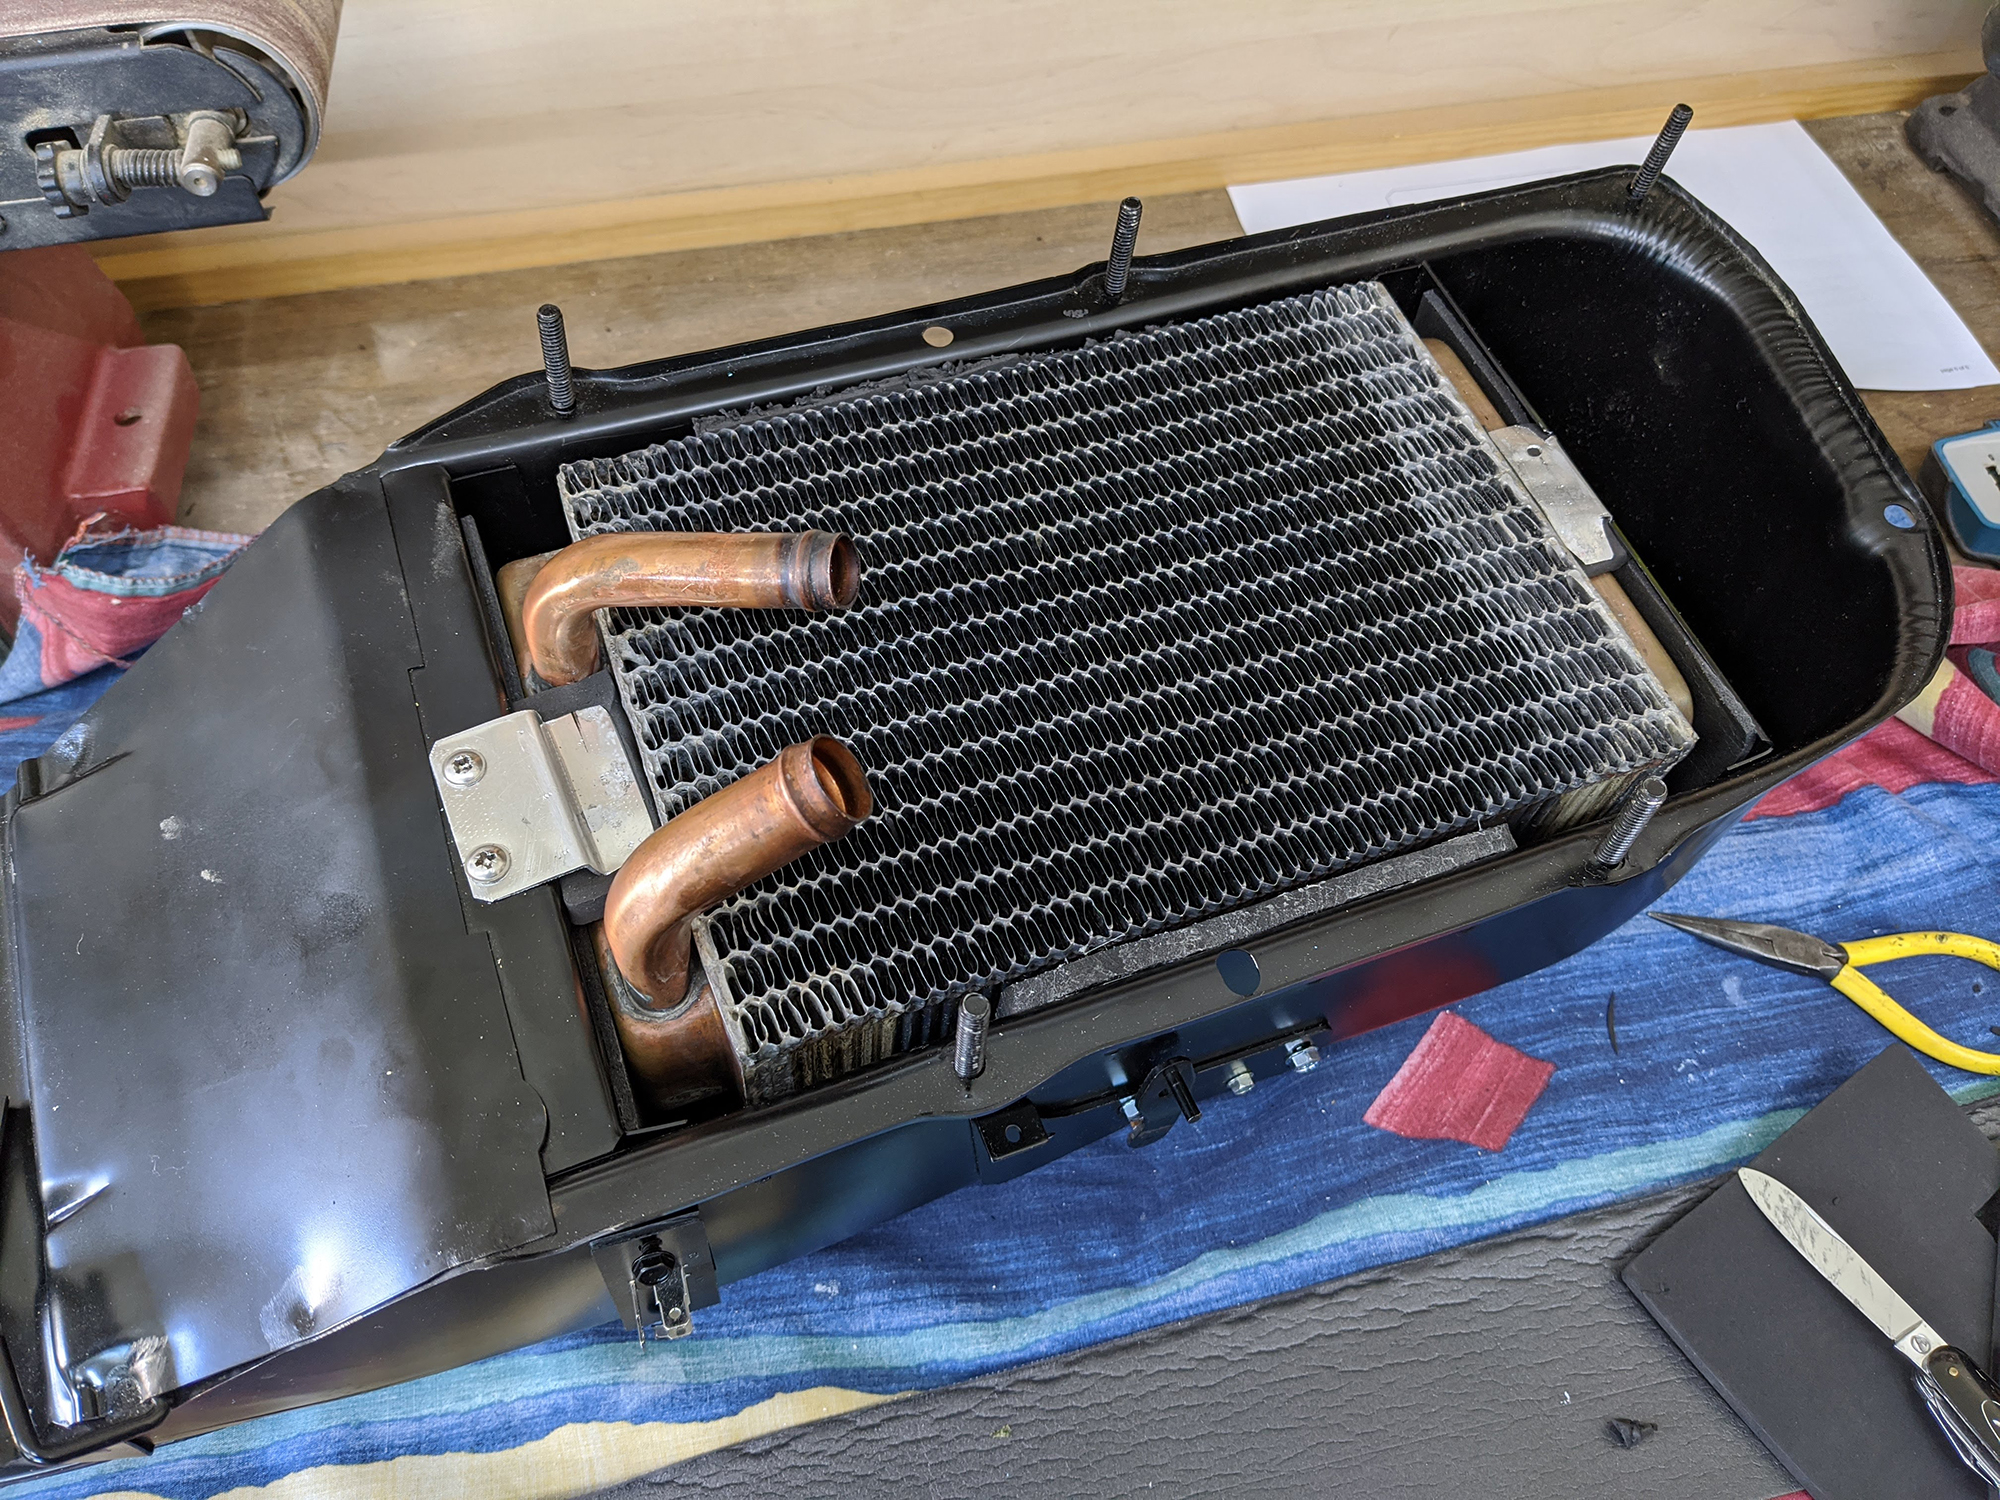
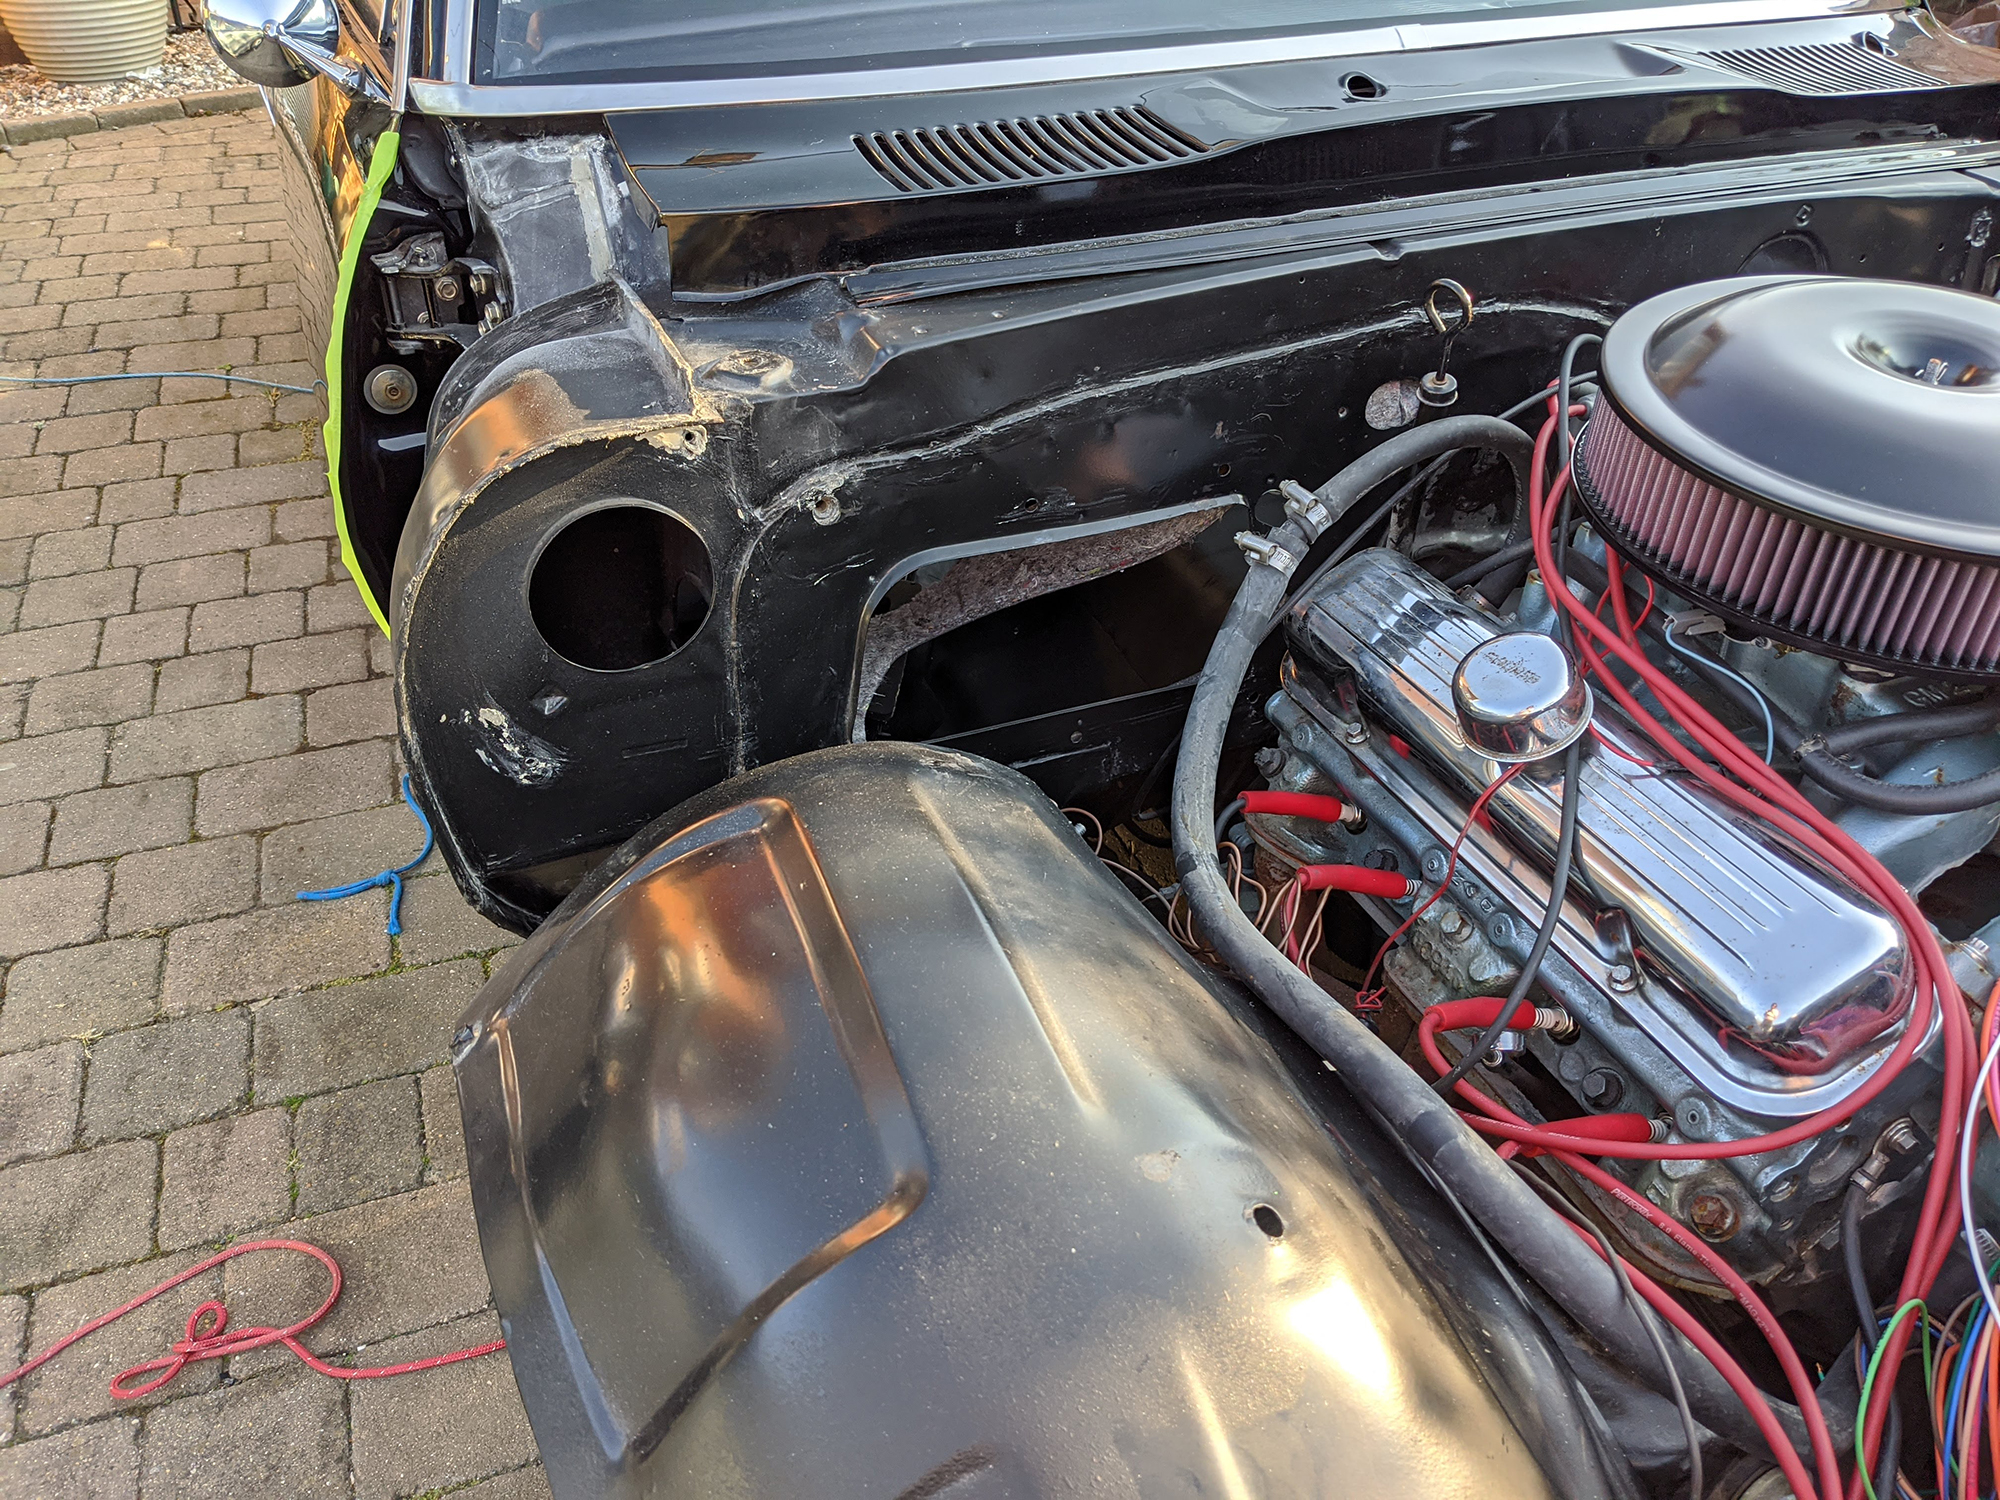
Unfortunately the restored original heater box and blower motor assembly was lost at the paint shop, but the repro one is practically identical. After a few failed attempts I managed to find a new radiator core that will fit. It’s deeper than the original but the pipes are in the right place at the right angles, so it’ll work.
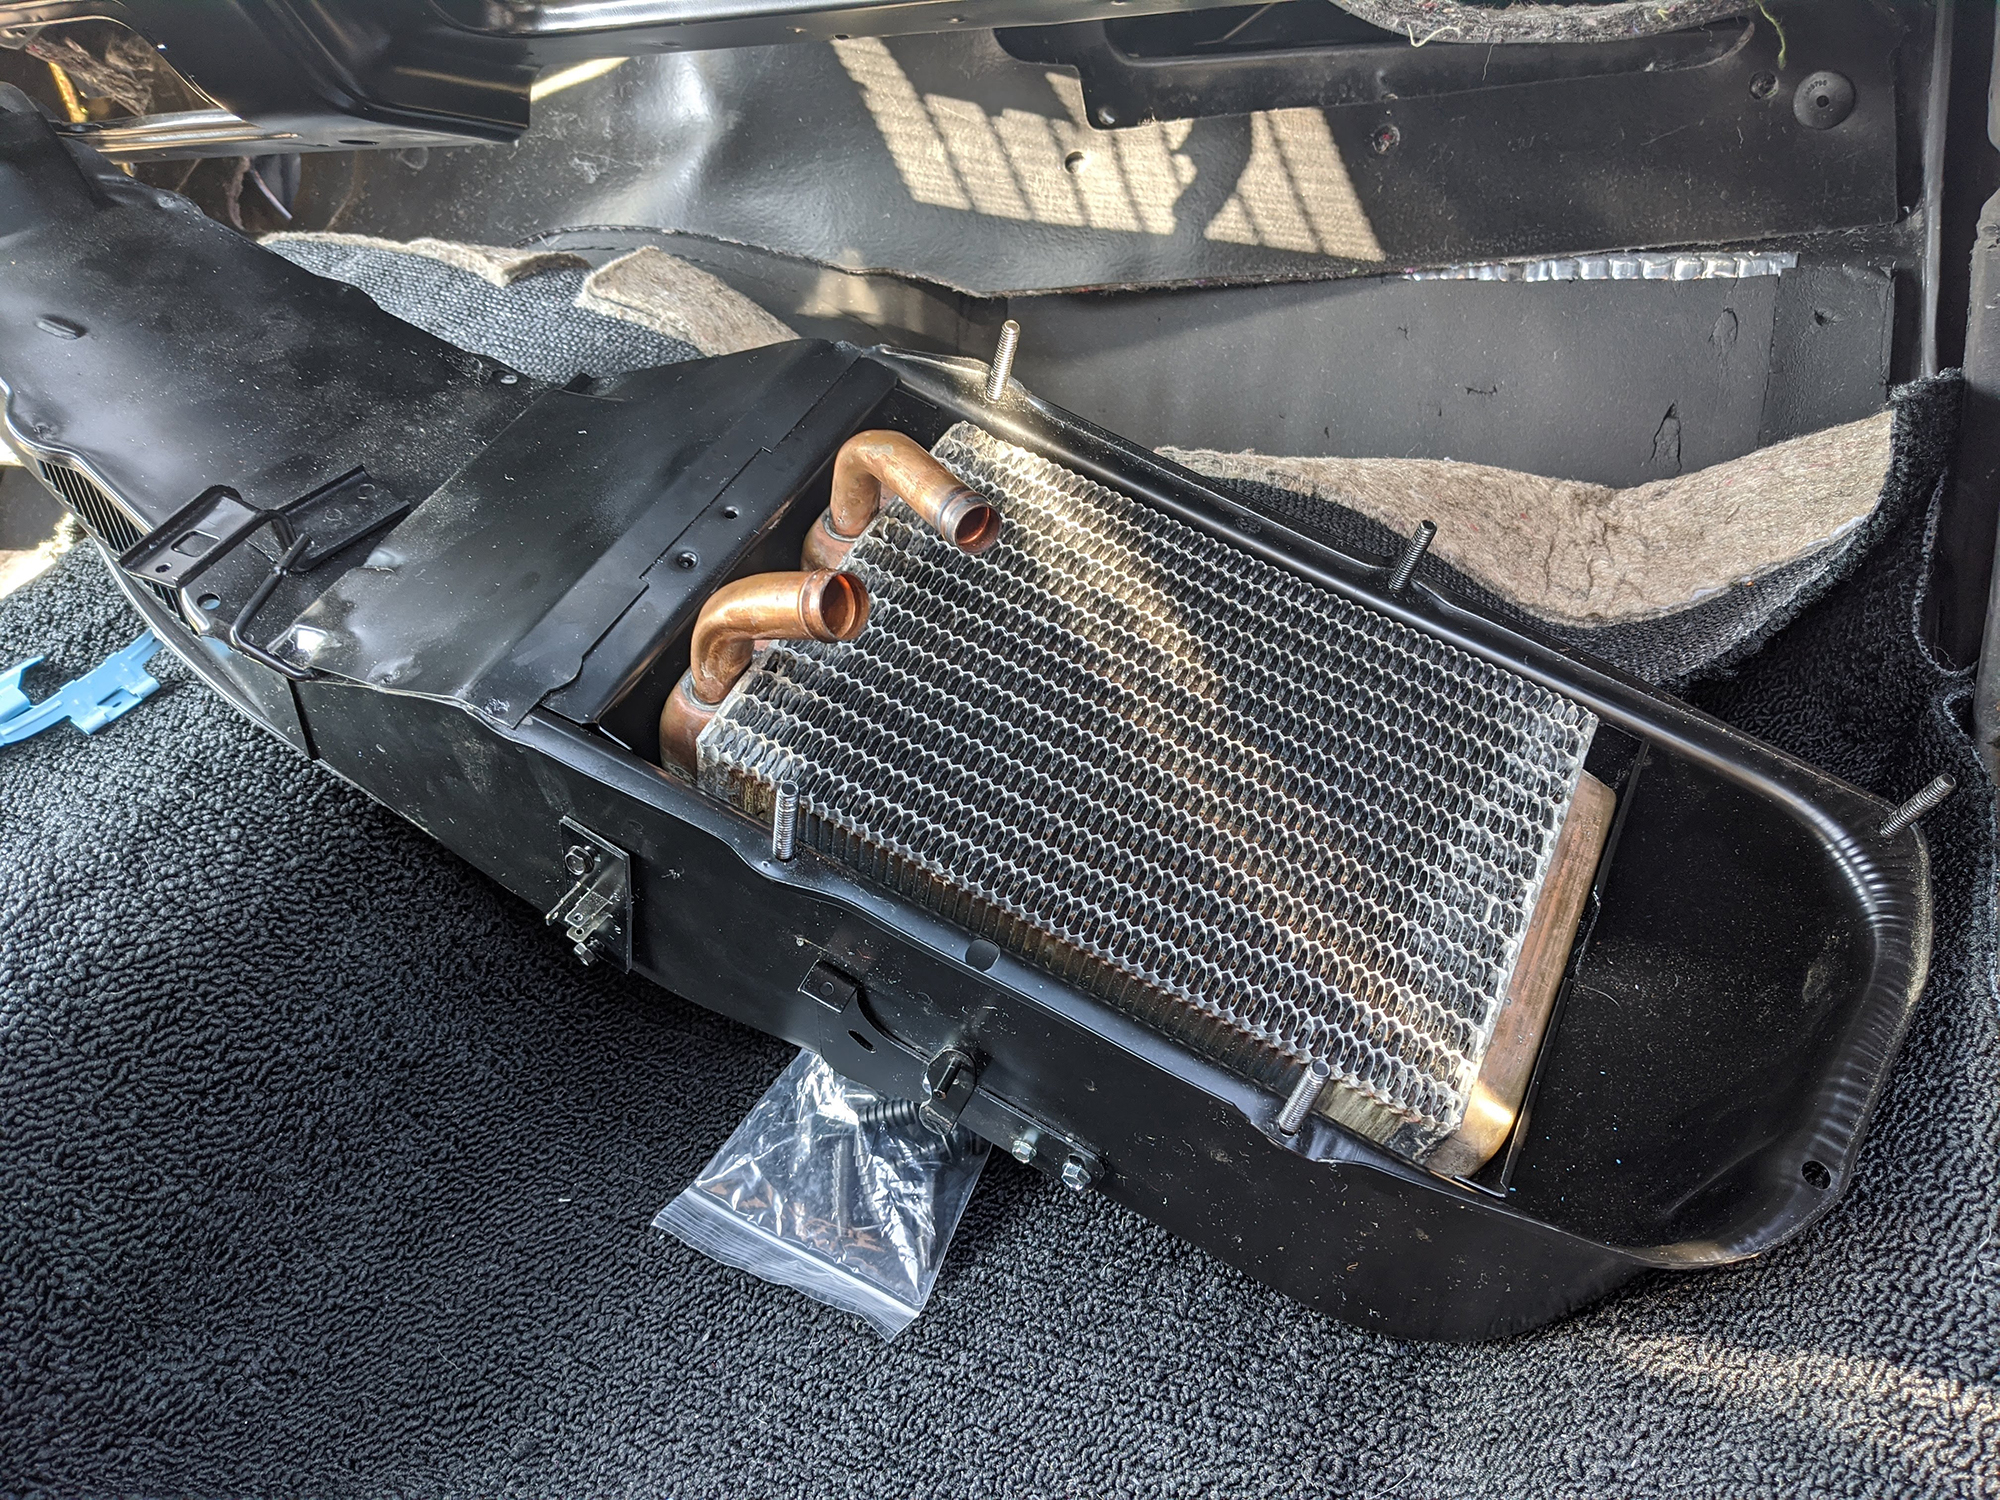
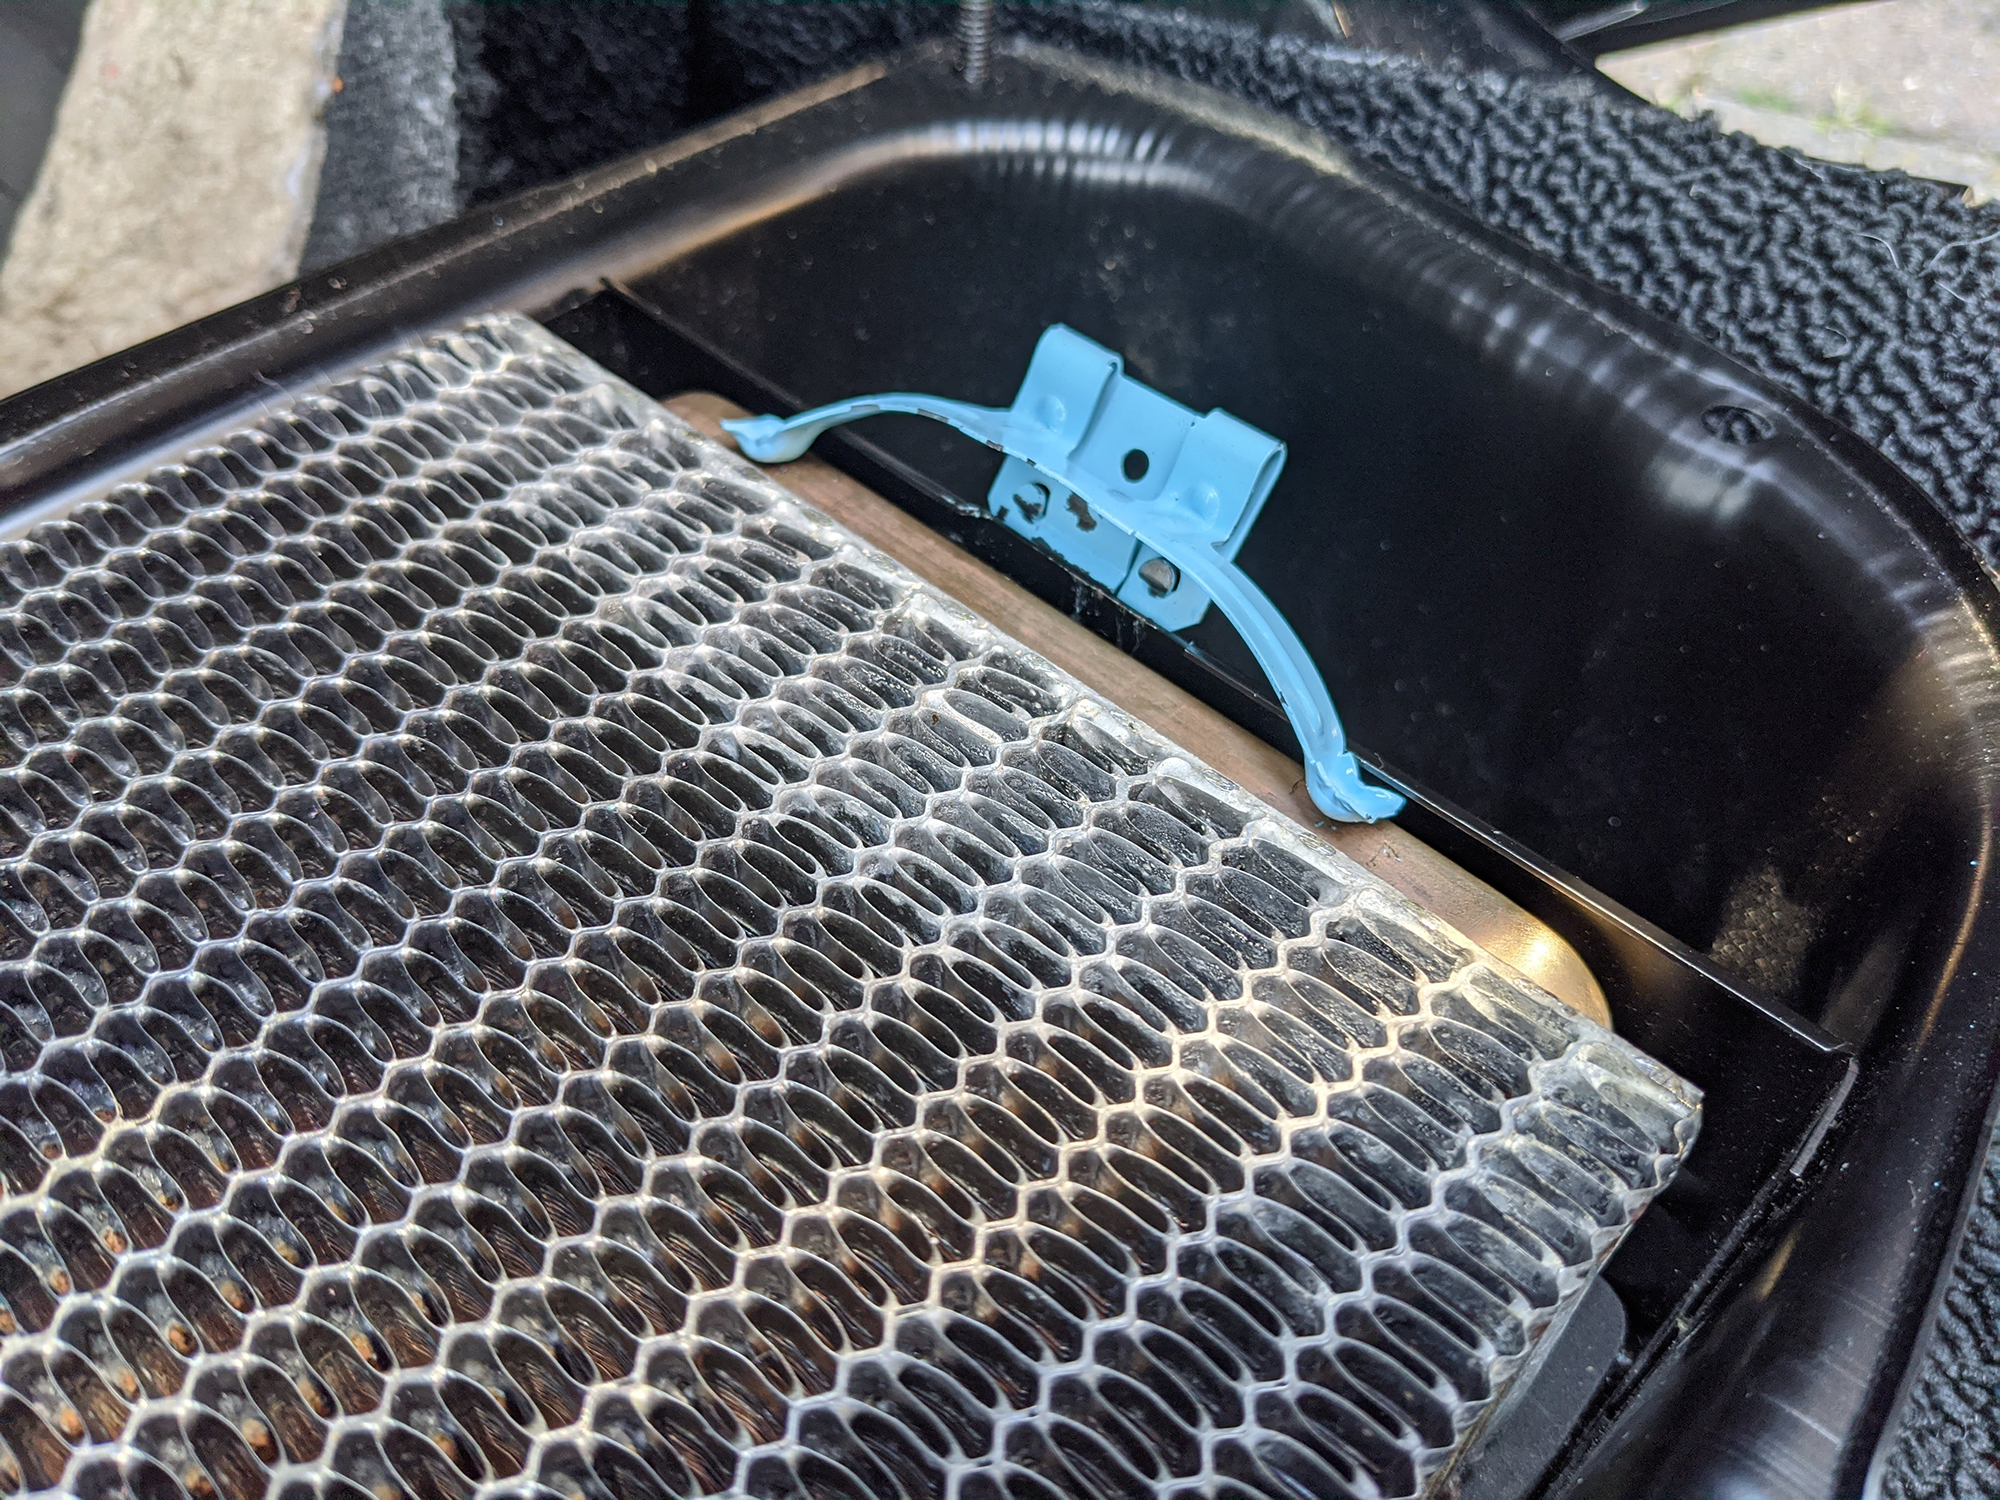
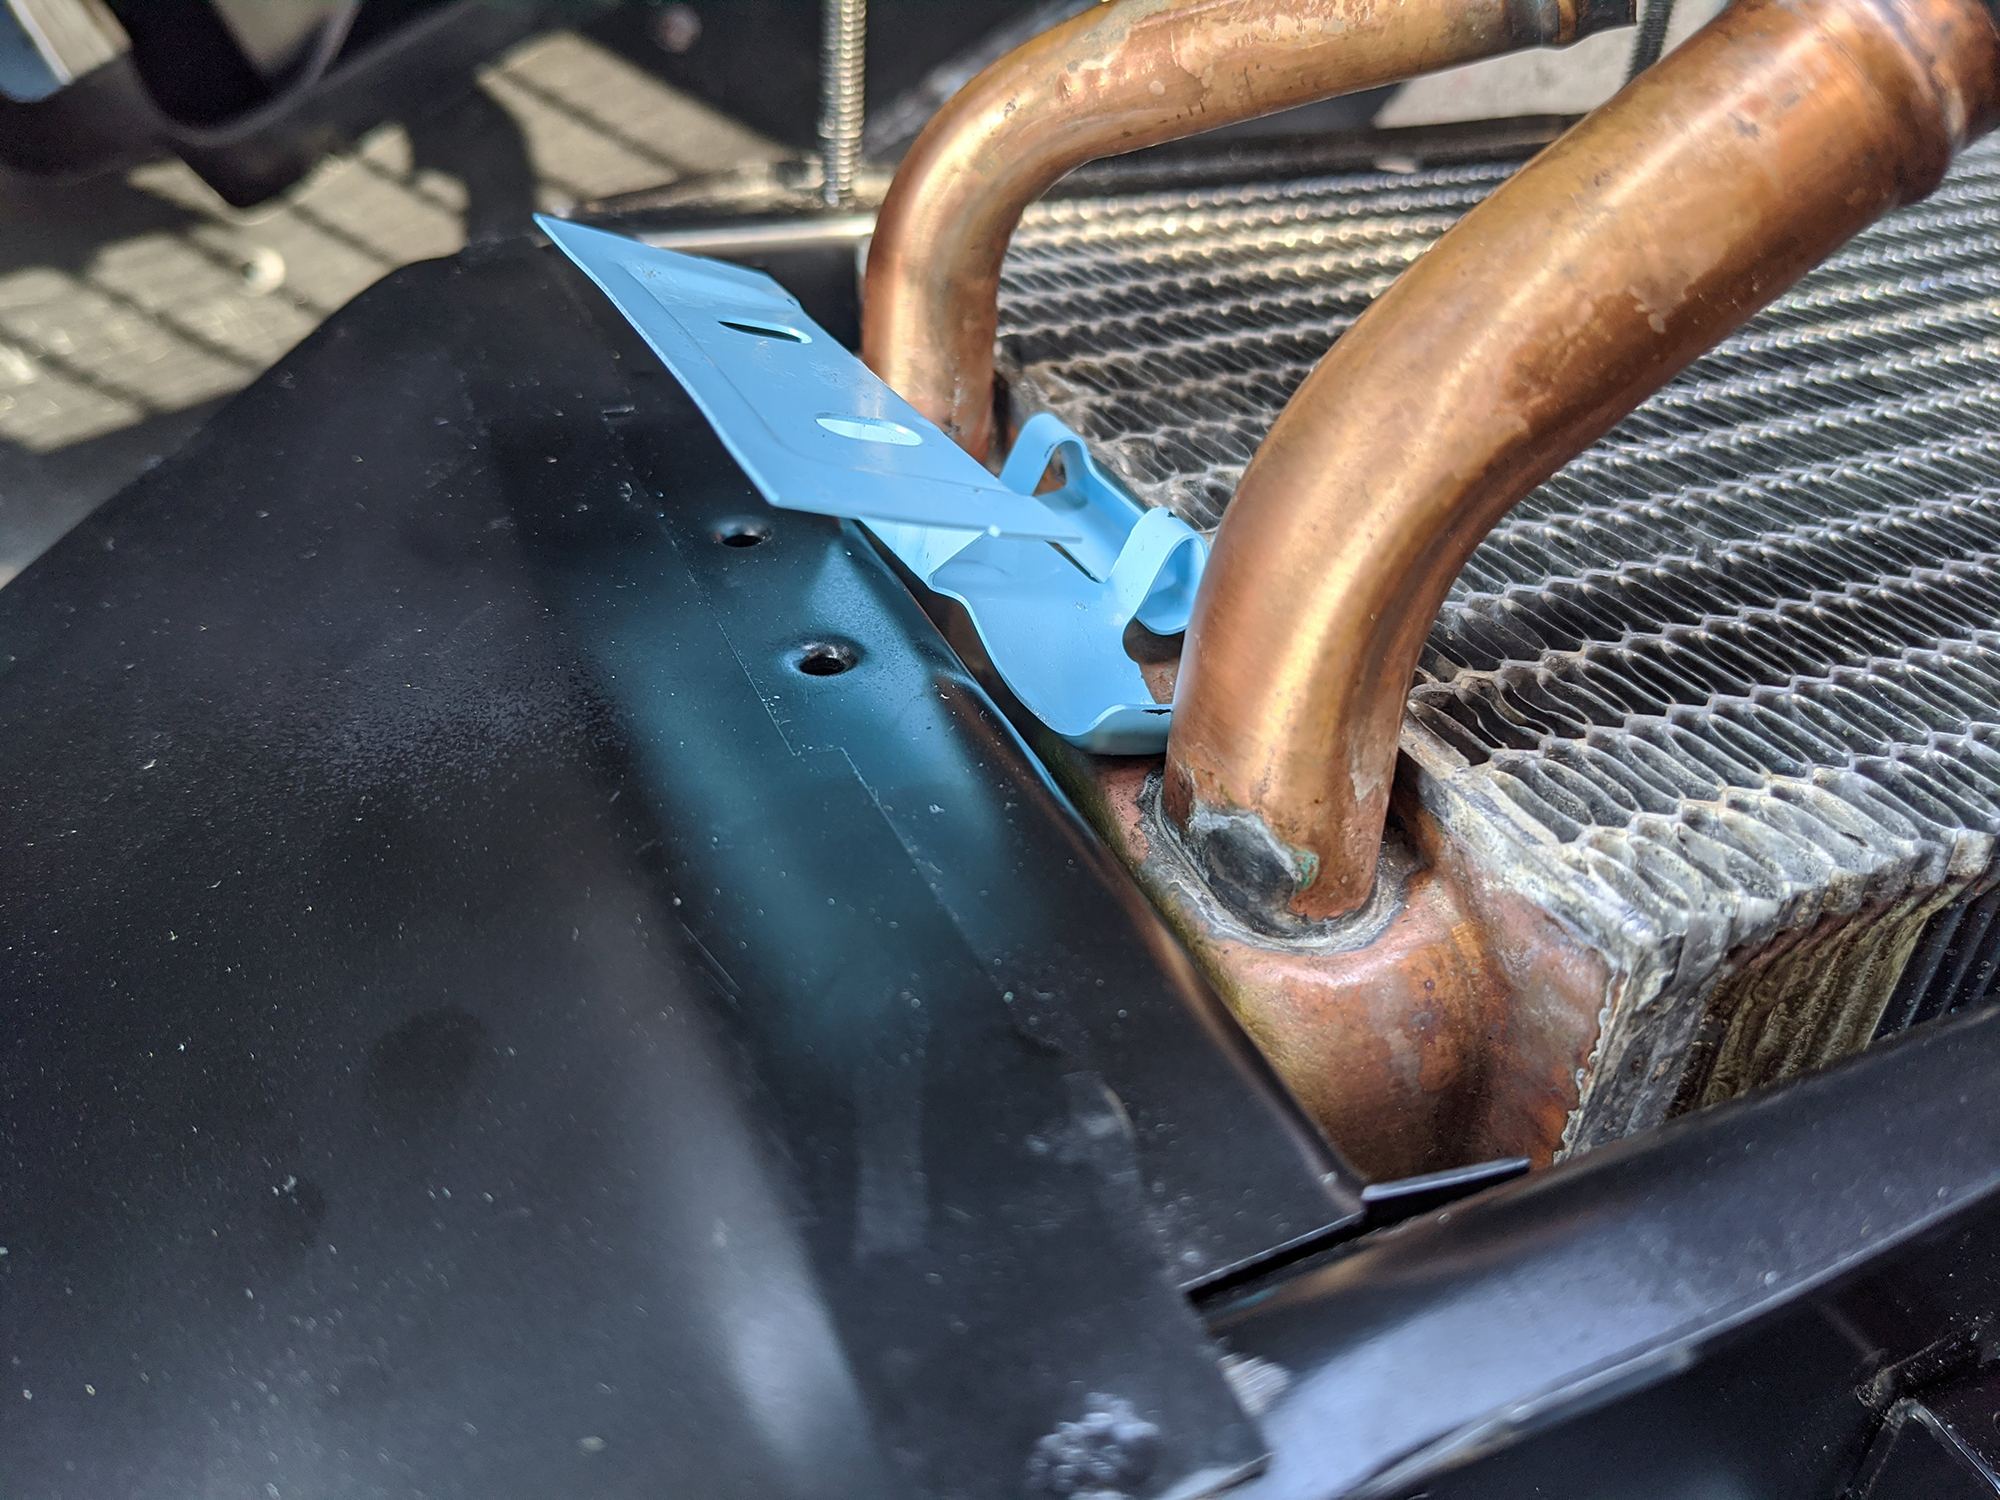
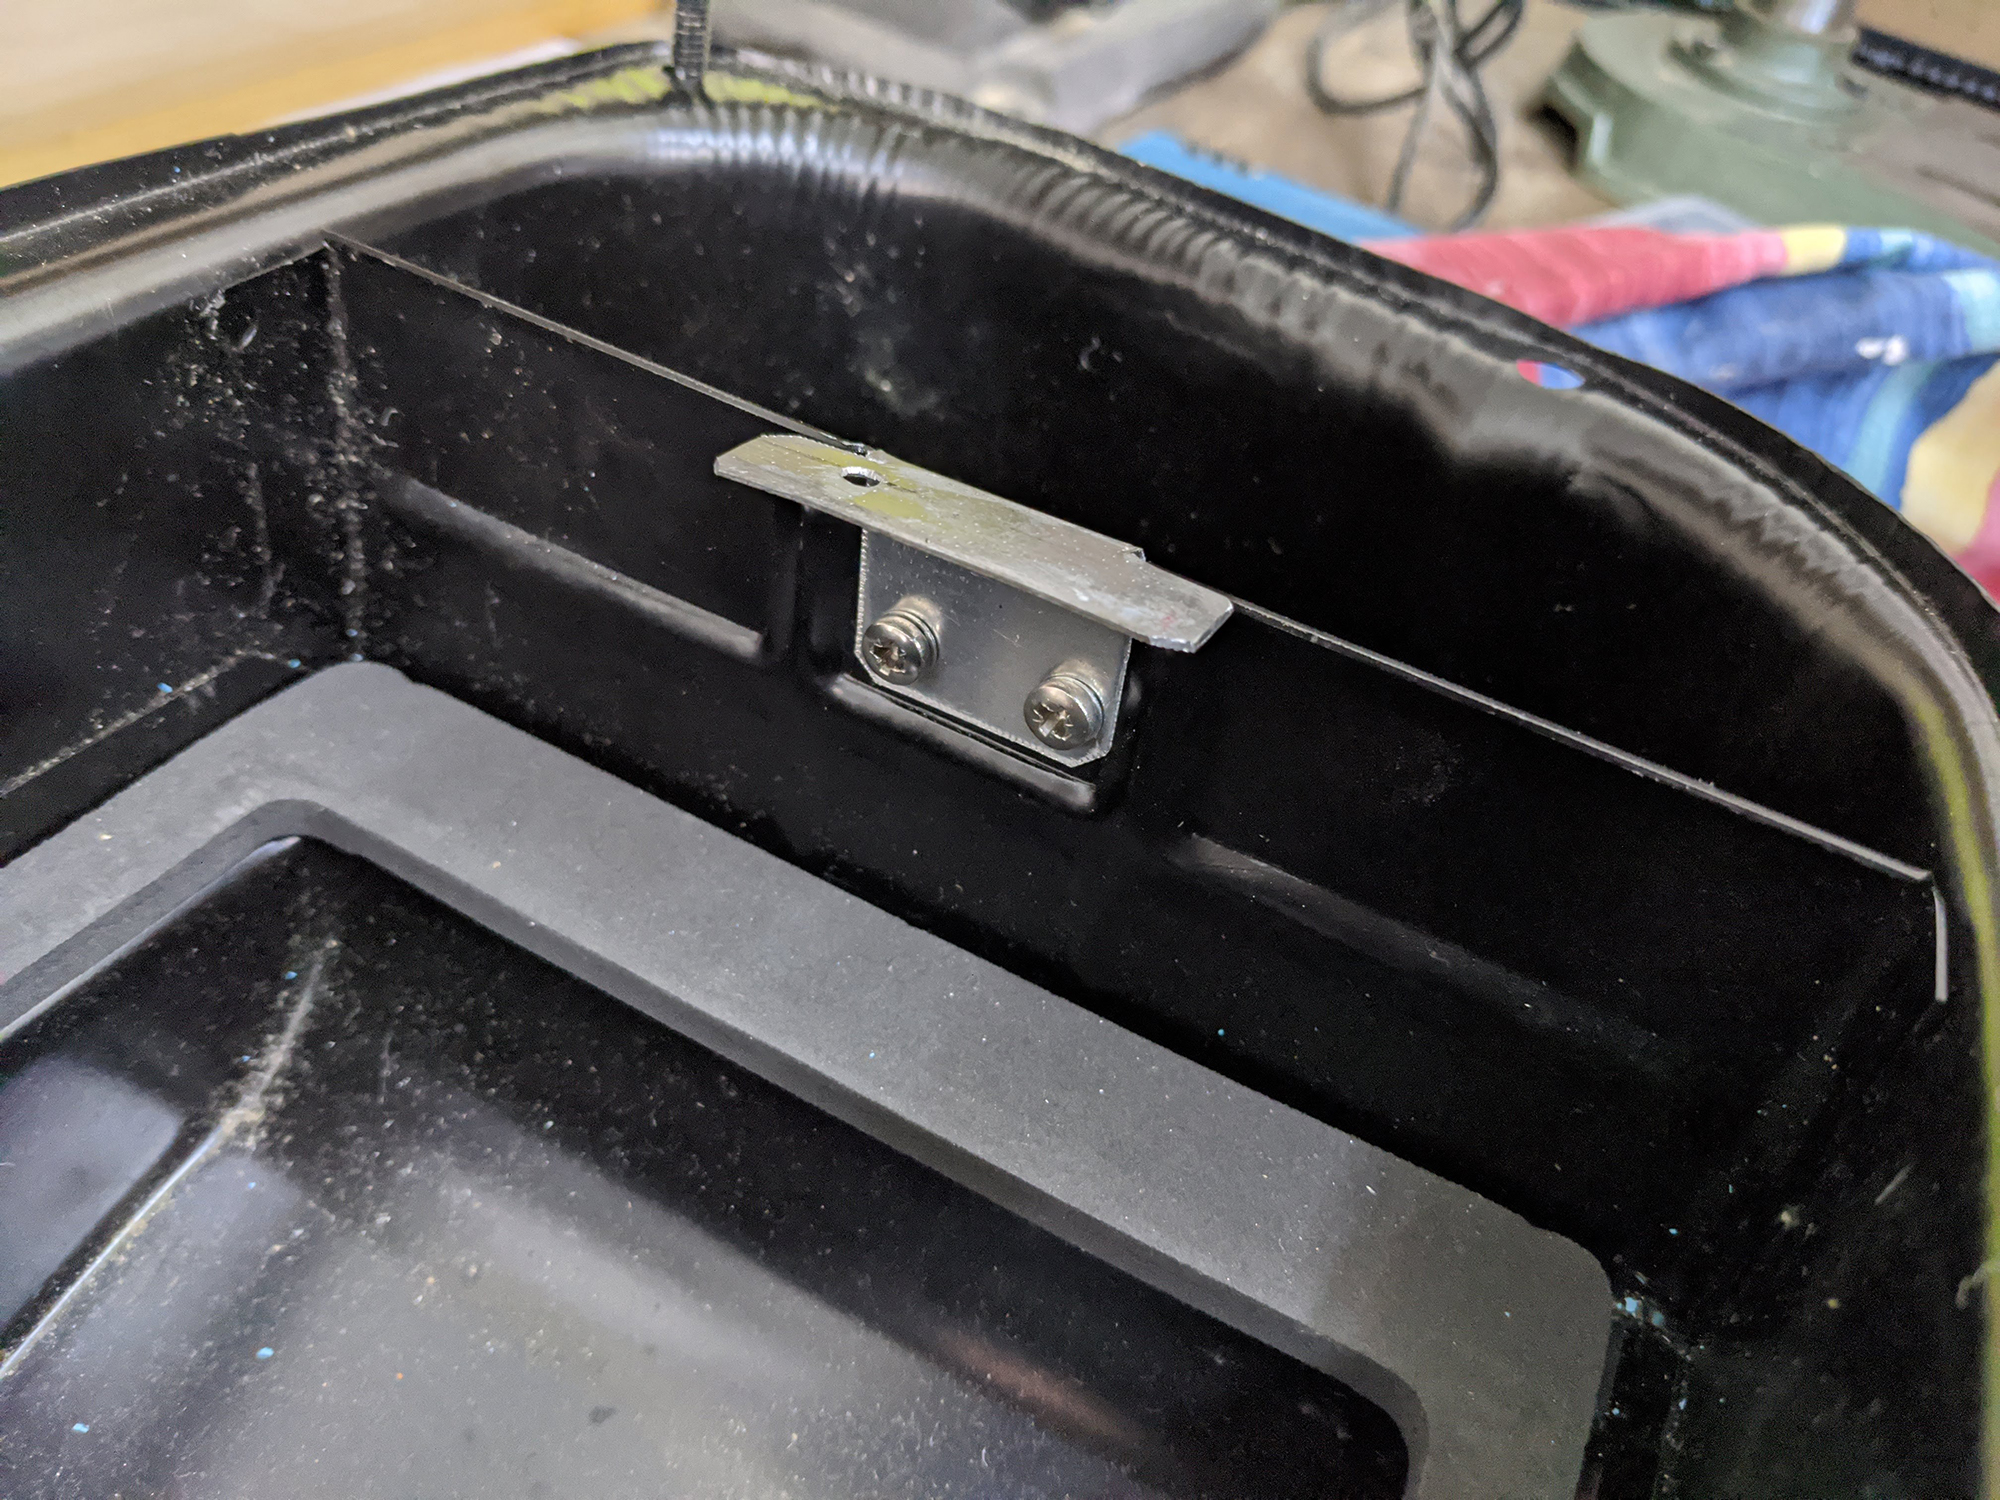
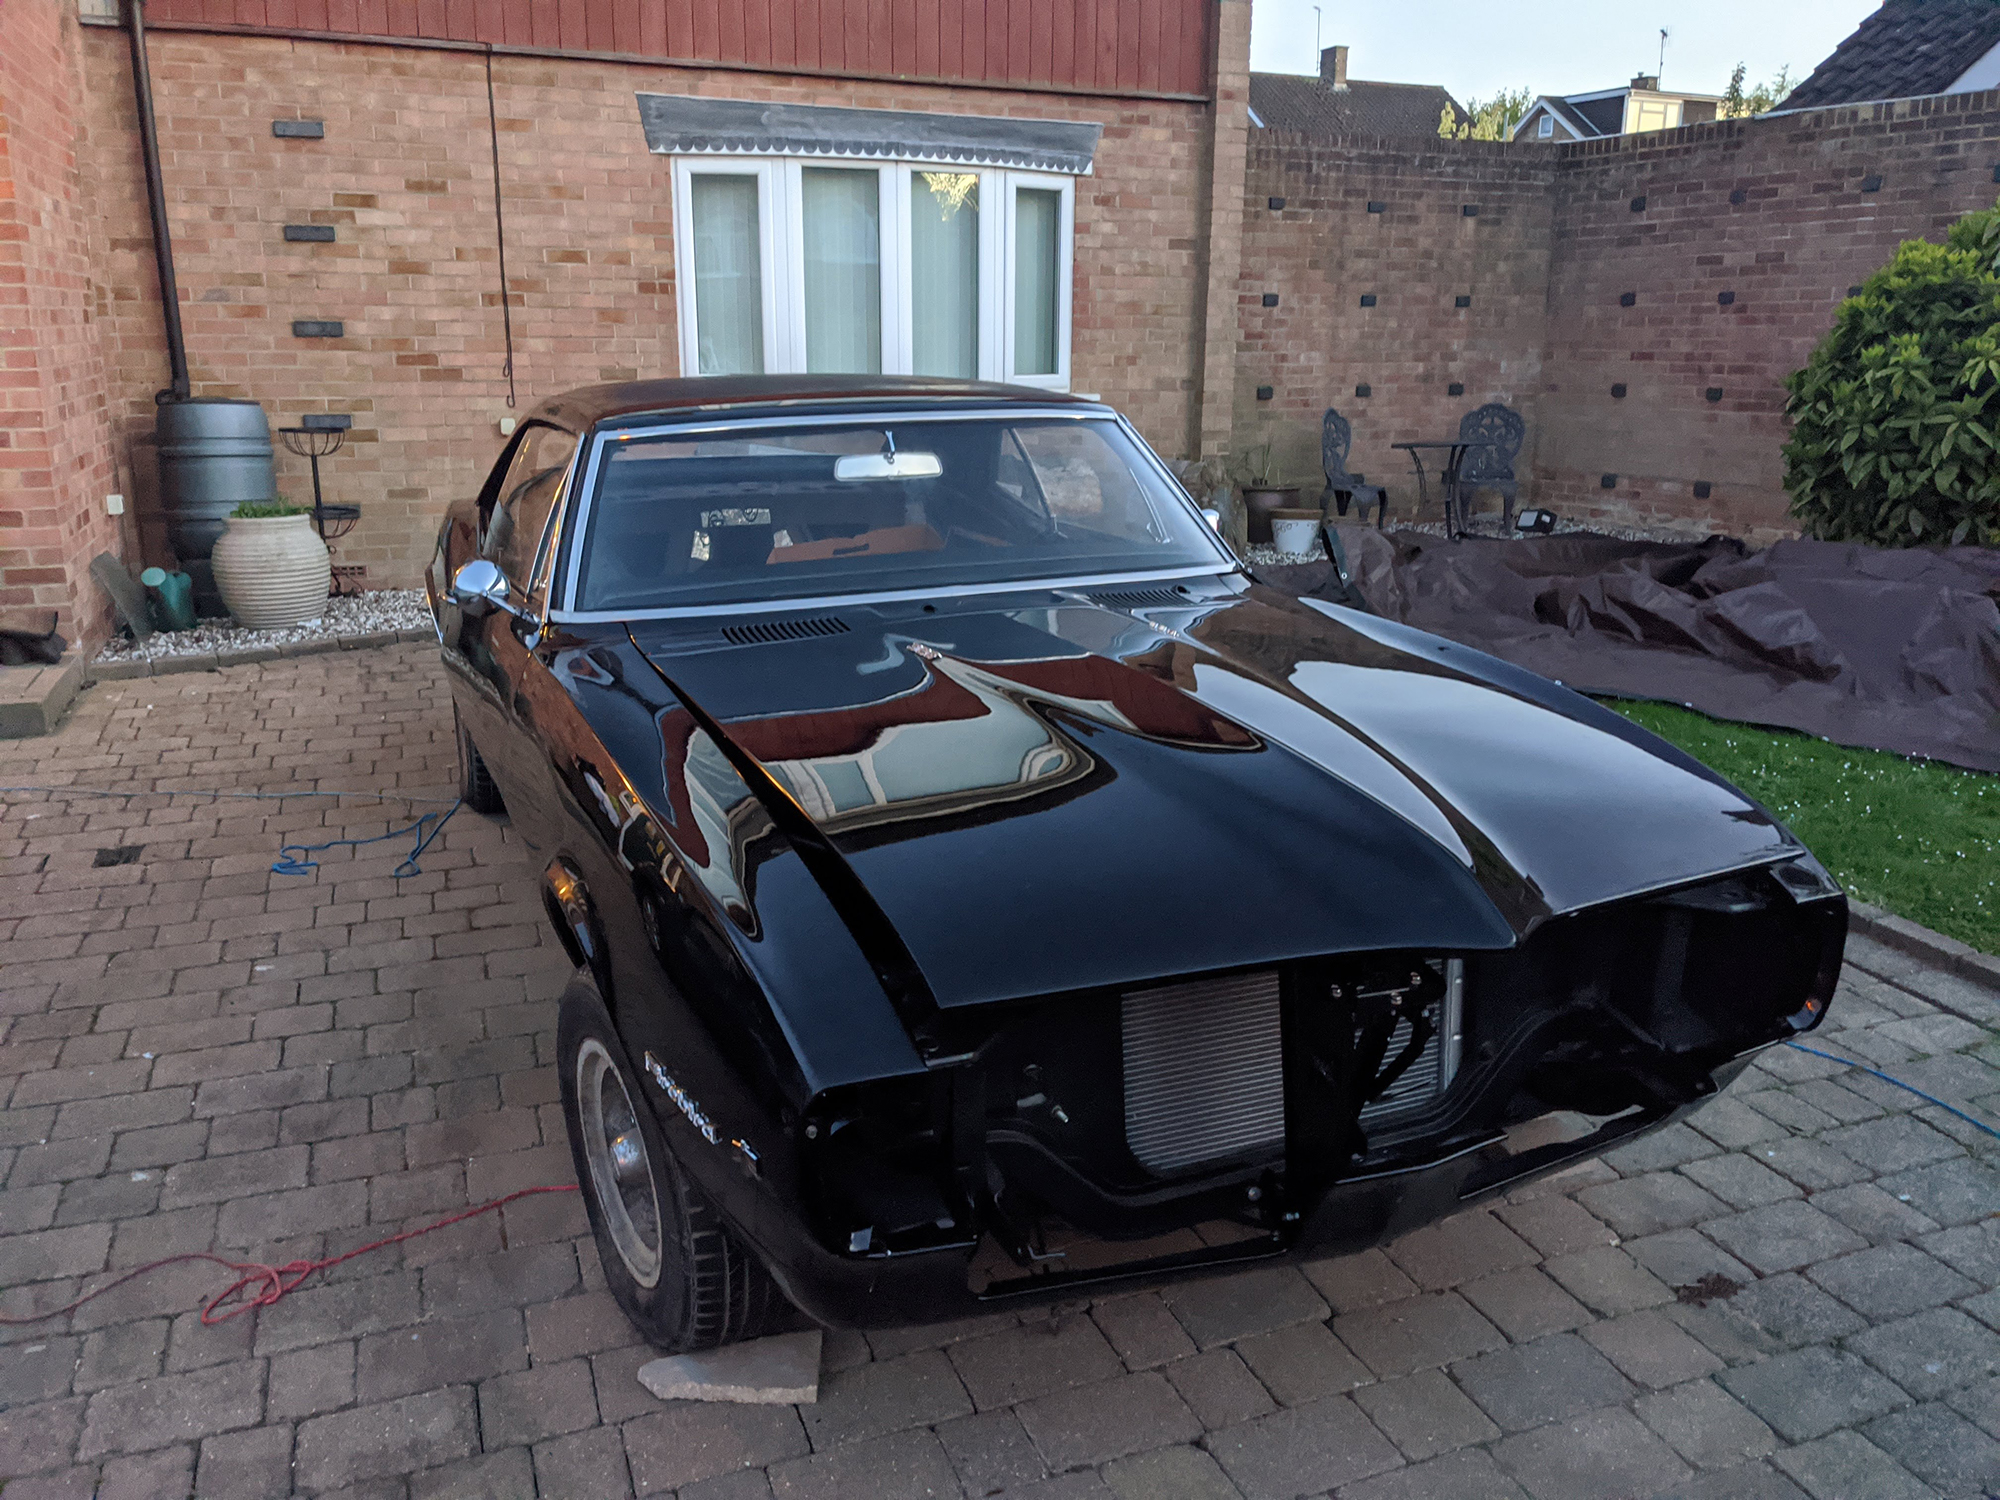
Because it’s deeper than original the standard mounting clips won’t fit so I had to make some custom brackets out of scrap to hold the core in.

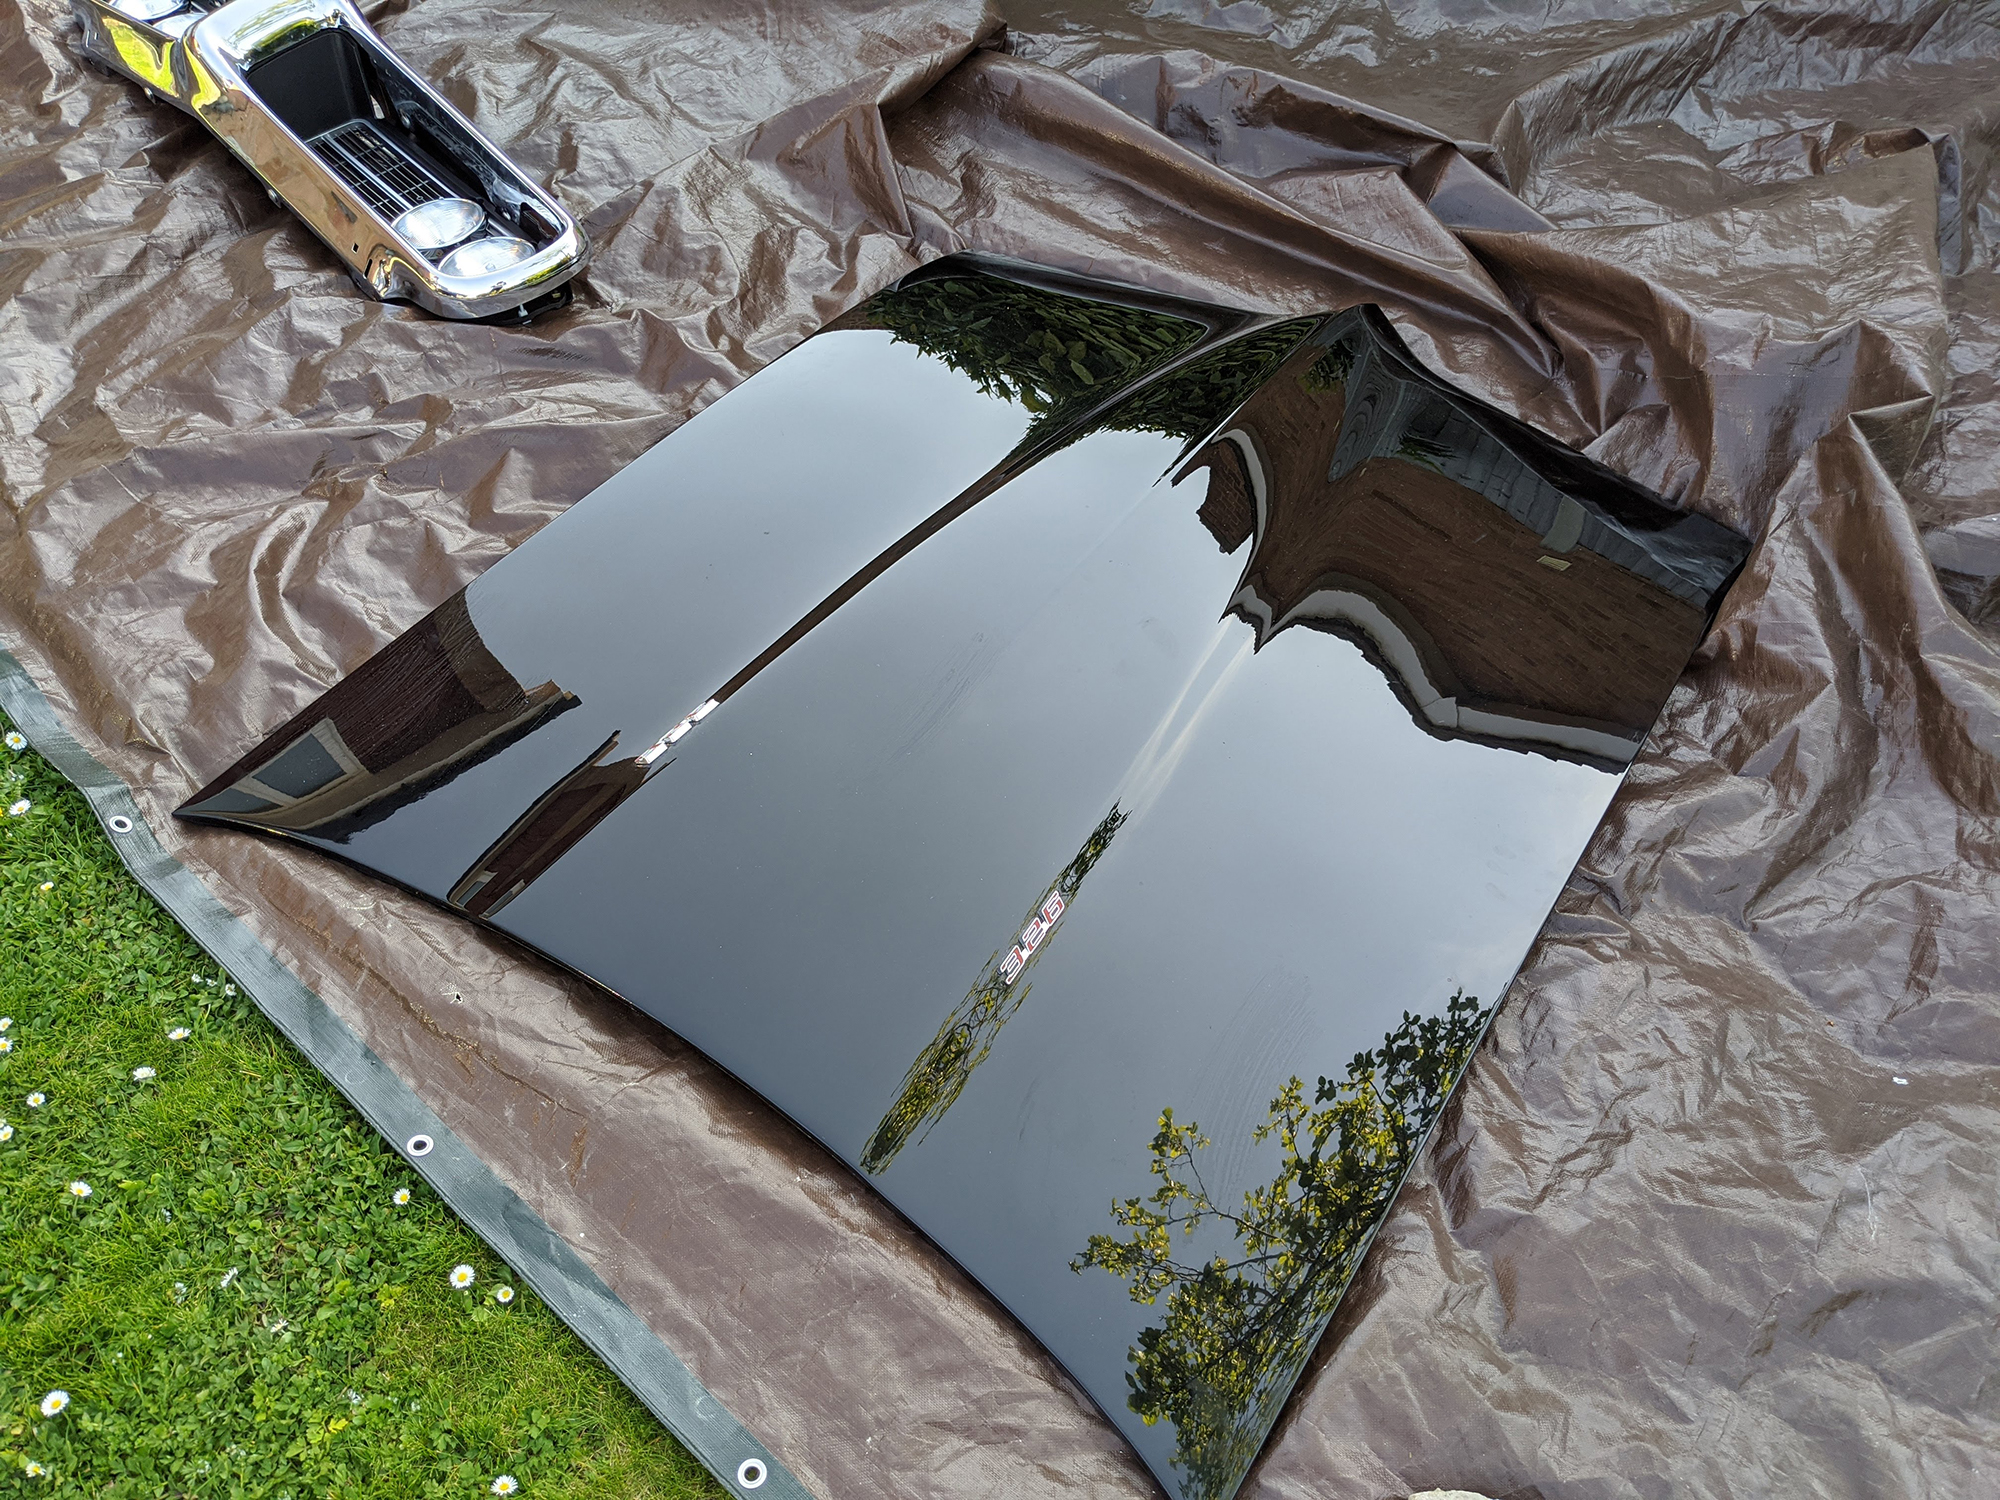
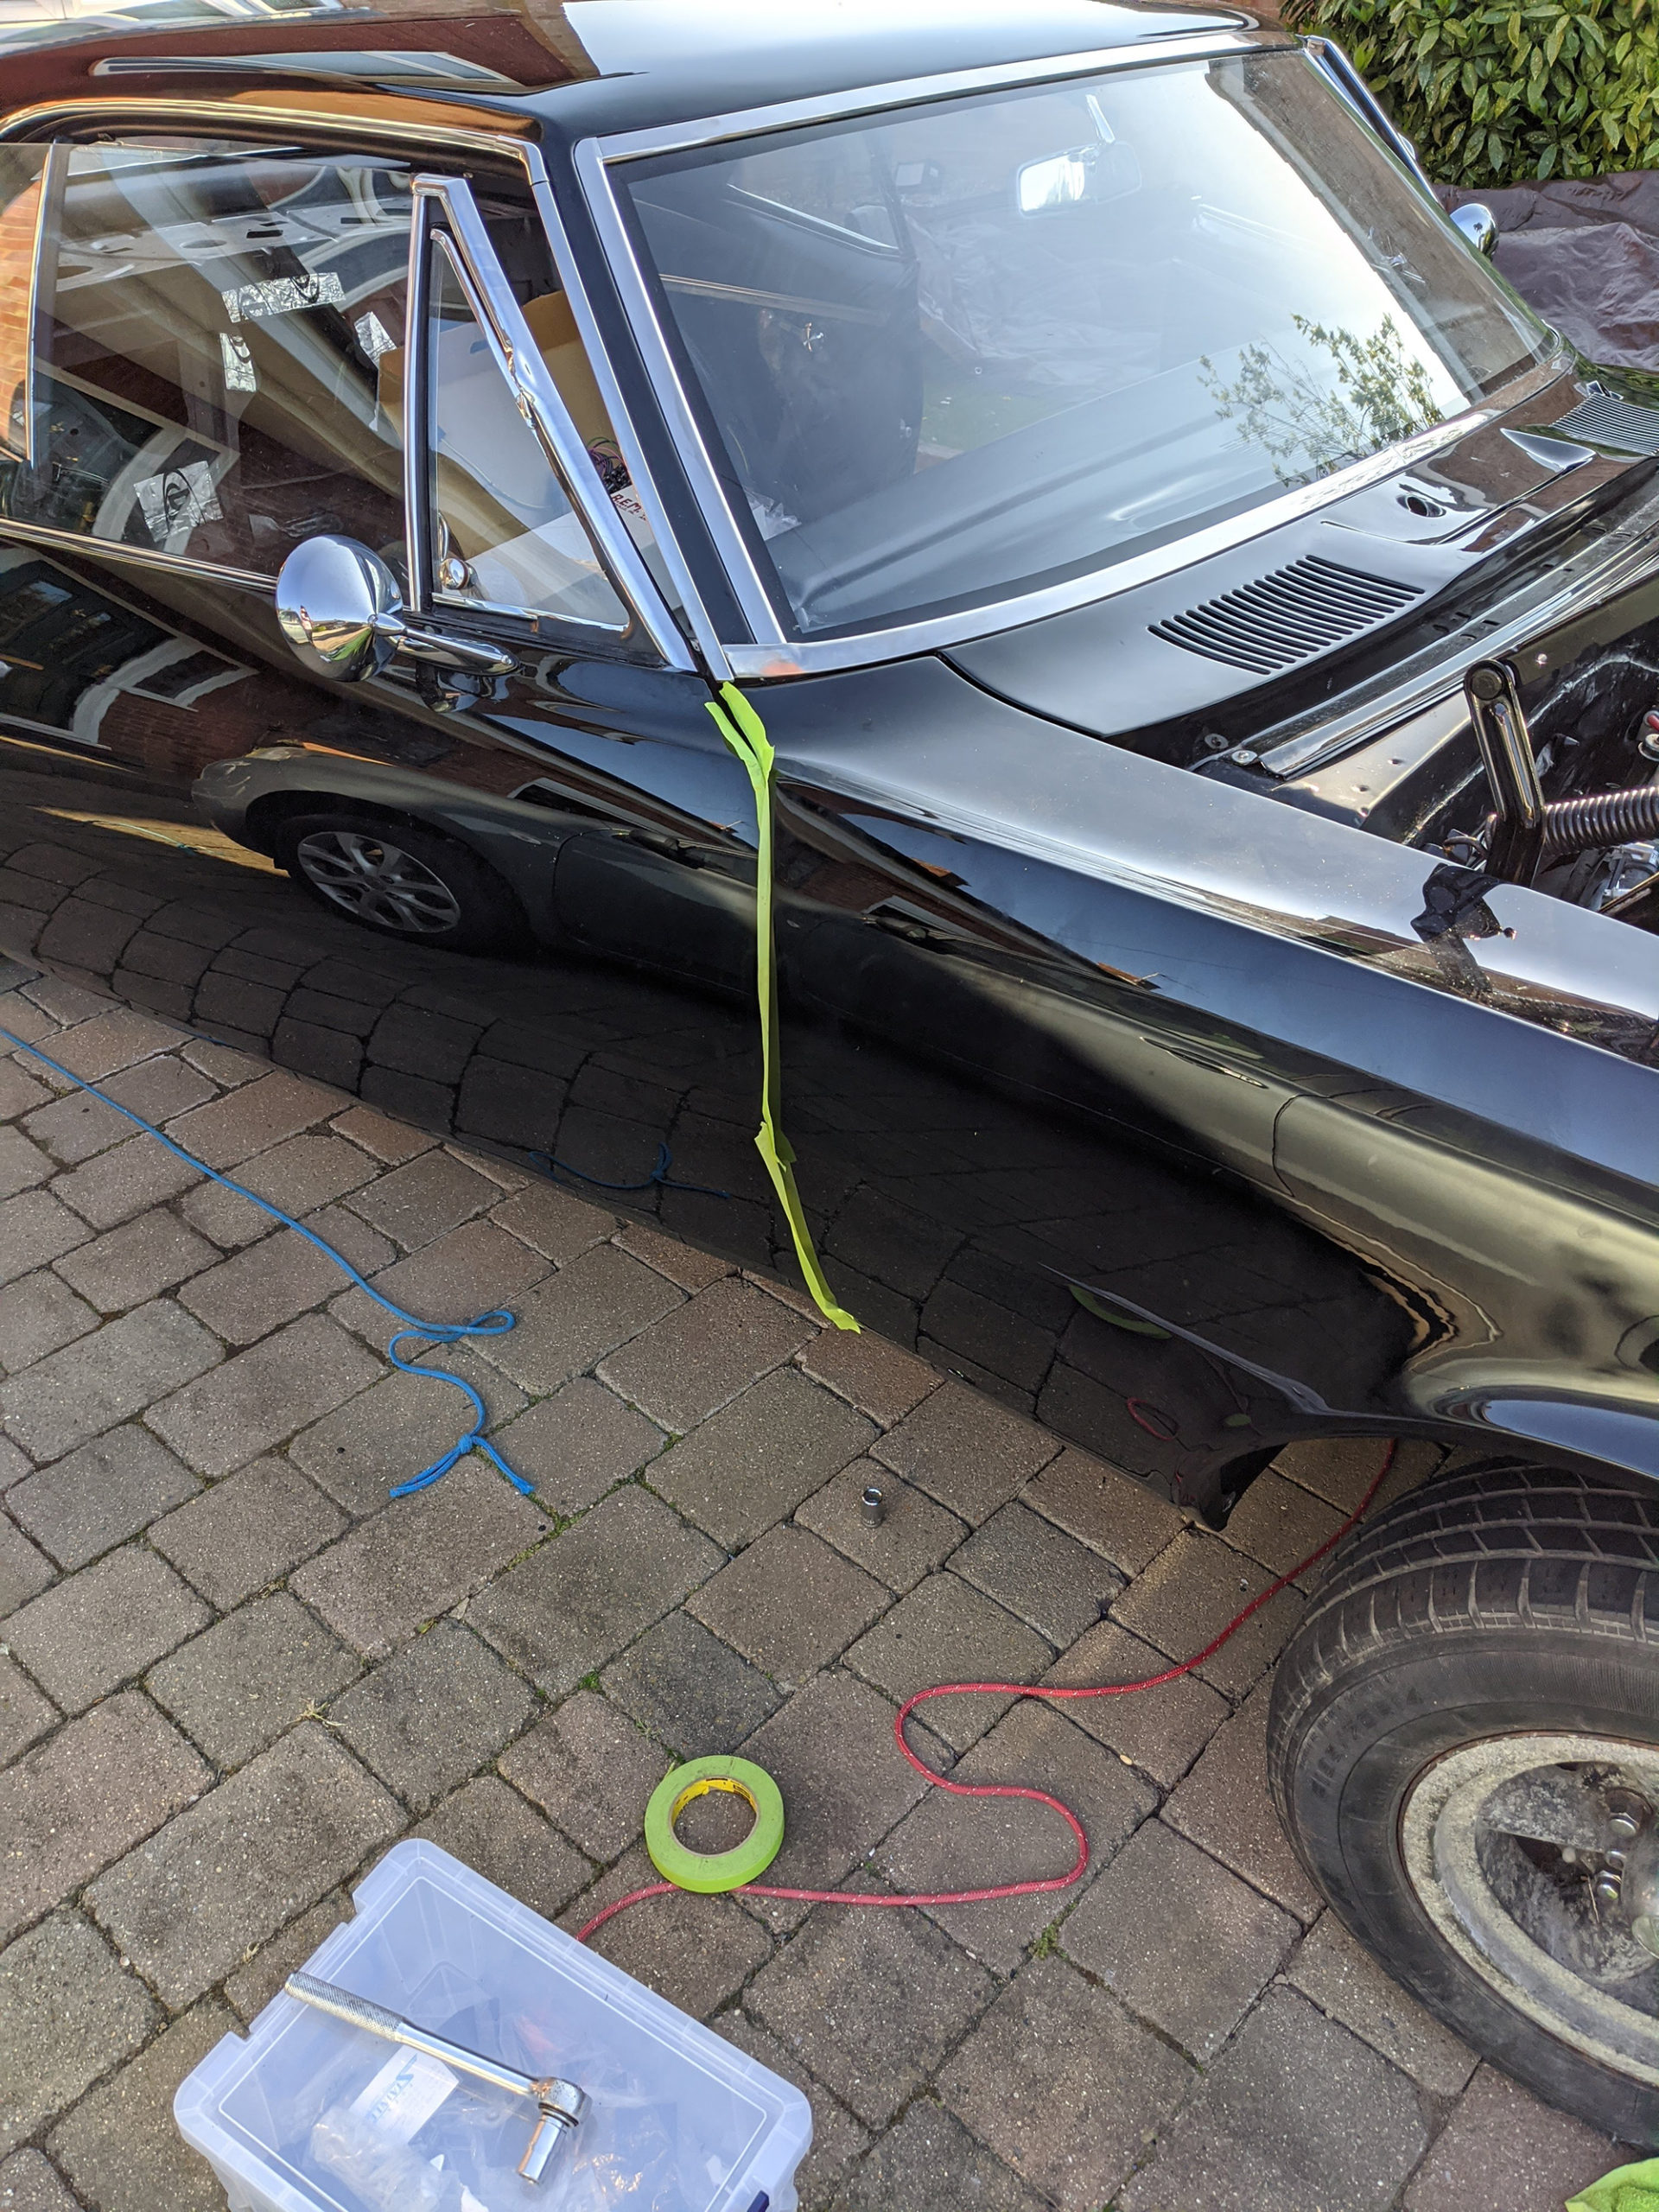
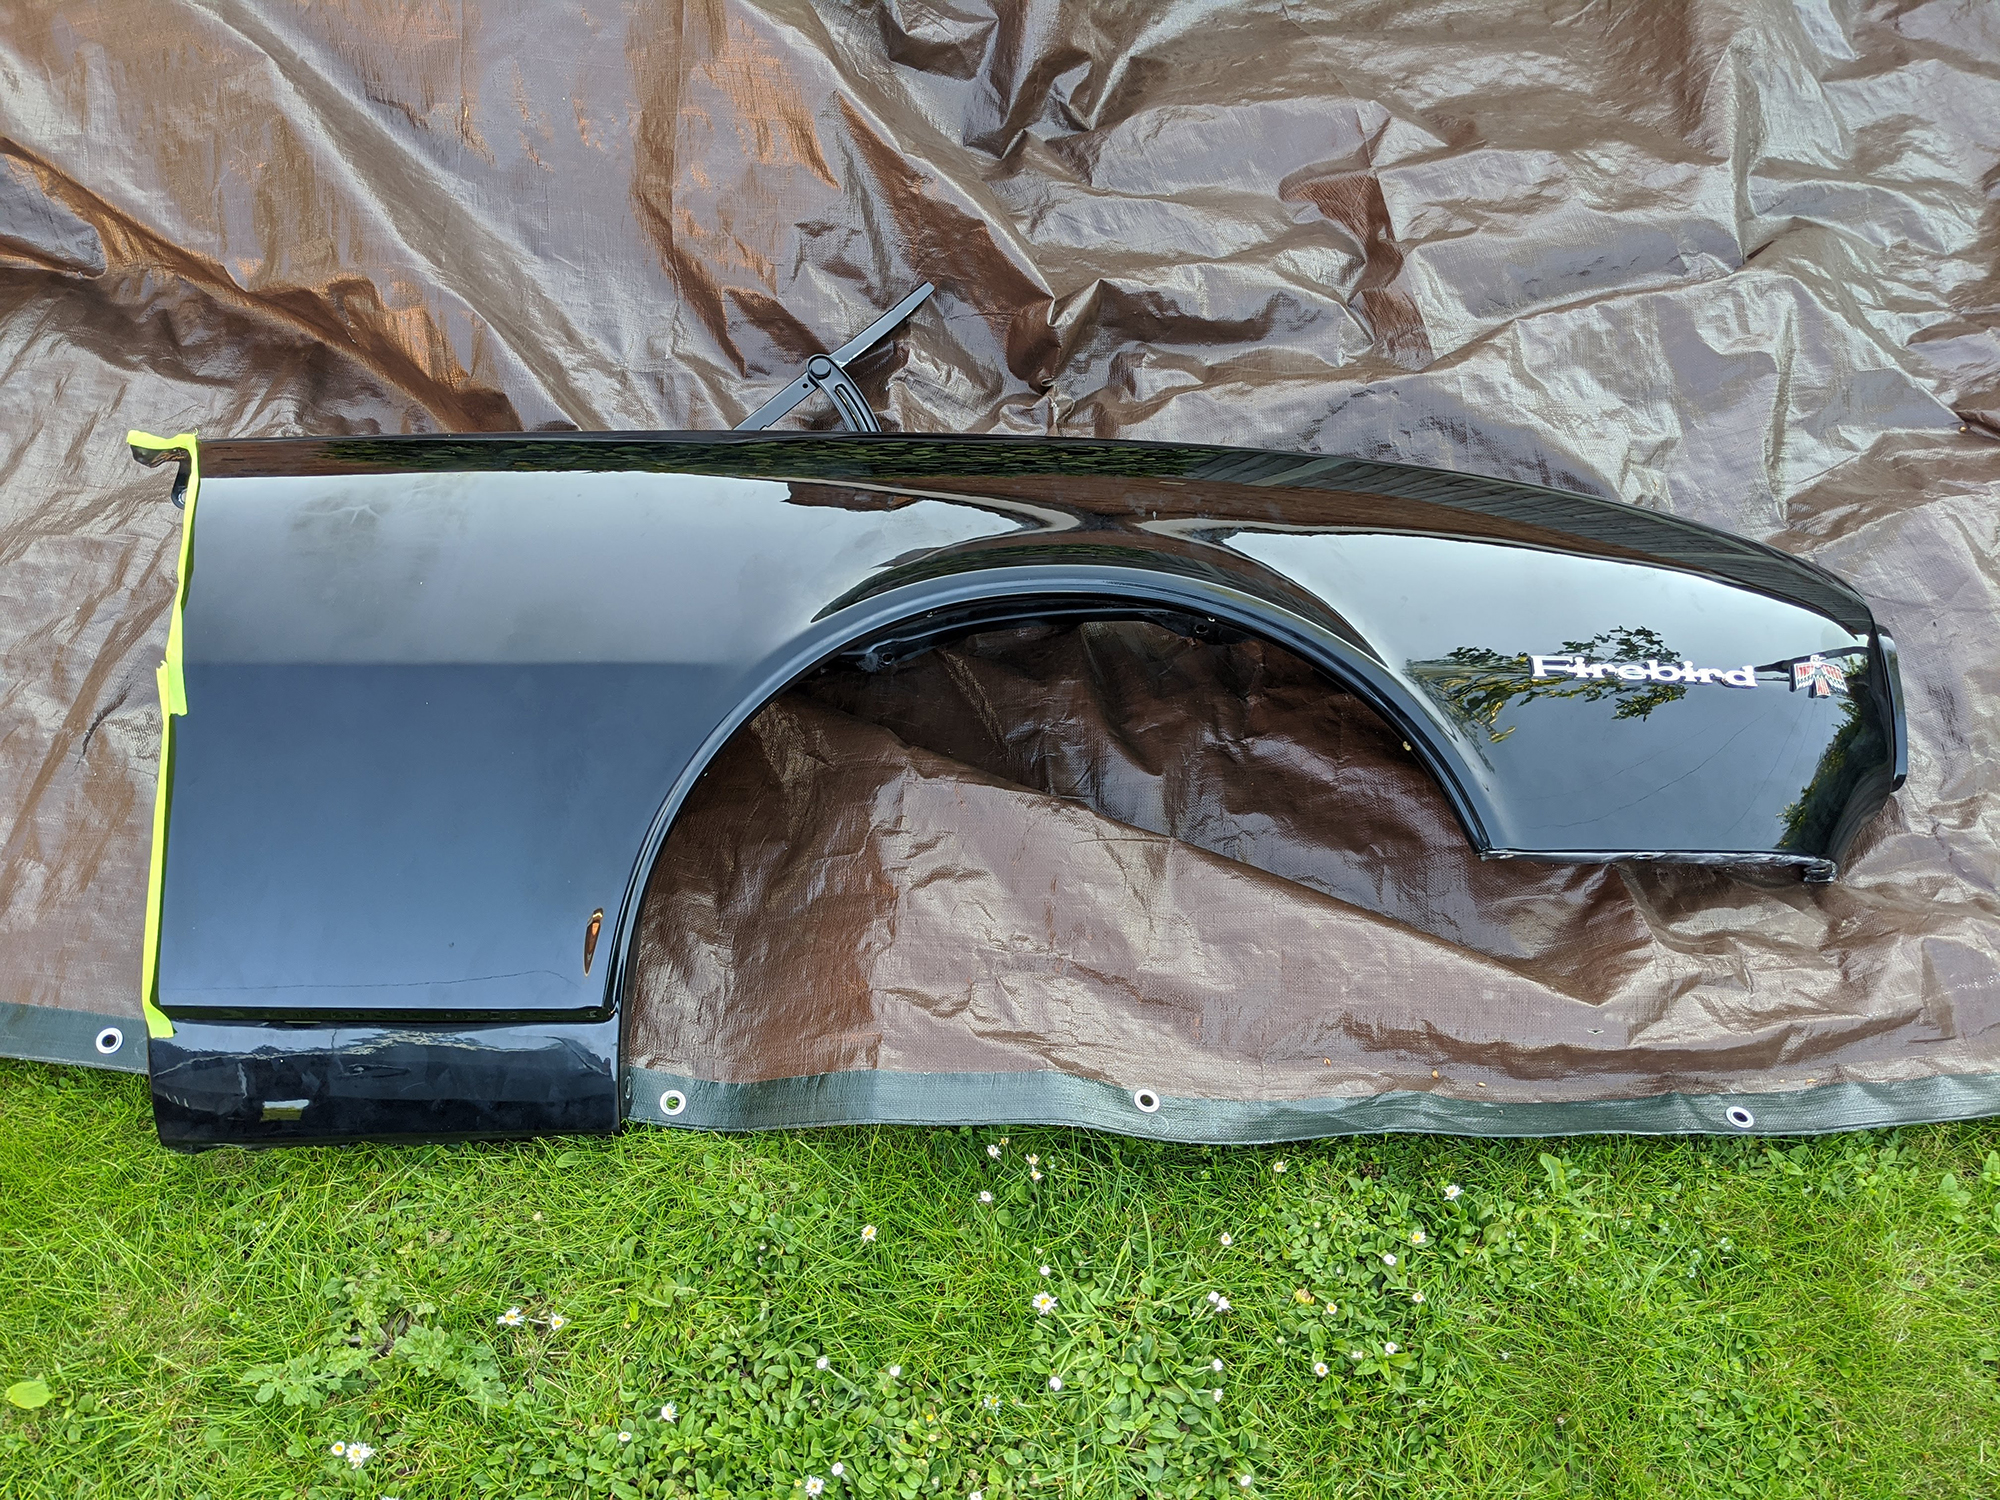
To install the fender and bonnet(hood) has to come off. The fender was painted assembled on the car so unfortunately a fair amount of damage to the paint happened around the valance and skirt area.
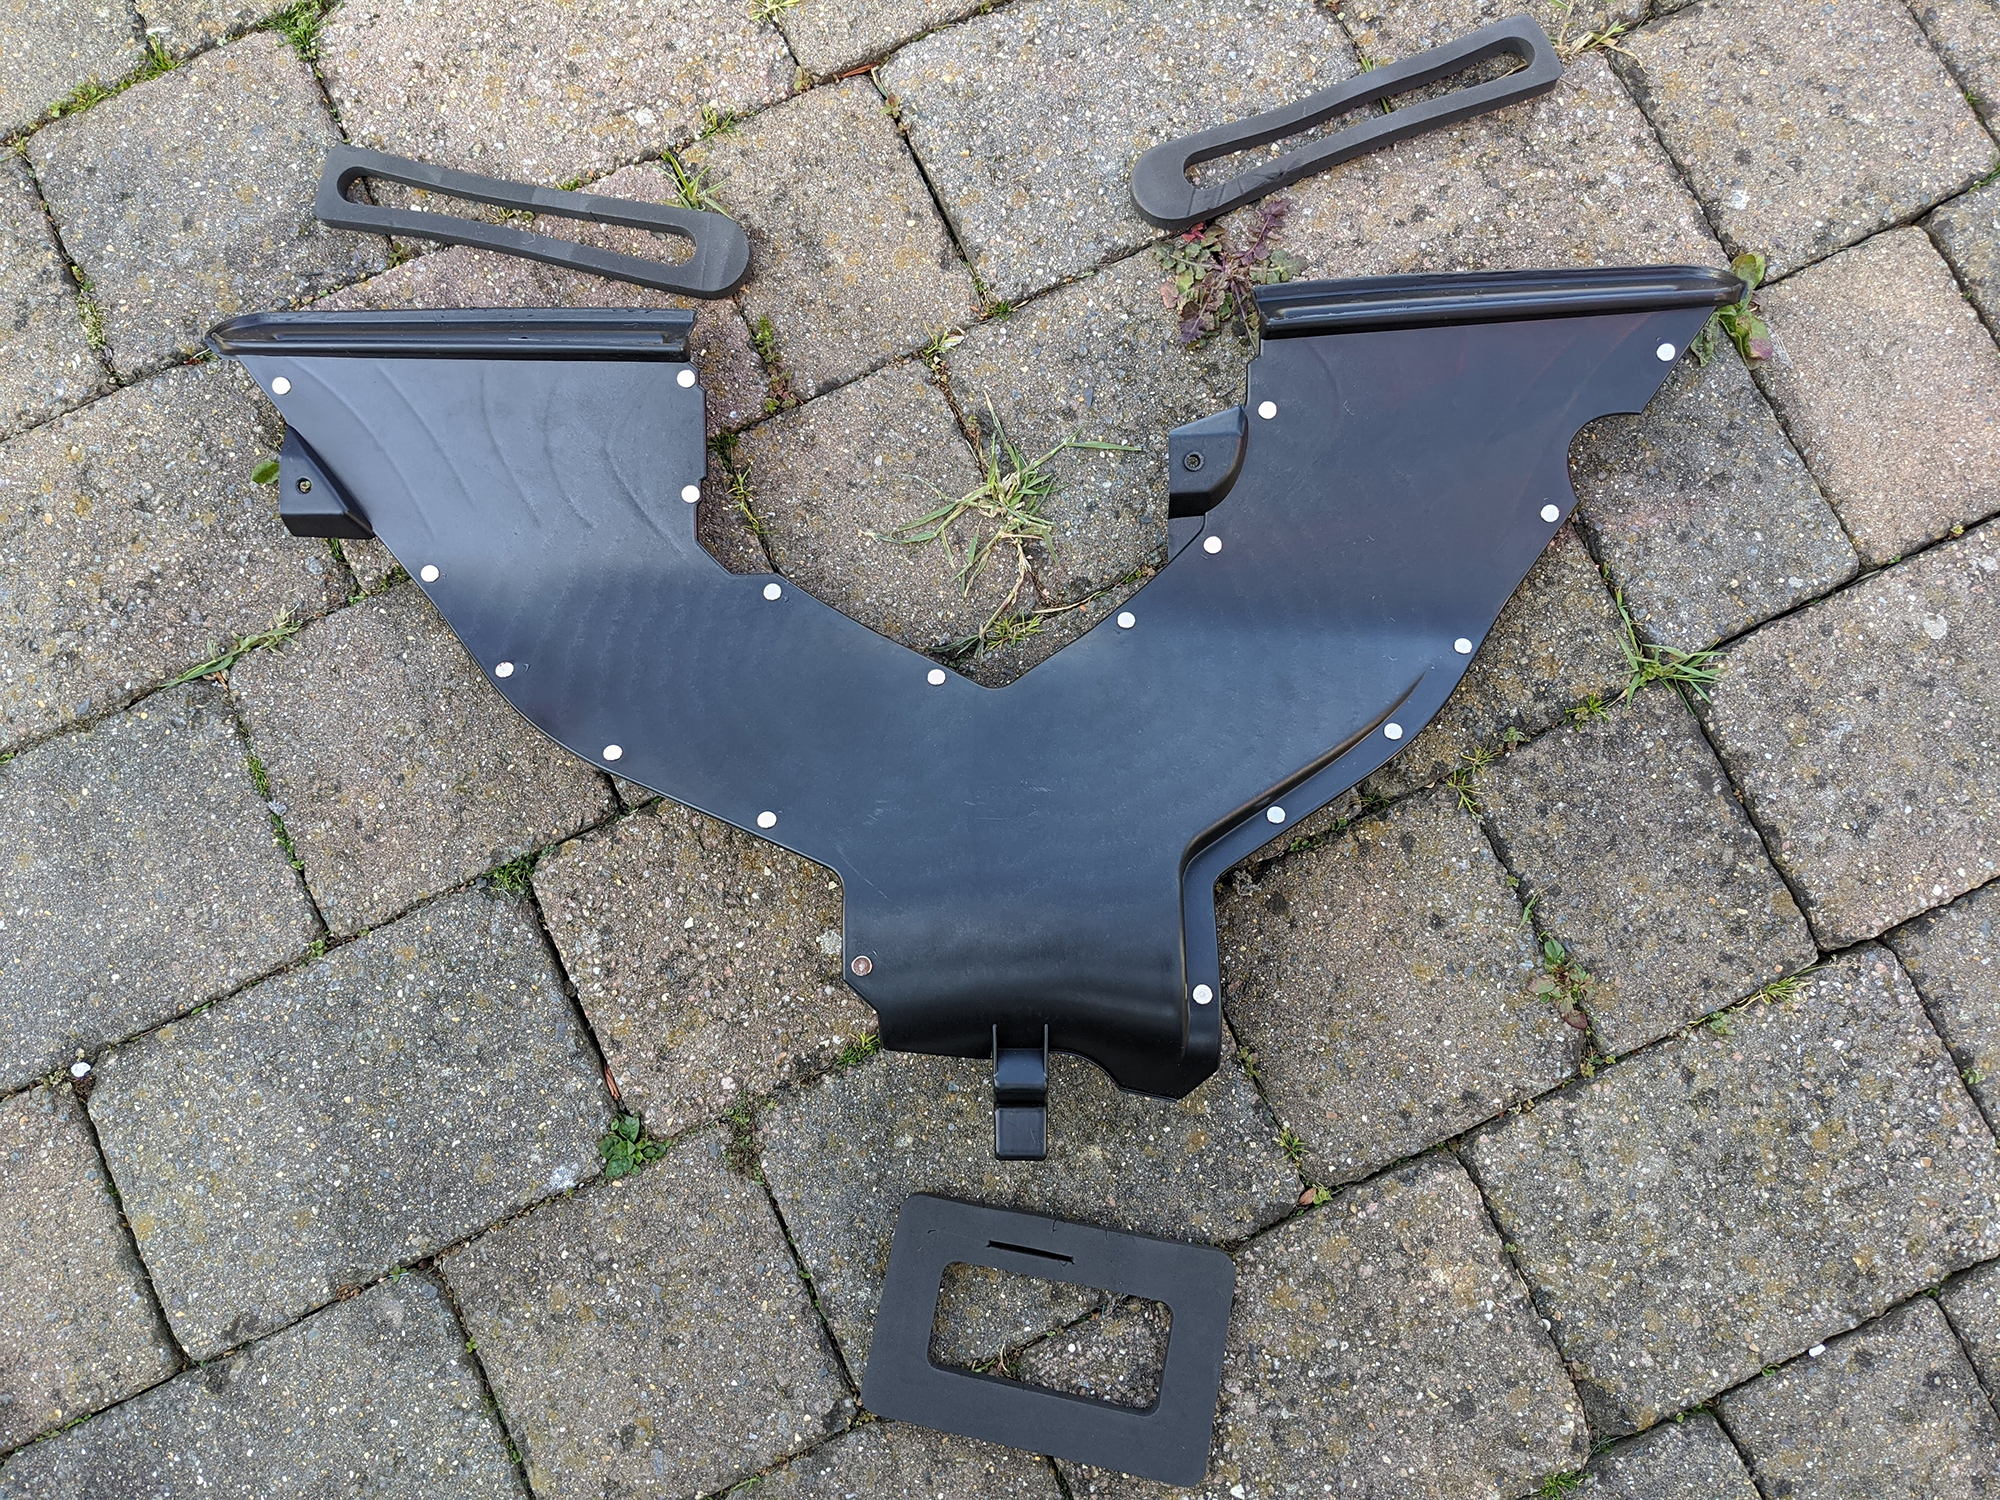
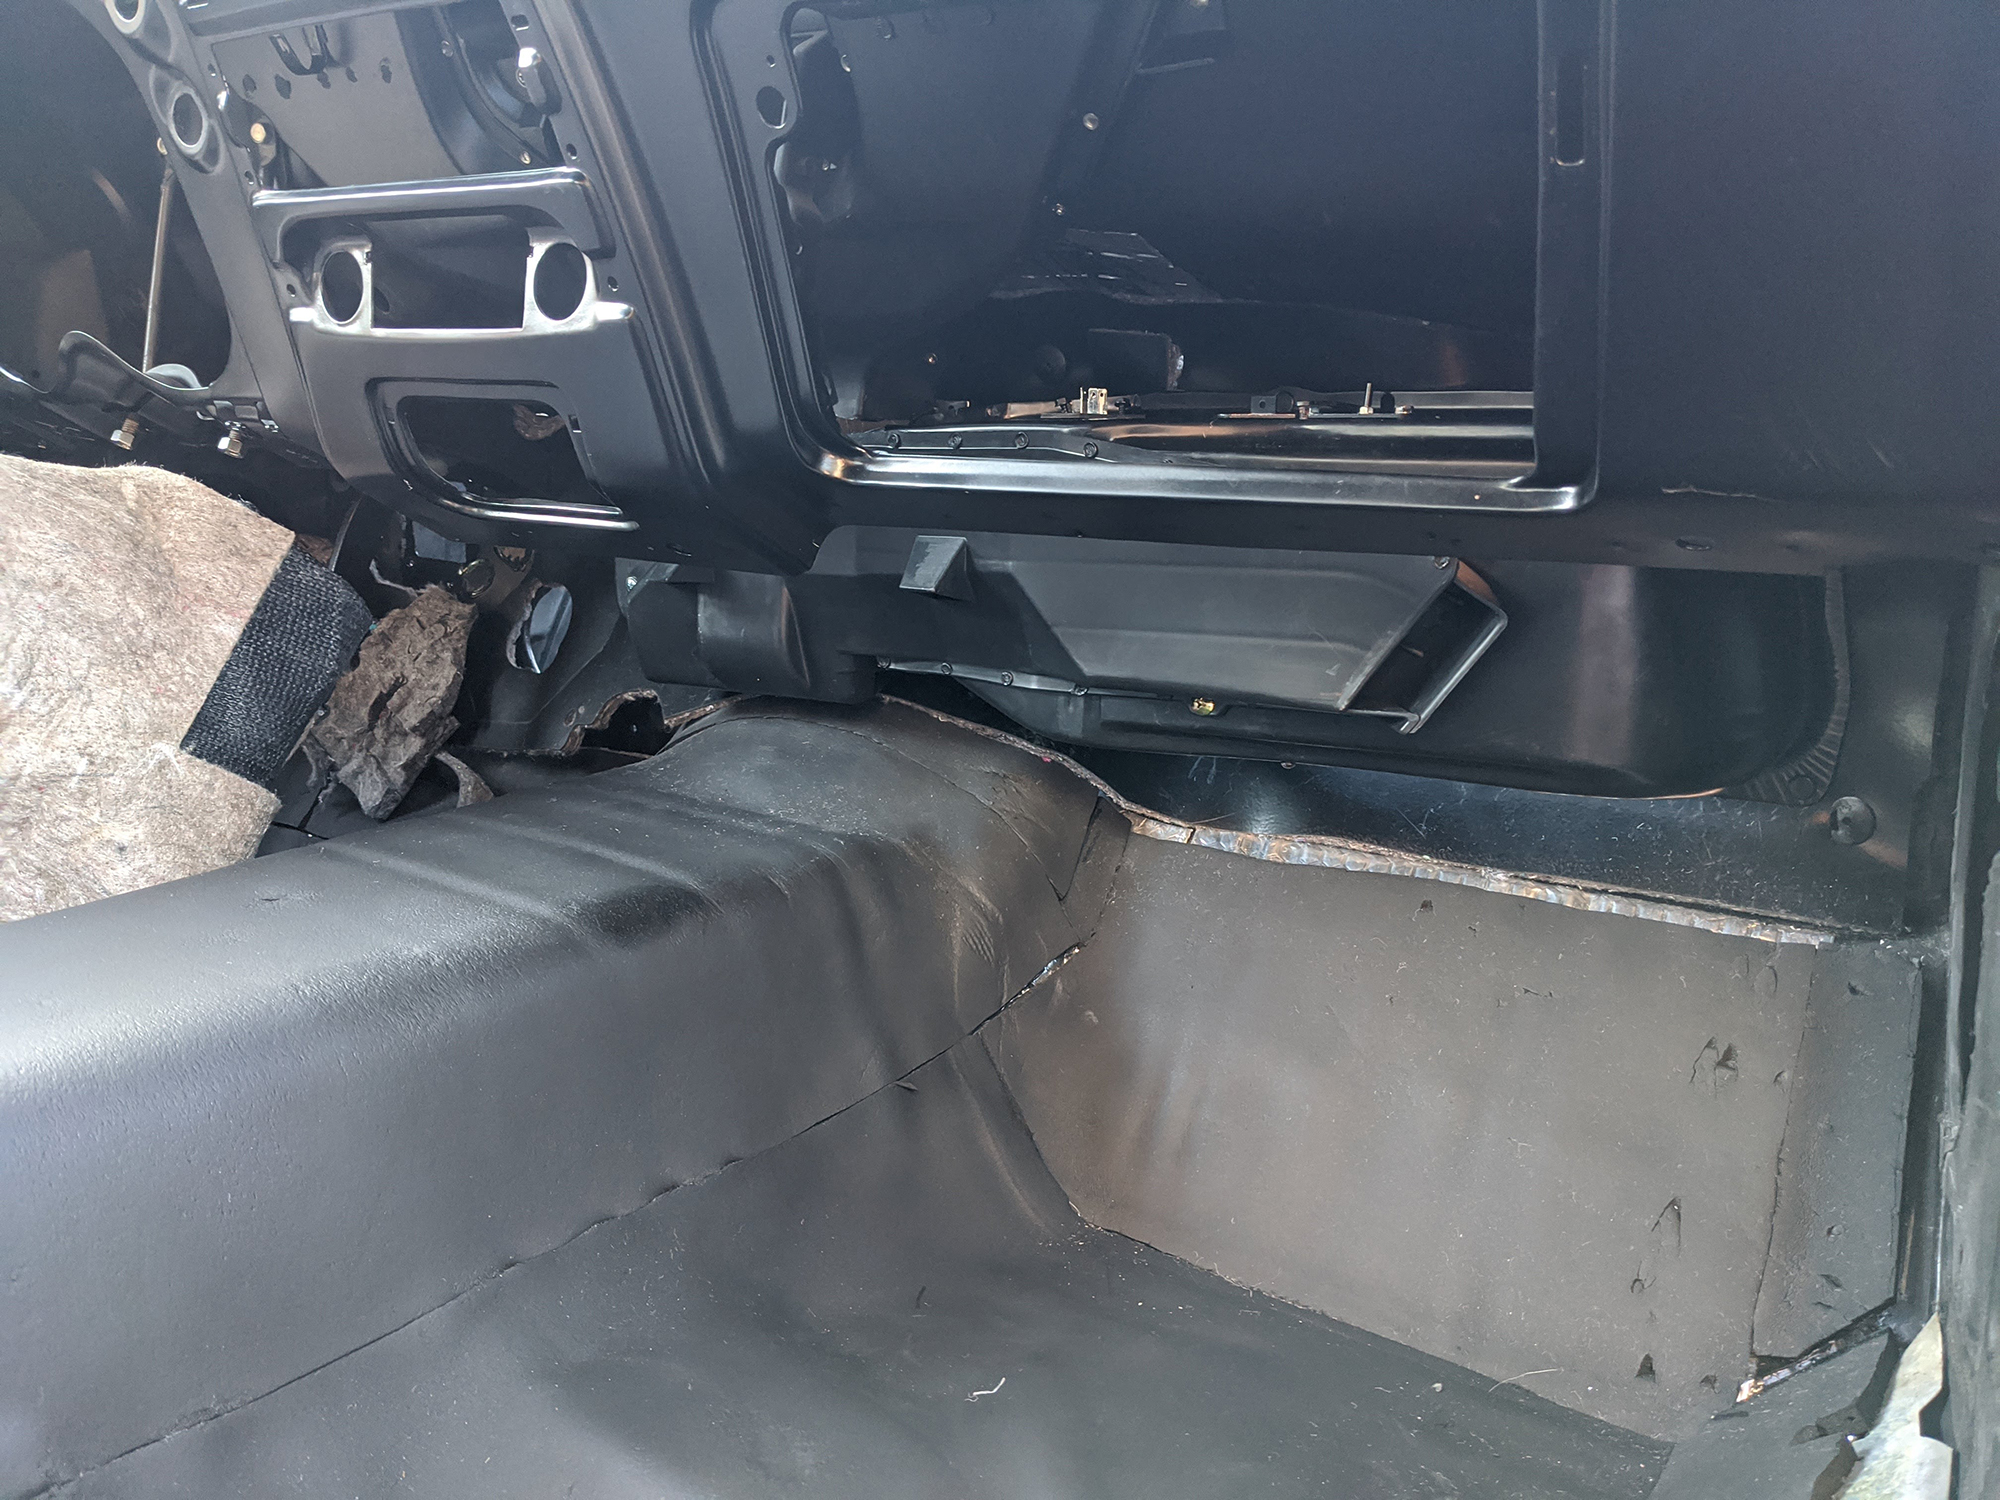
I installed the V-shaped heater duct for the heater box.
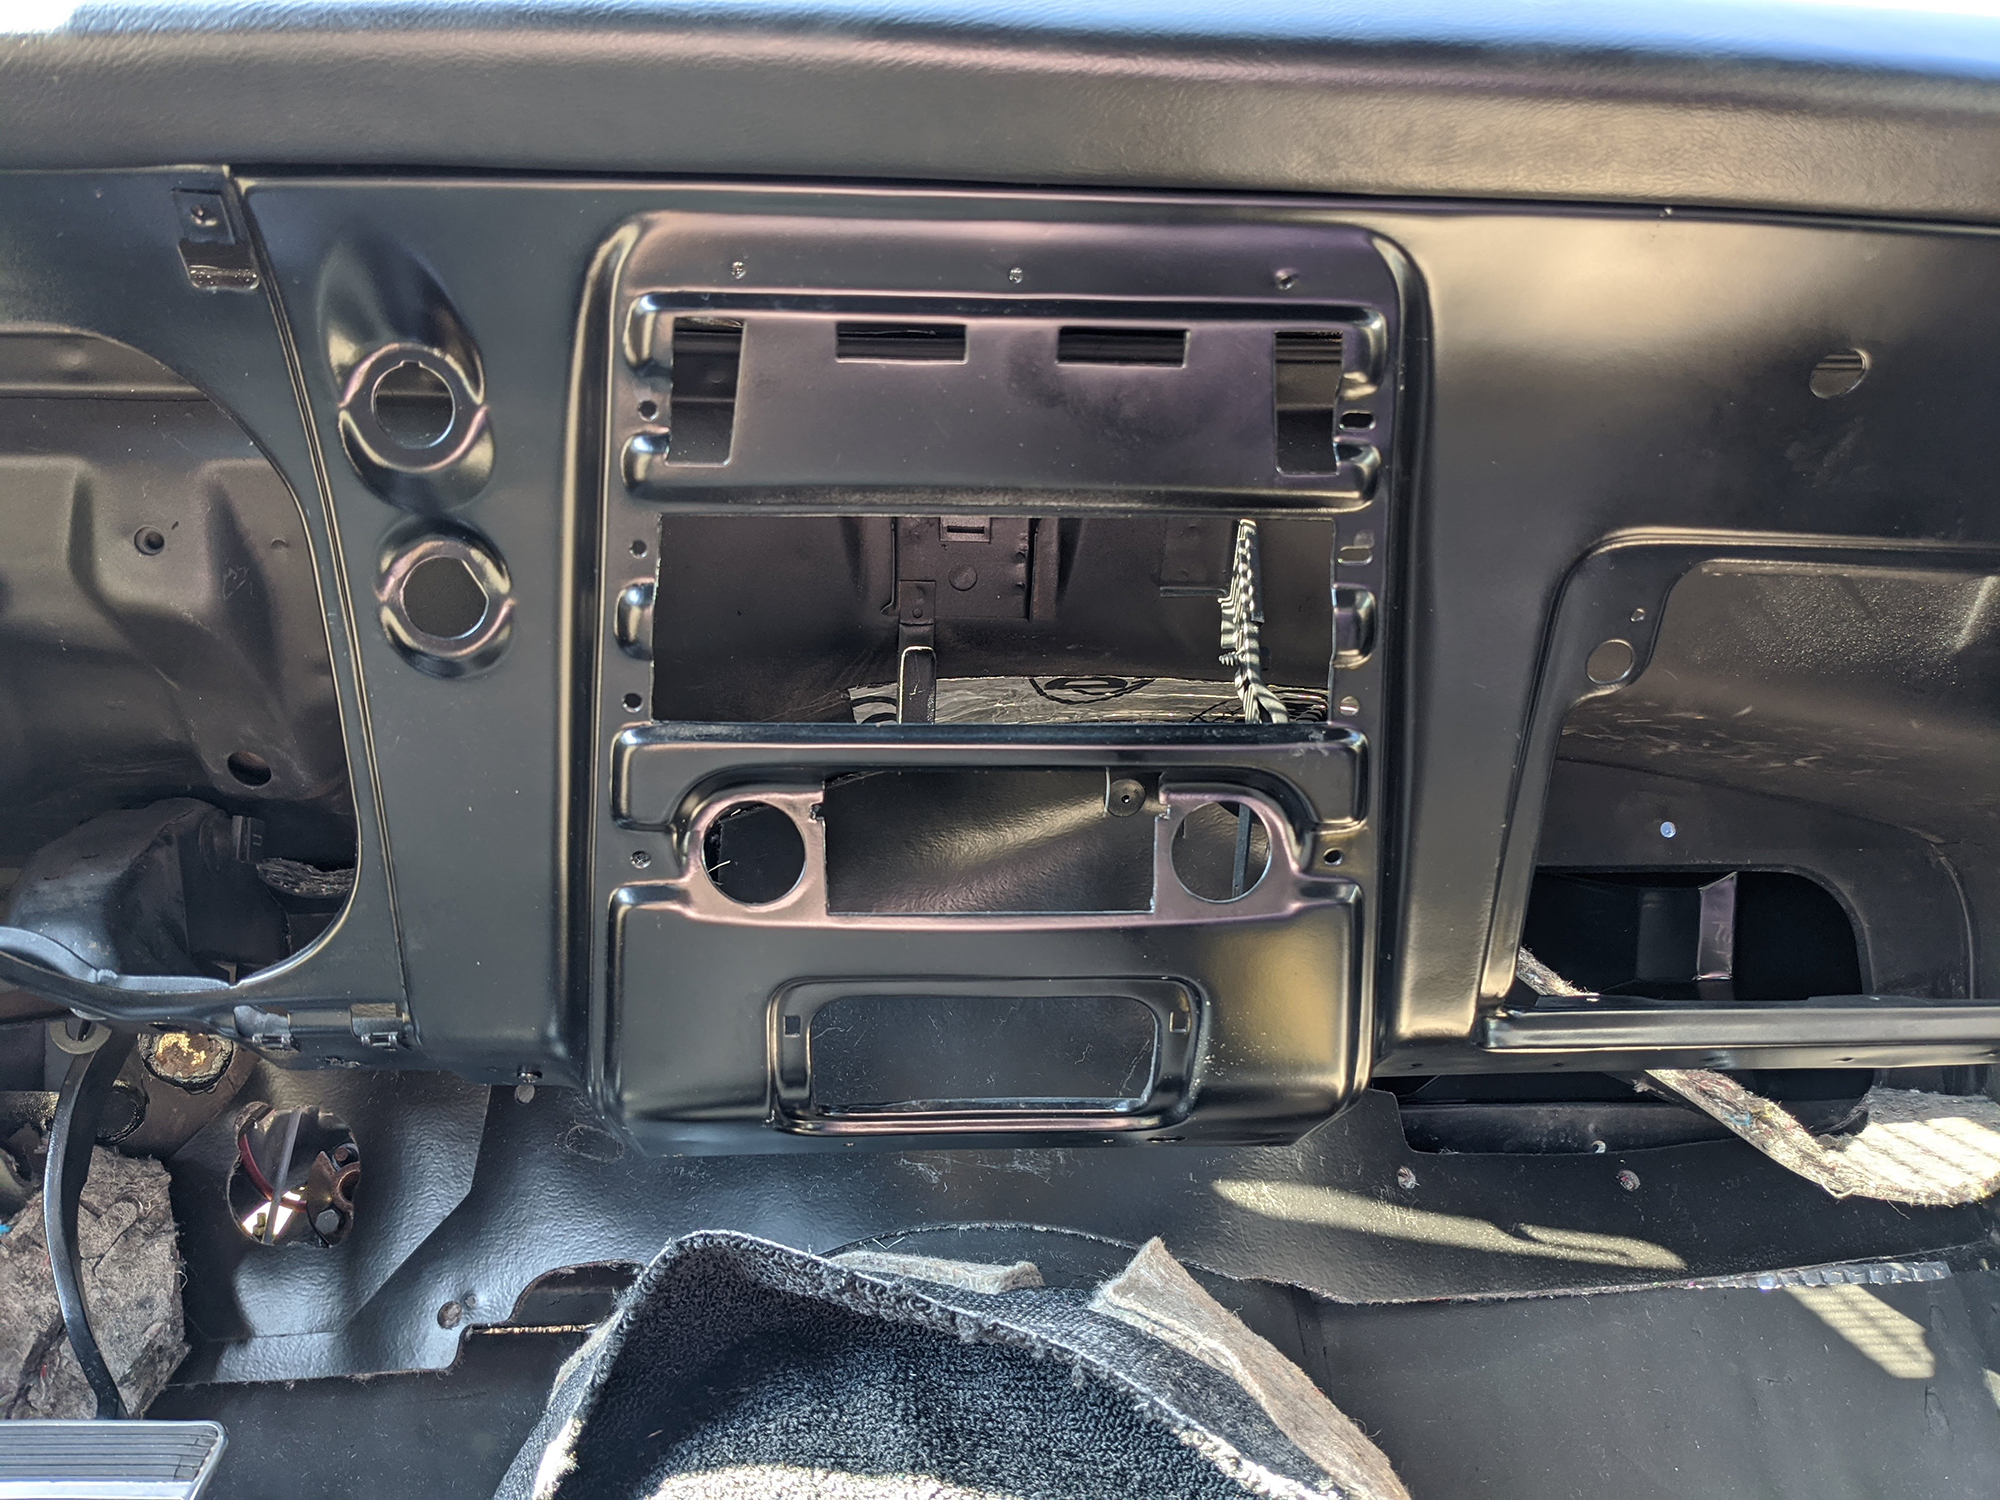
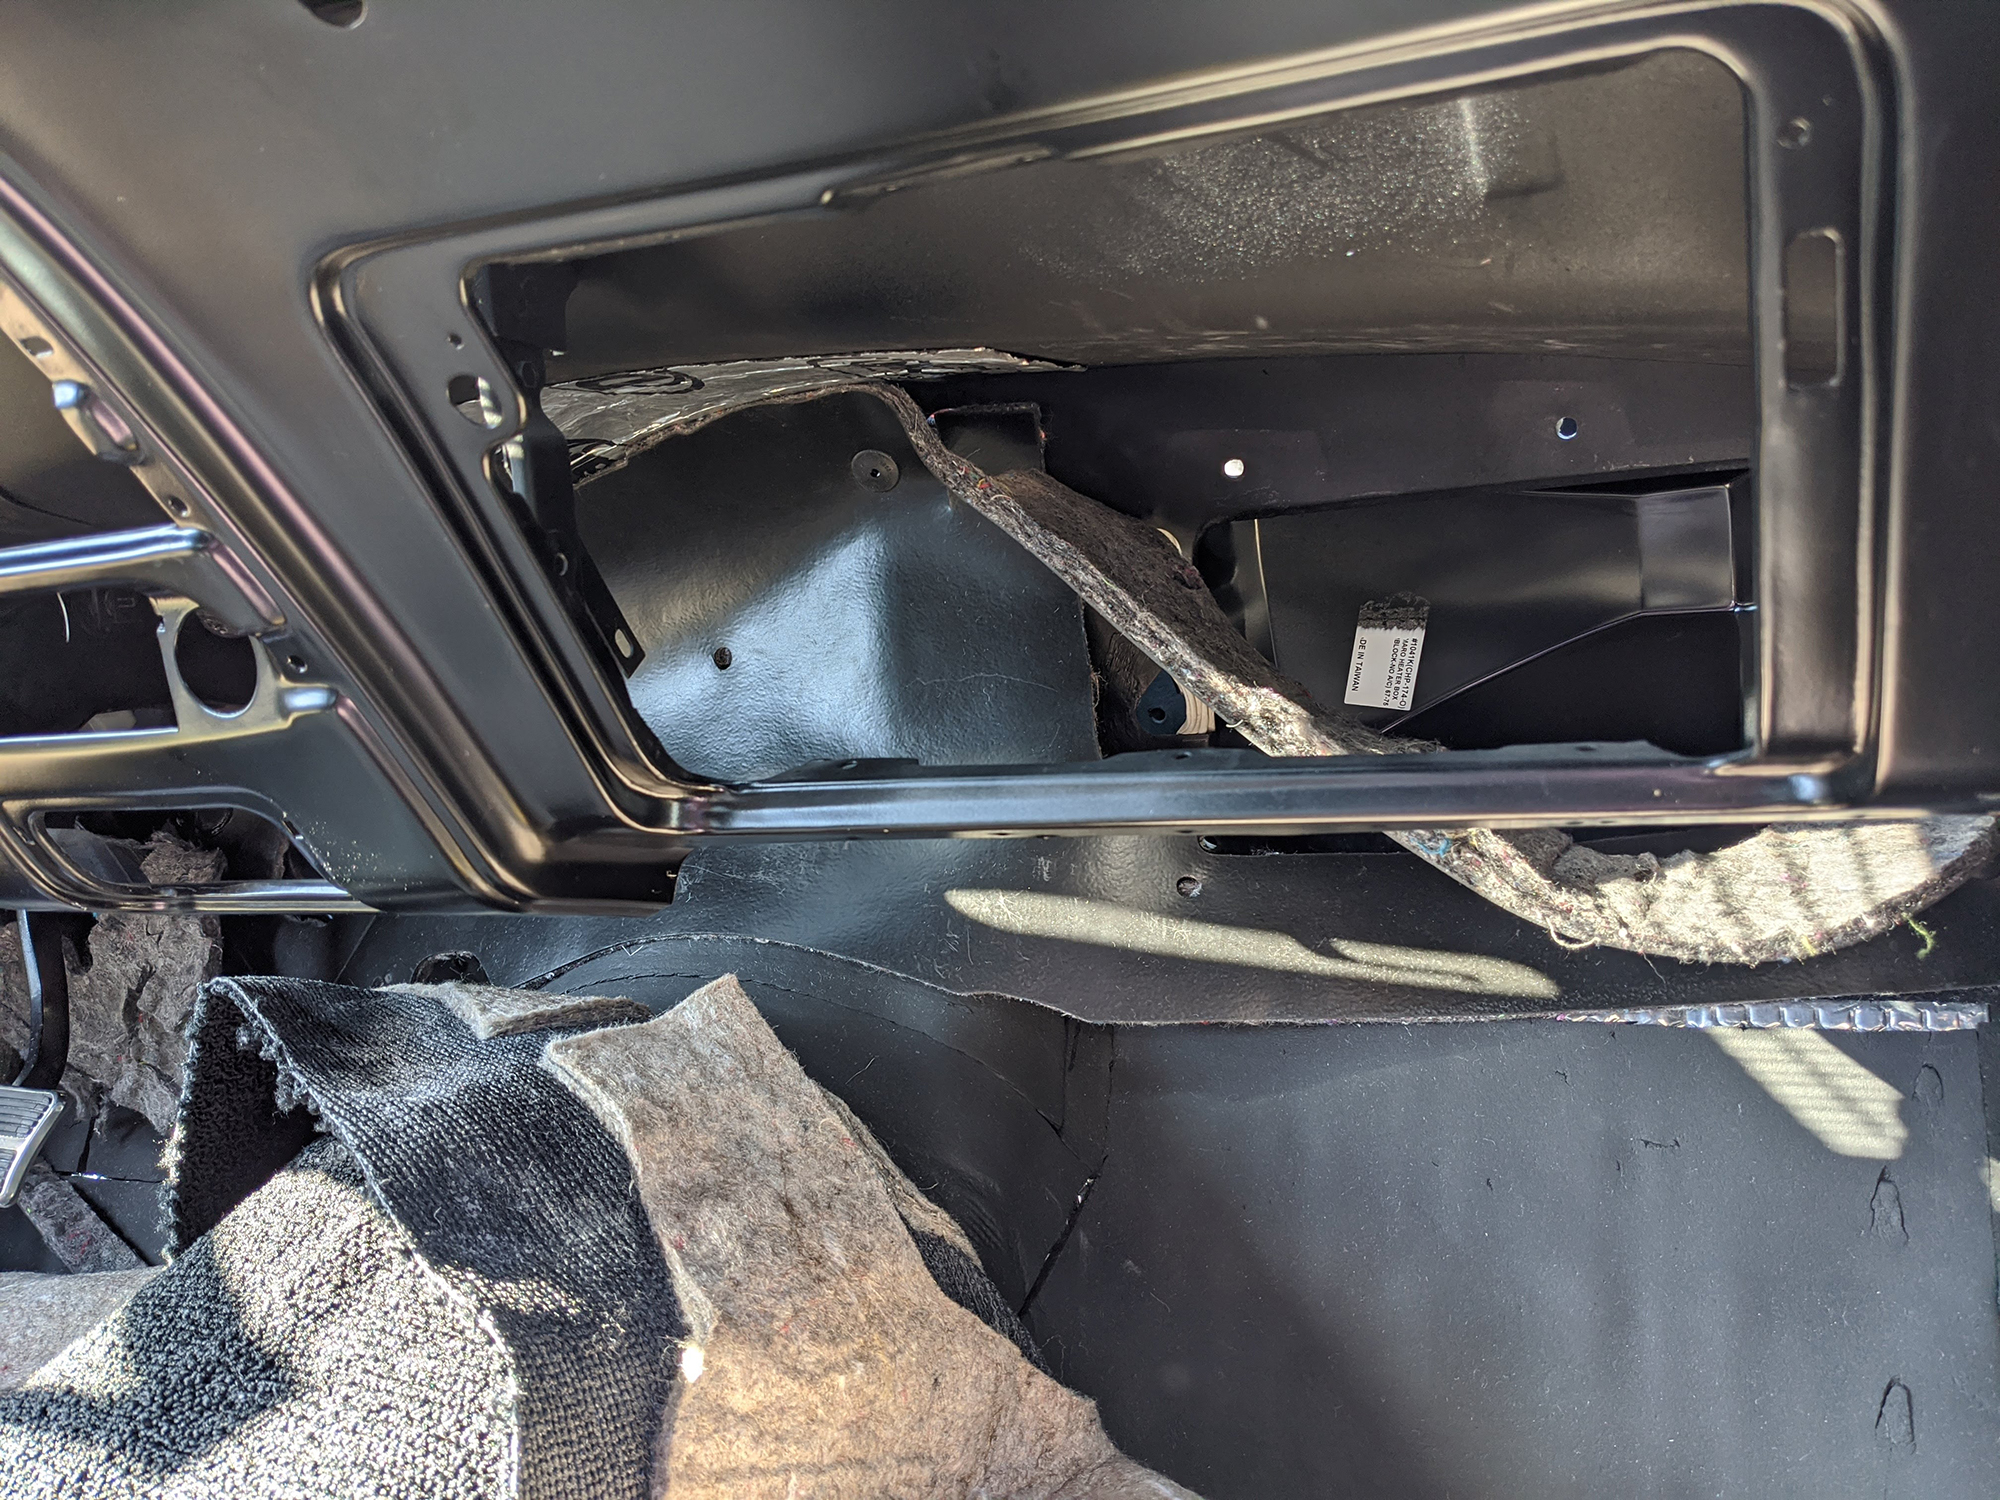
The firewall pad should be installed first as the heater pushed up against it on the inside. For the pad install almost everything has to be off the firewall.
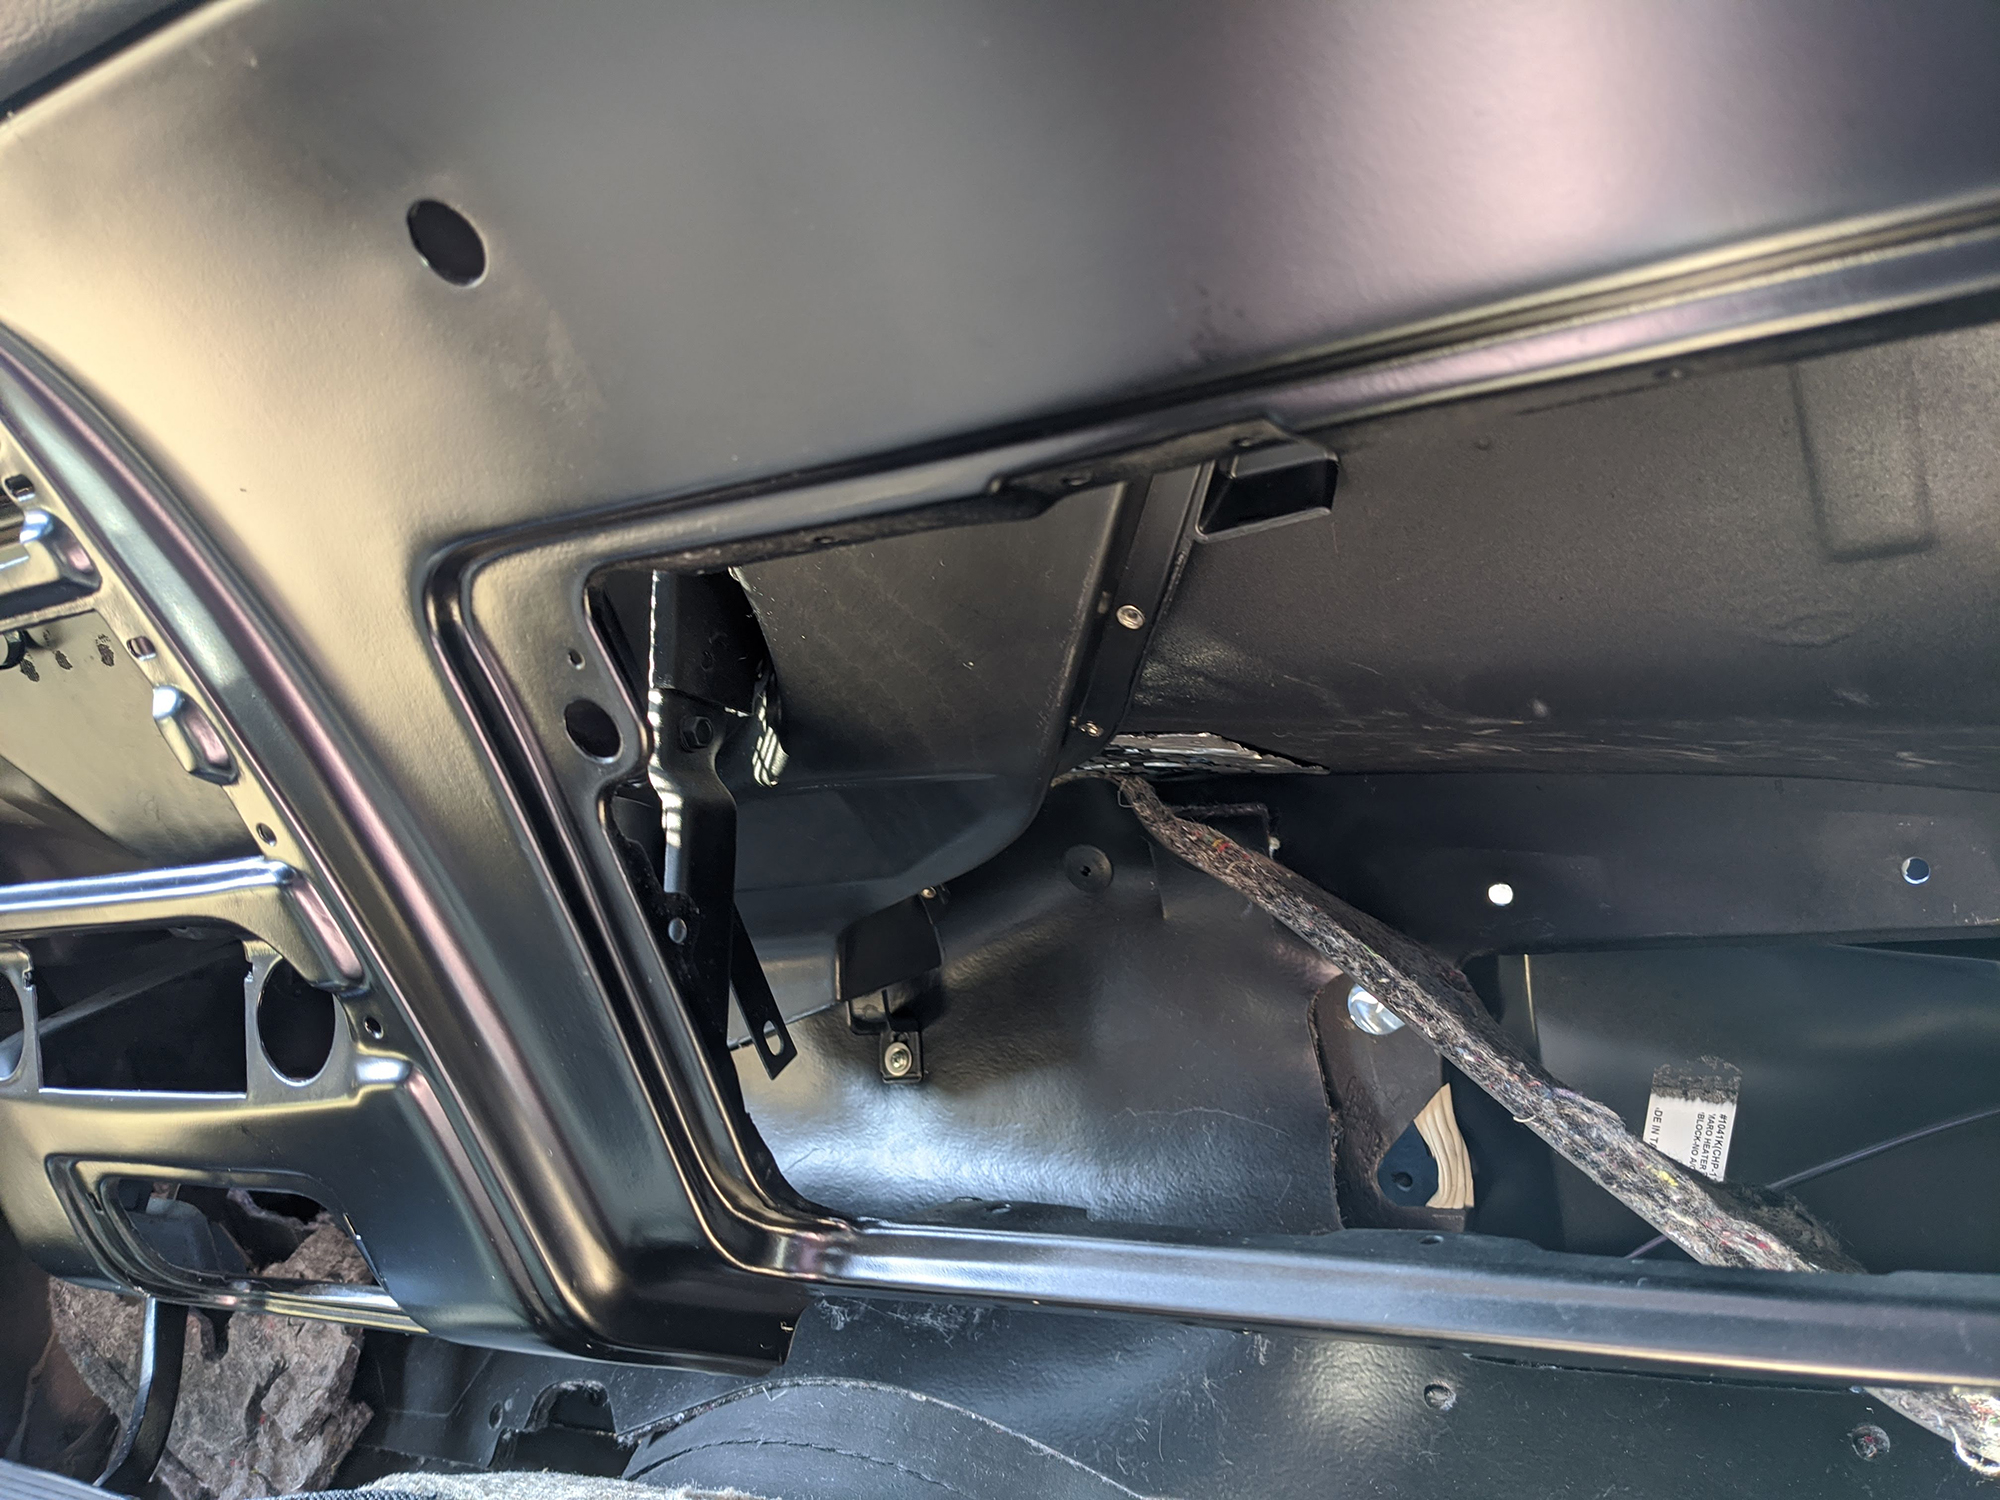
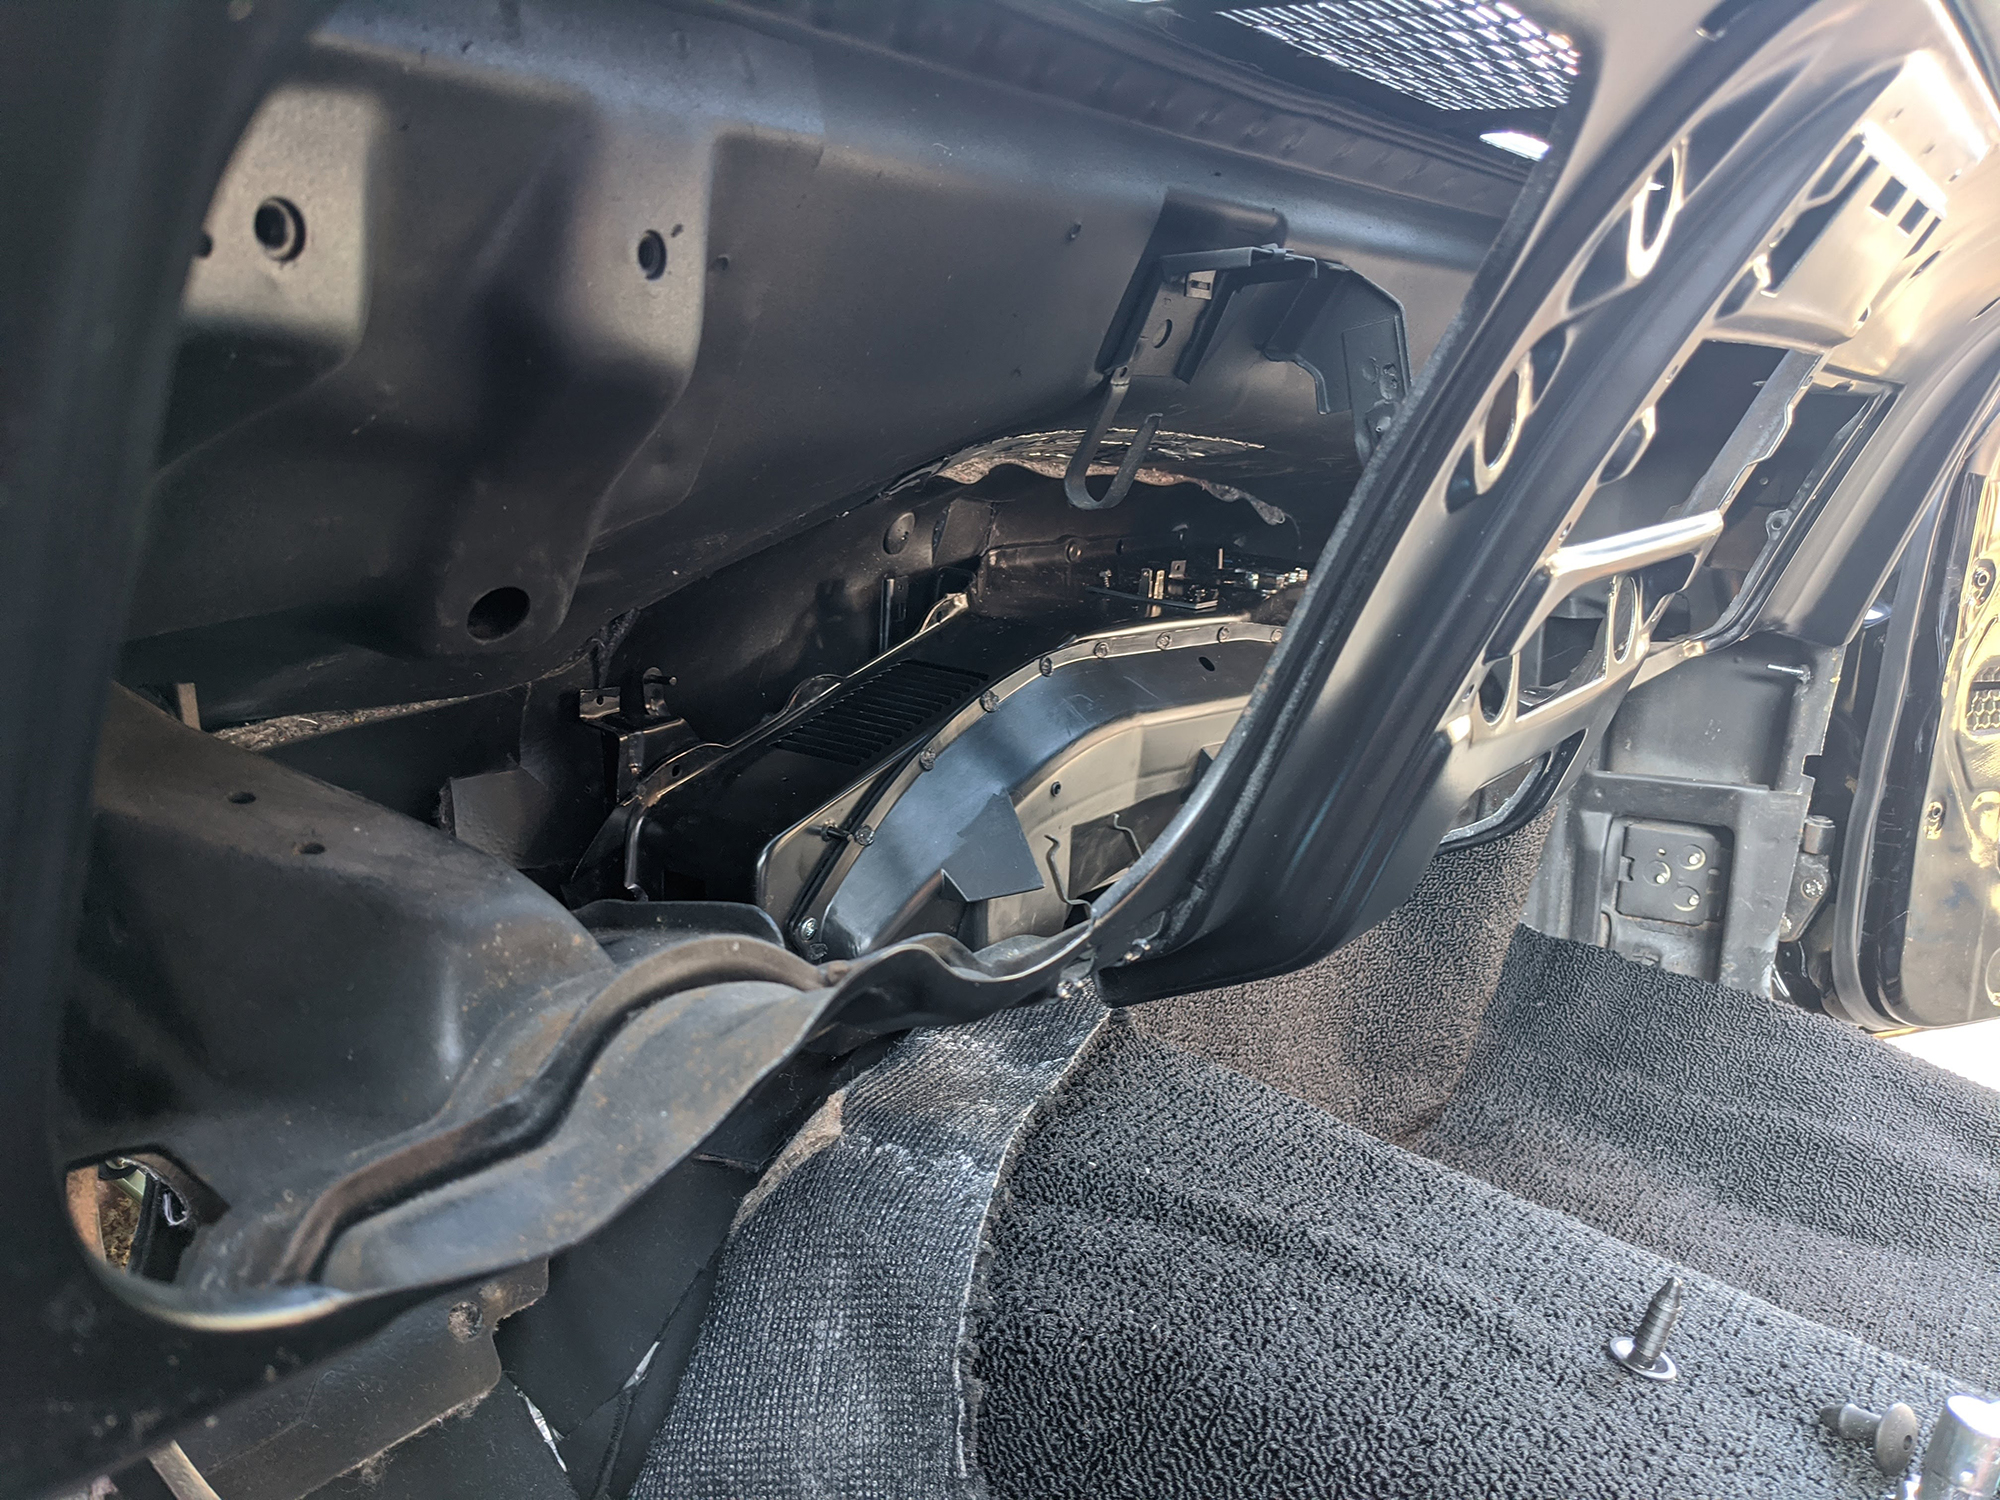
Then from the inside the box assembly can slide up under the dash and align the studs through the firewall pad and then the firewall holes.
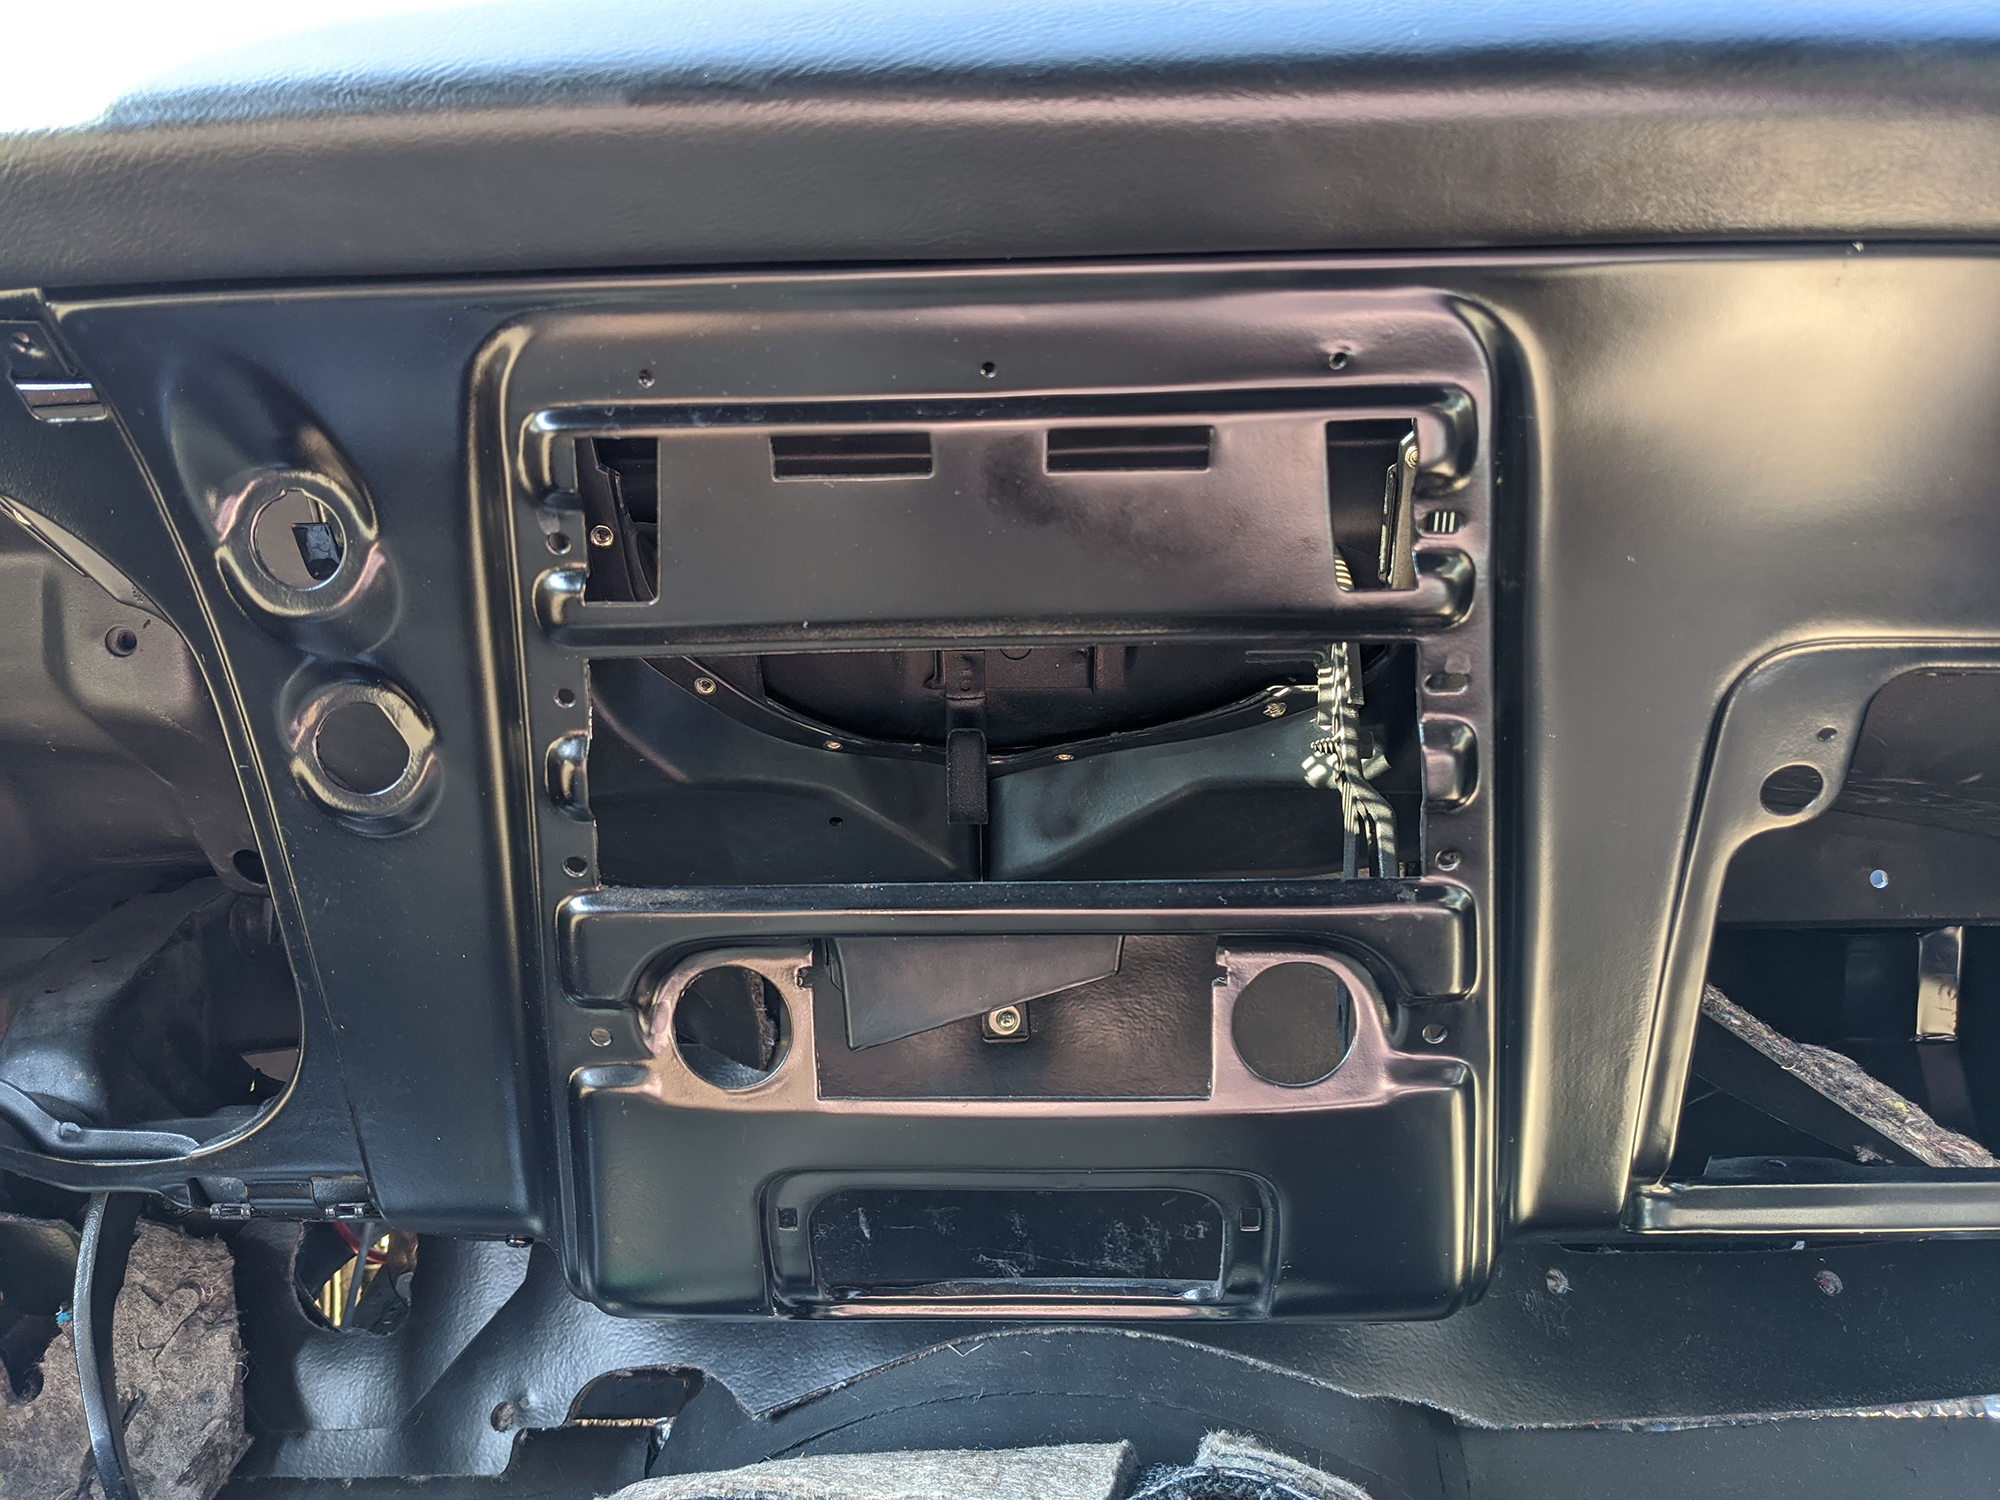
On the outside the cover and blower motor fit over the studs of the heater box poking through. New caulk keeps it water tight.
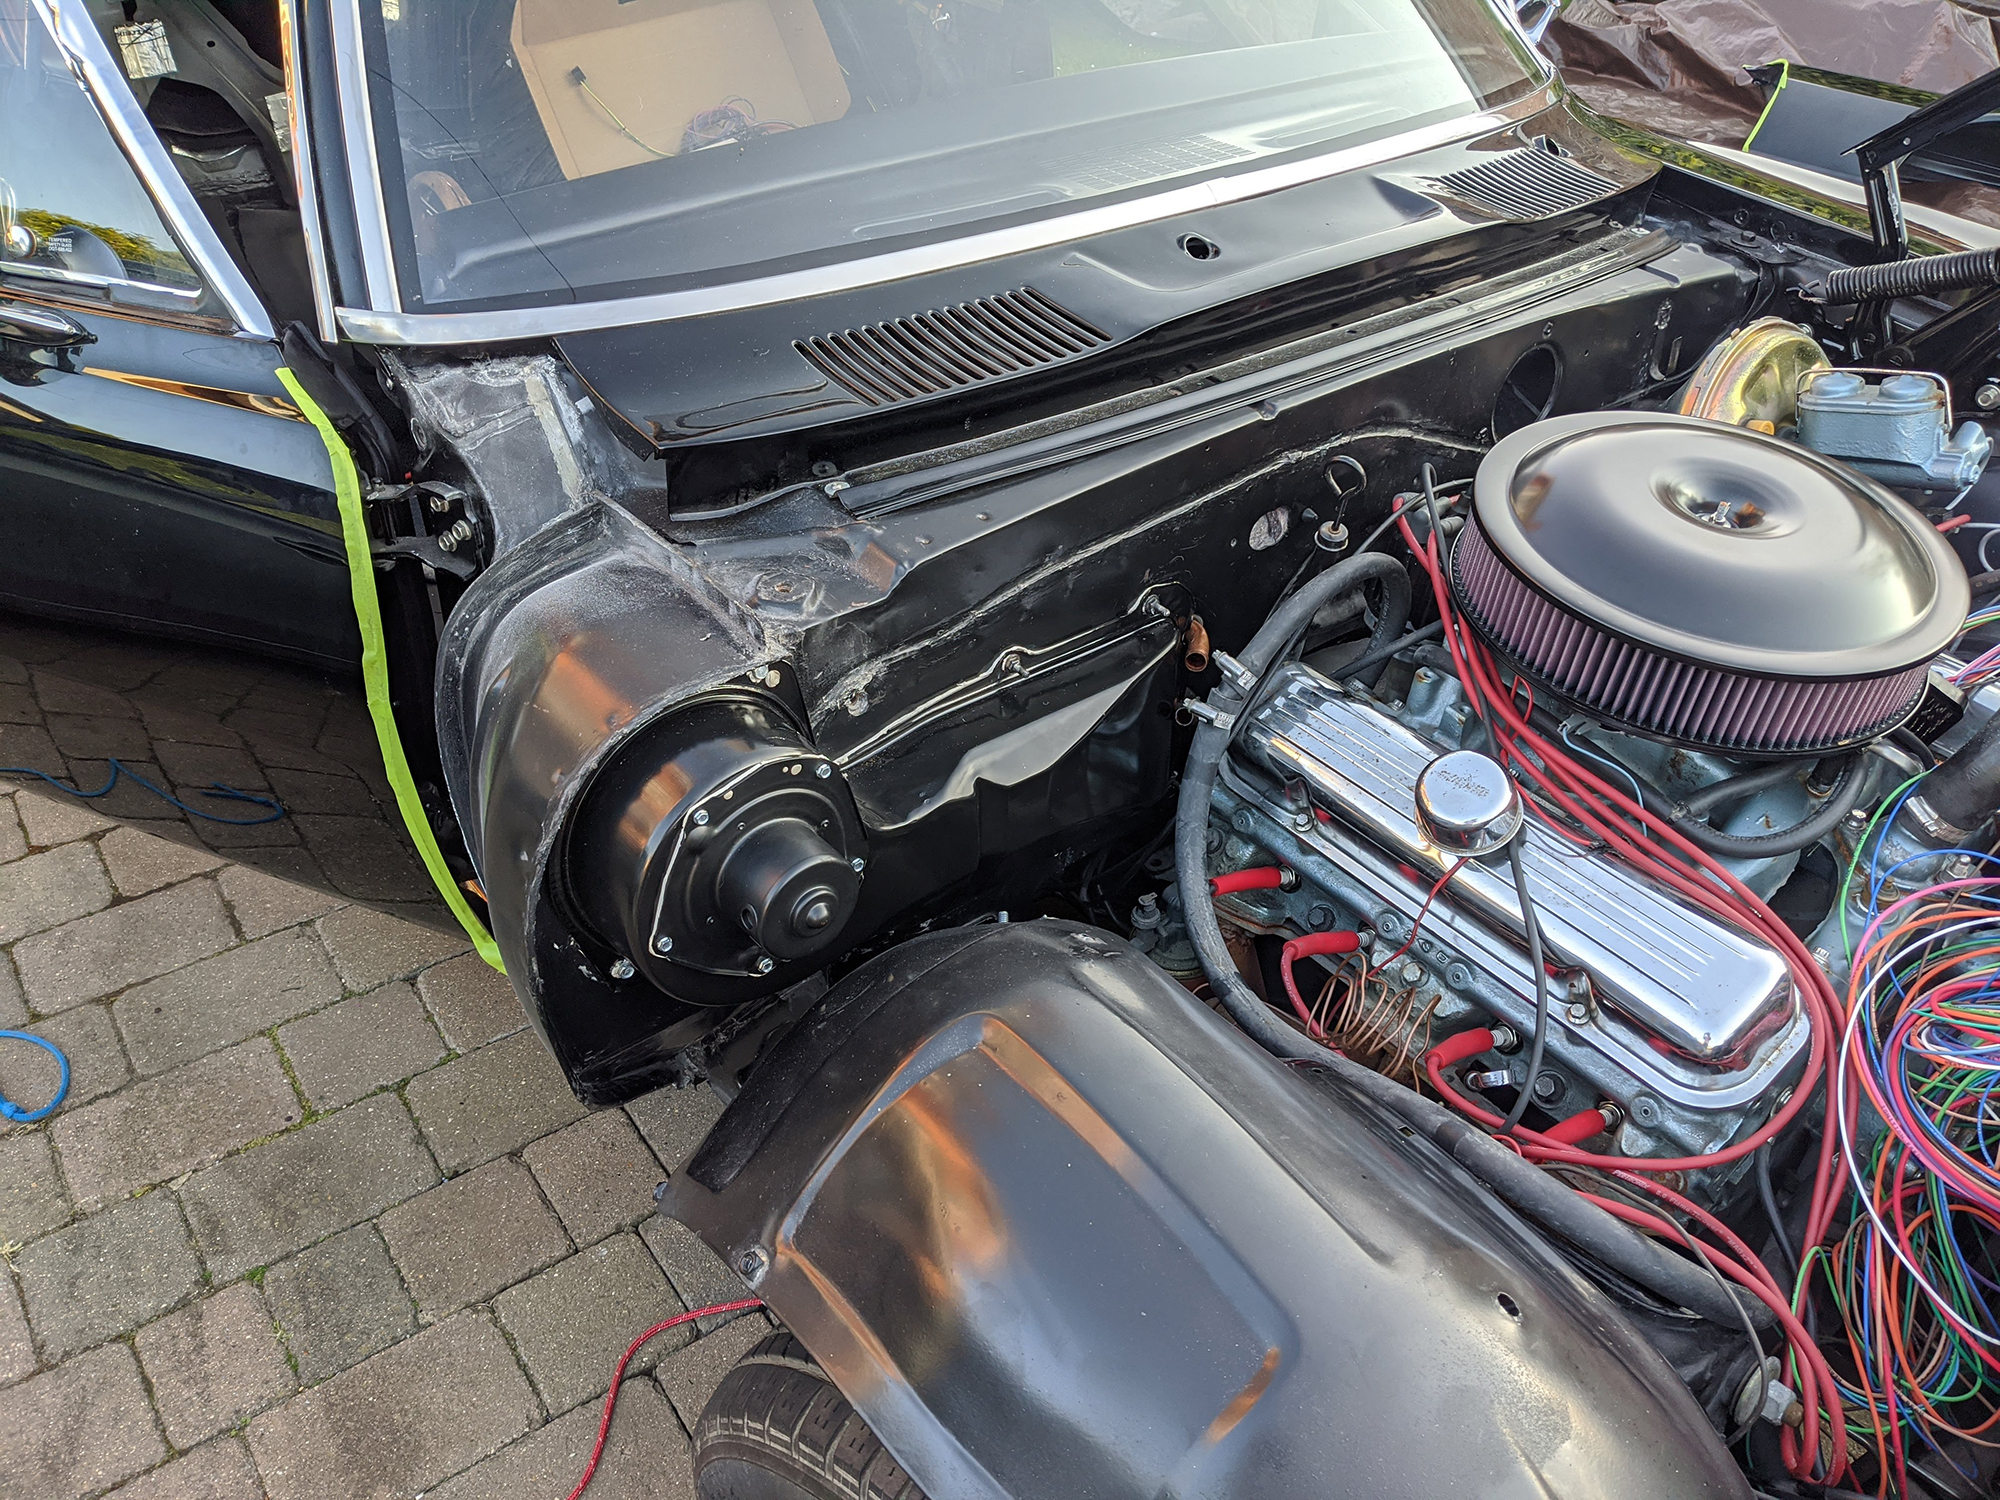
It will get hooked up to the engine later. Here’s hoping the pipes were damaged during the install. They were tested before hand.
The fender and hood can go back on now the heater is installed.
No comments yet.