Archive: 2020

Carpet fitting

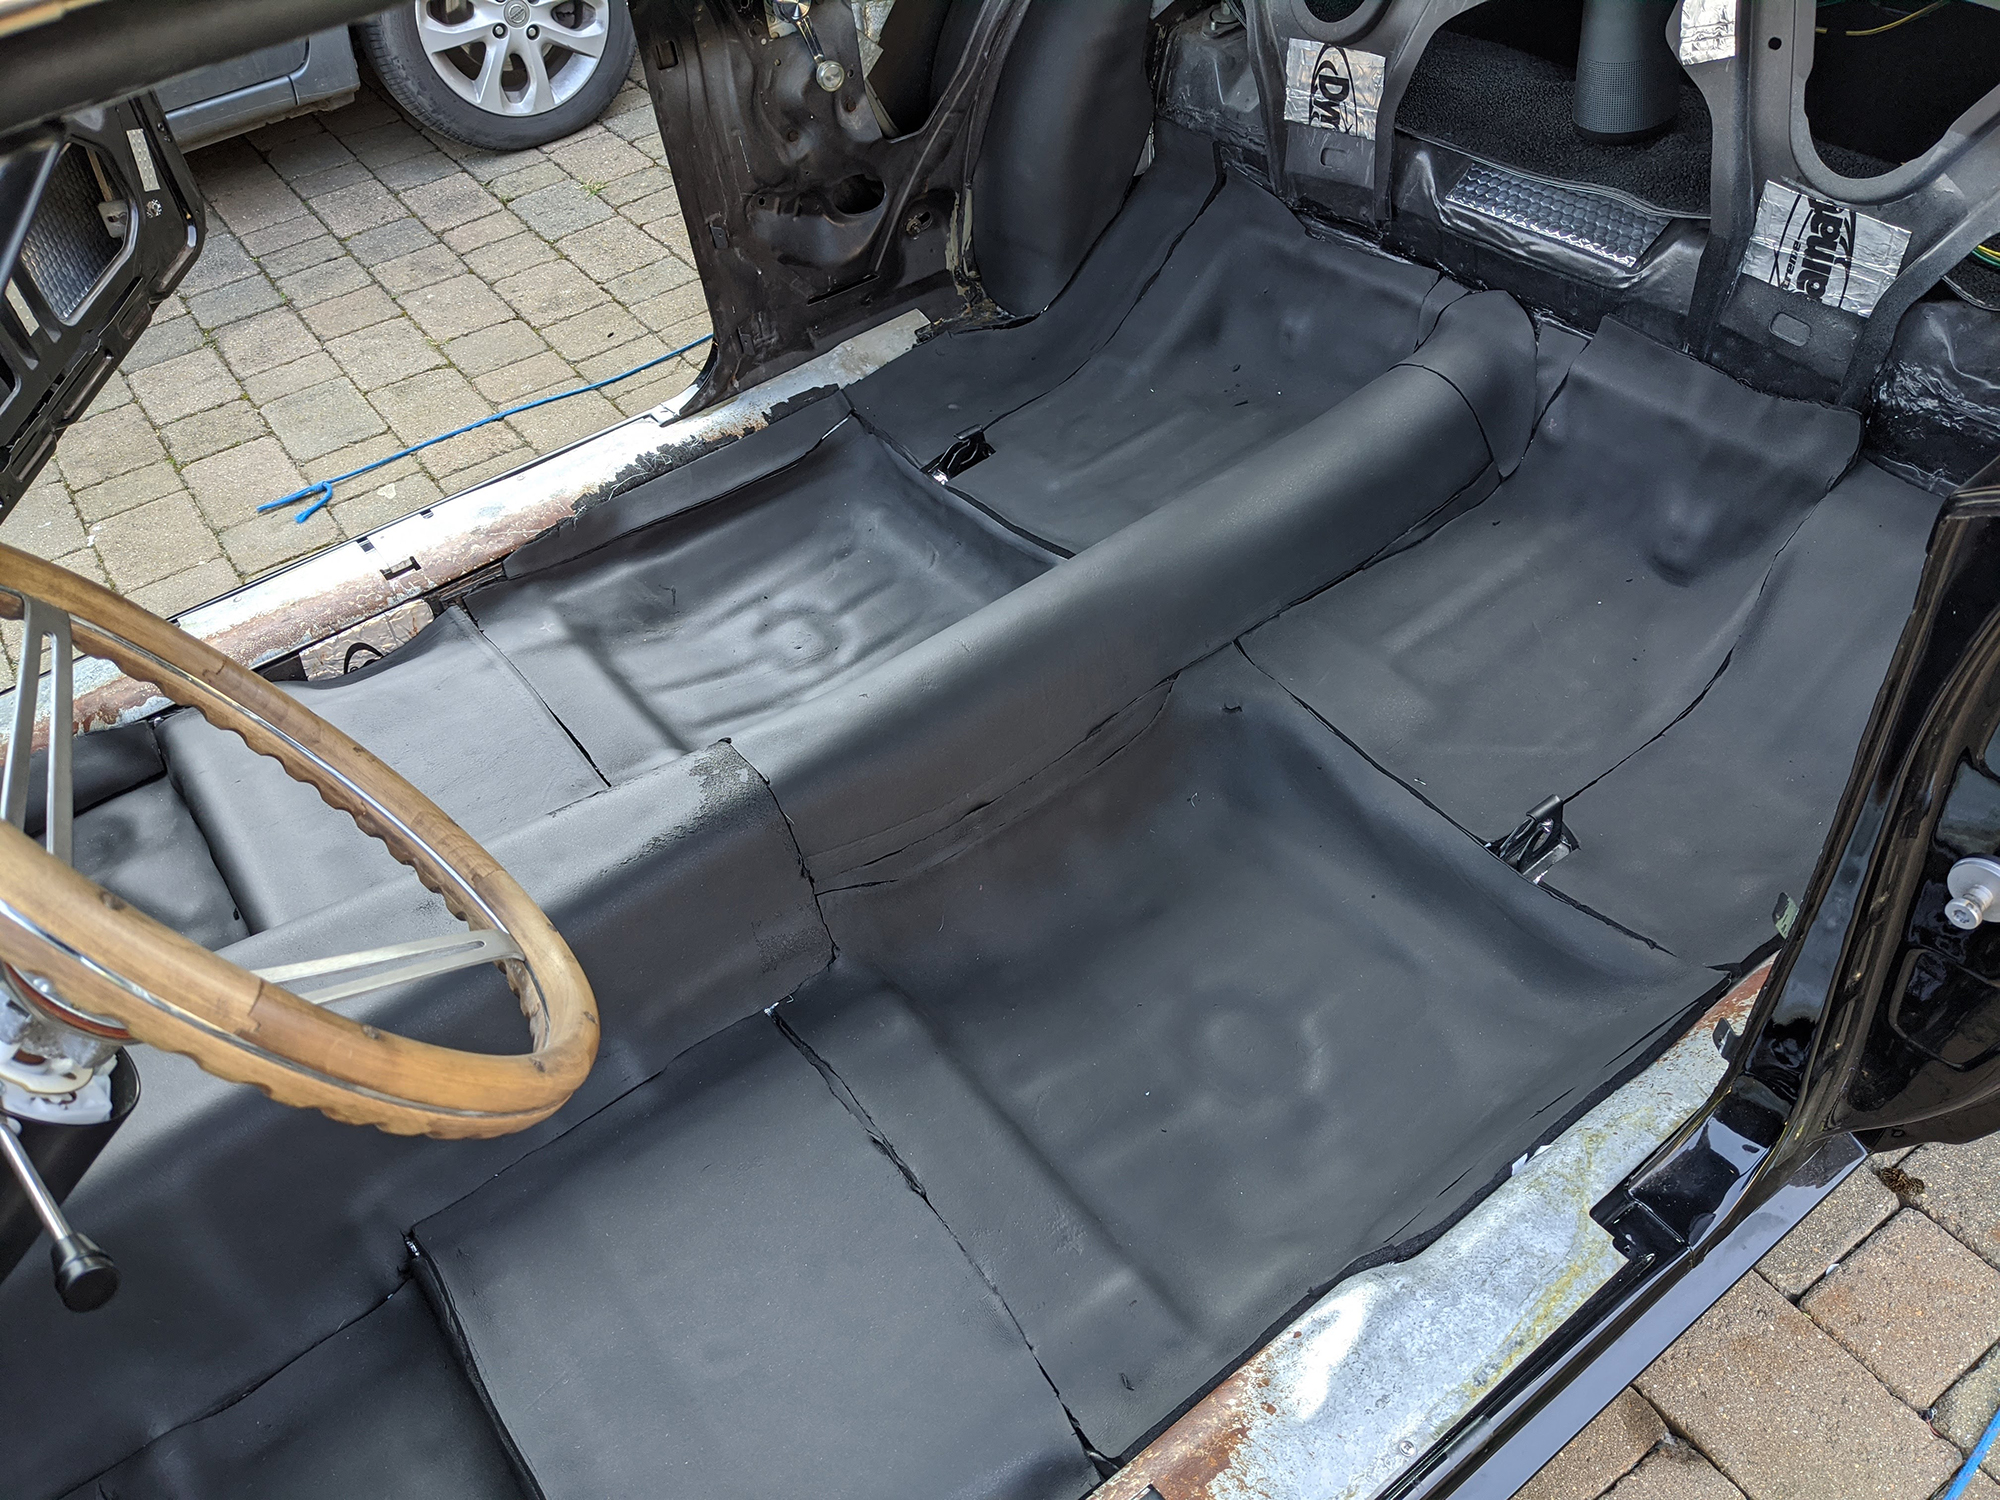
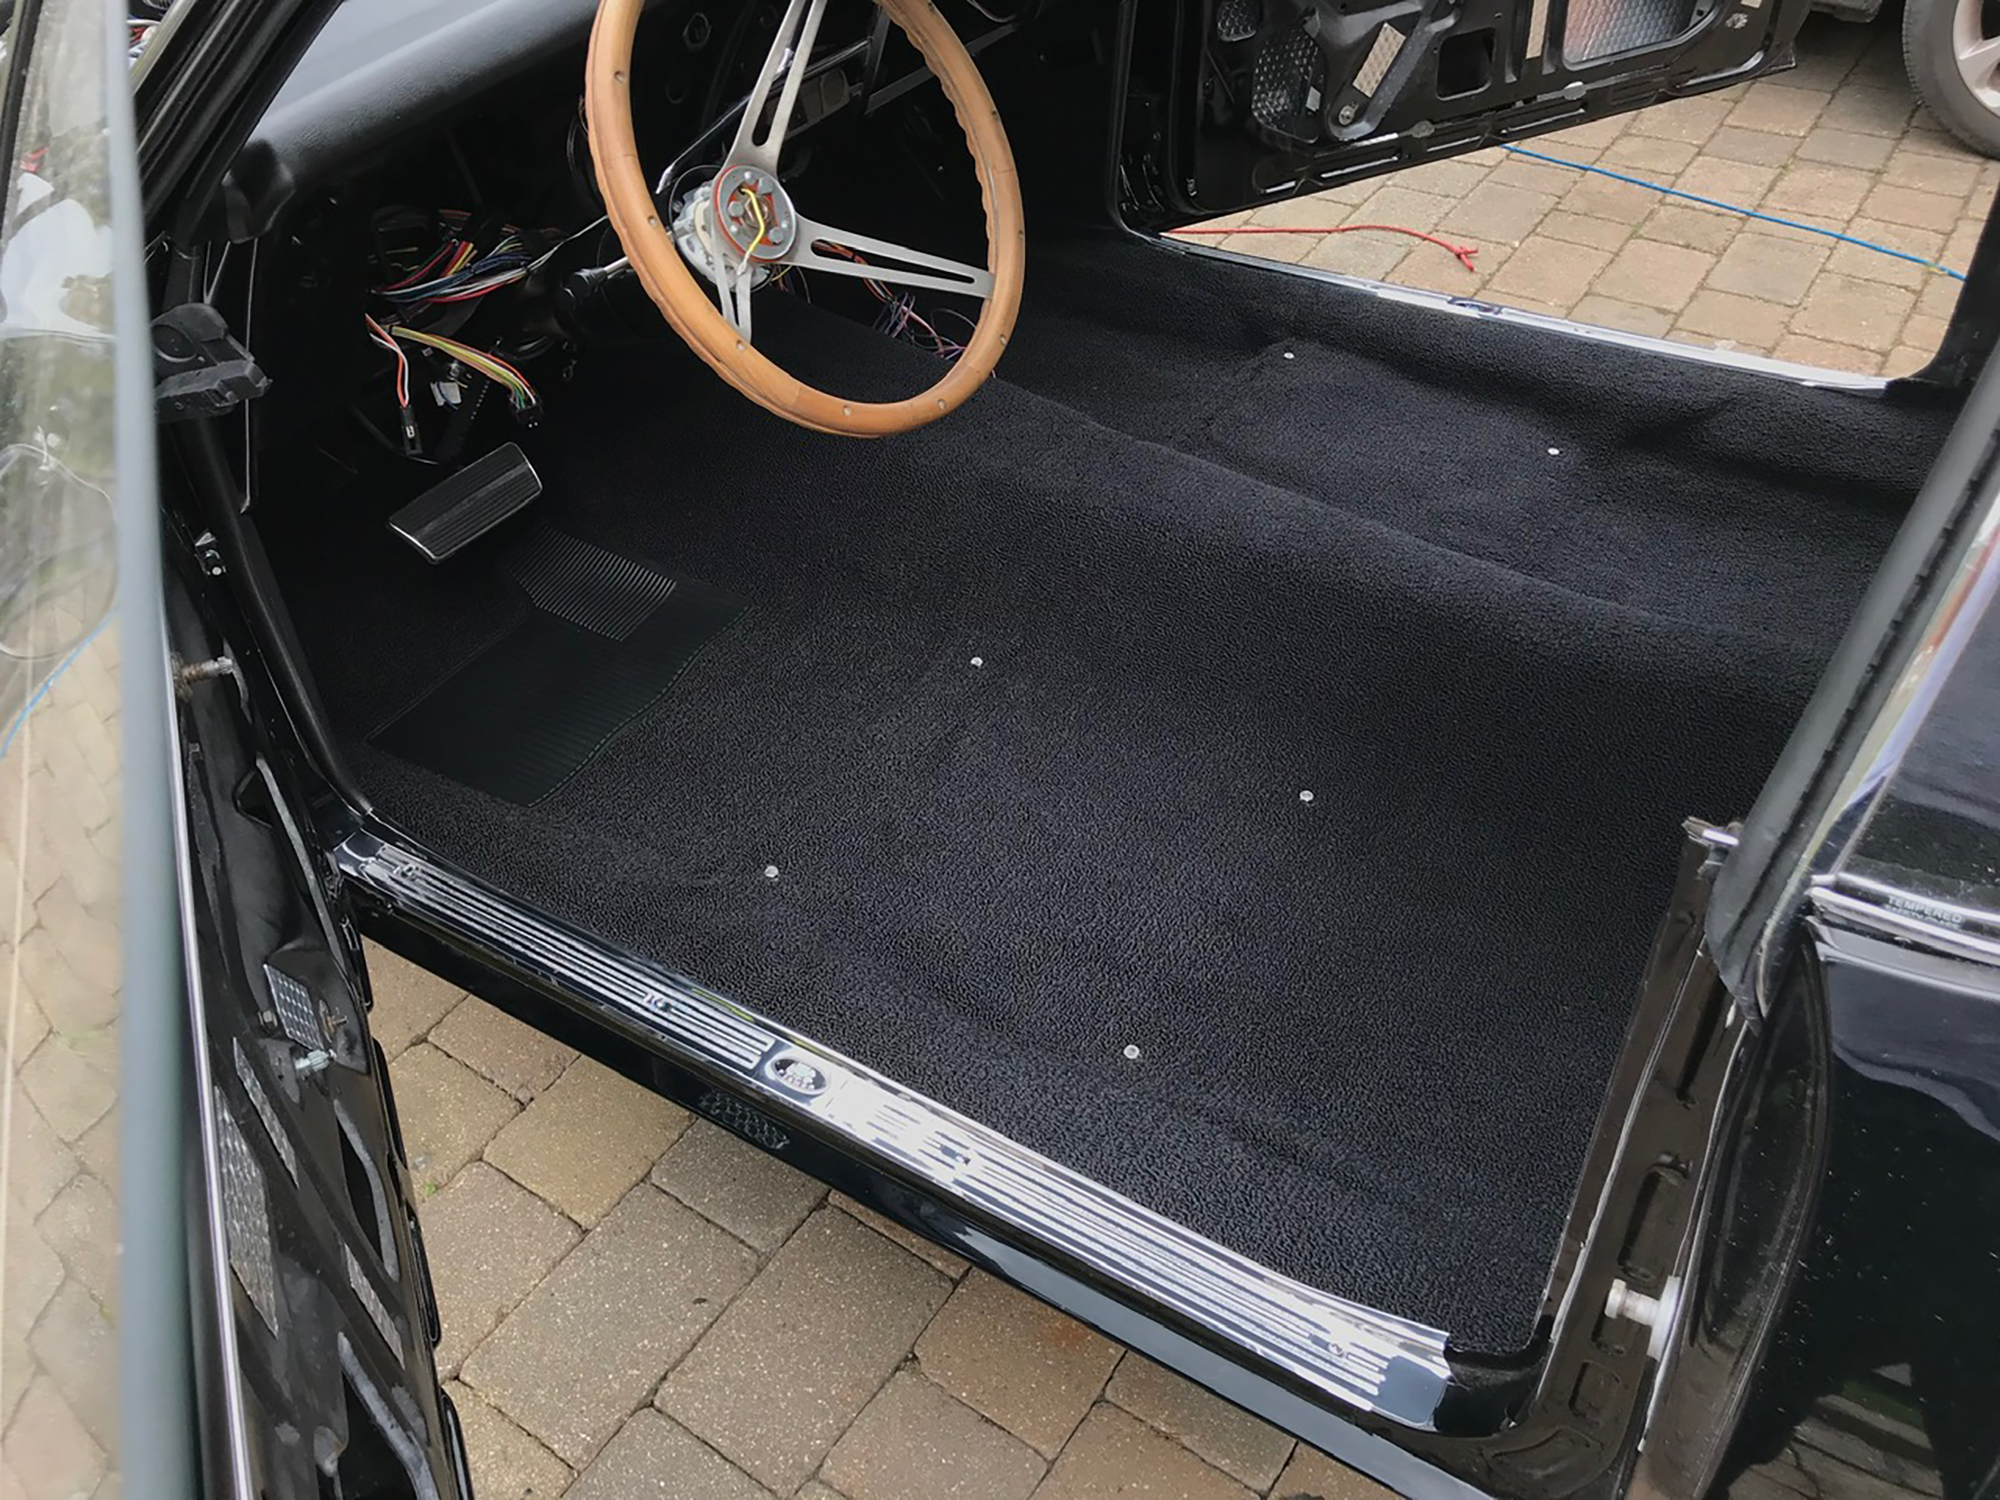
With the sound deadening underlay in, the wiring runs to the back of the car laid, and the kick panels in, the carpet can now be installed. It was a relatively pain-free process, I just took it slow and iterated cutting a little more each time.   
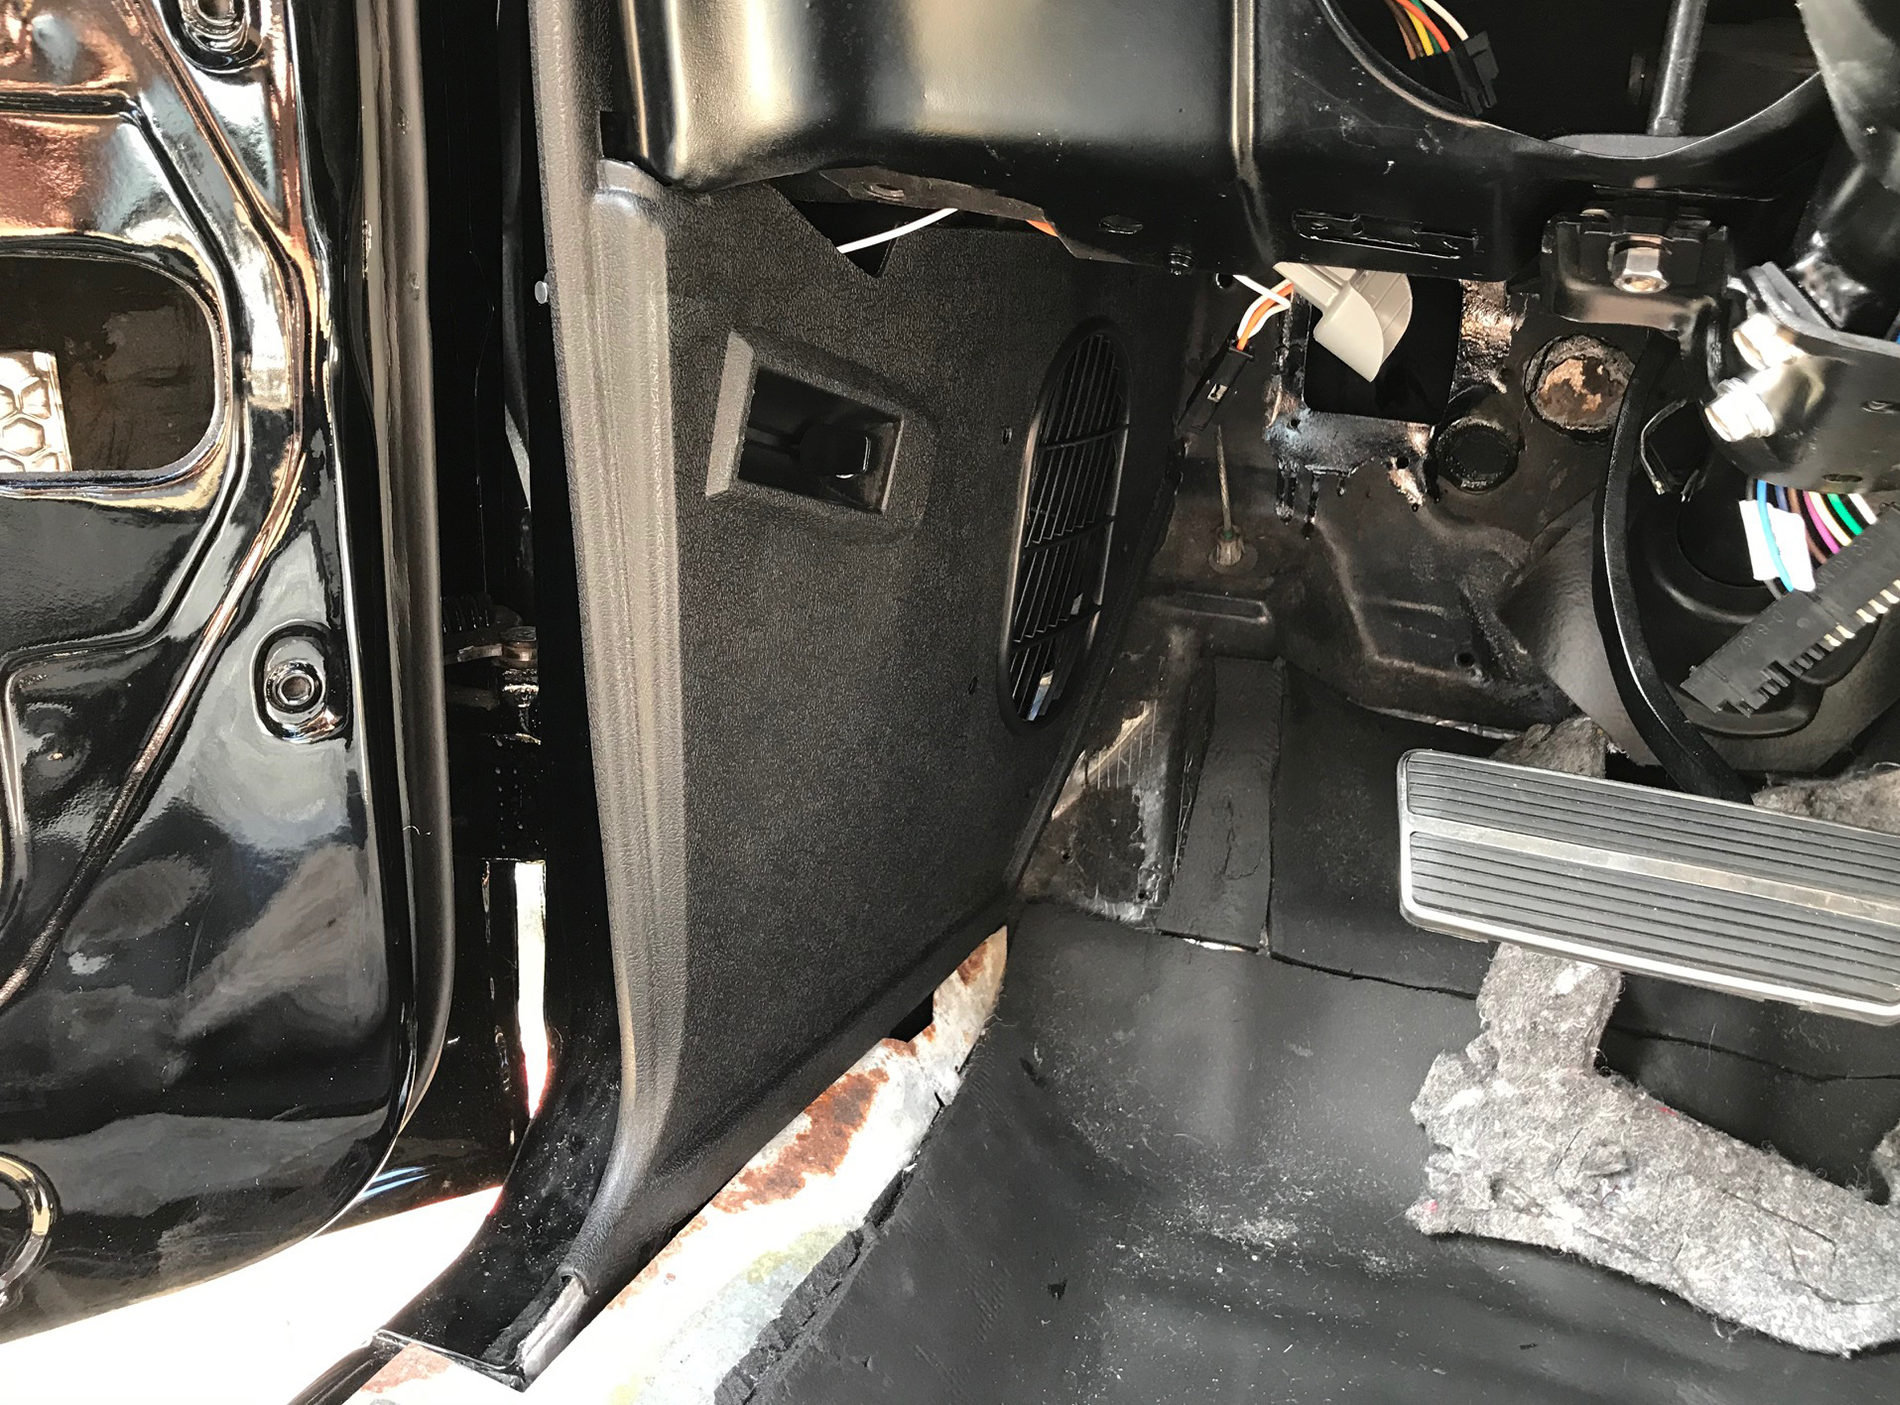
Here is the car and the carpet ready for fitting. Before putting the carpet in it’s a good idea to install all the…
Read the full post

Kick panels

I installed the kick panels today. I removed the fuse box, parking brake and the dimmer switch for this but left the heater box in place. I installed the door jamb switches before the kick panels, and I also ran the wiring loom to the back lights along the driver side, as well as running speaker and antenna wire along the passenger side. Considering people say these Firebirds/Camaros were built…
Read the full post

Trunk carpet

Installation of the moulded trunk carpet.   First the sheet metal is lined with foil-backed butyl pads to reduce vibrations Next the foil is covered with a layer of high density foam to reduce sound further Finally the carpet simply sits on top.…
Read the full post

Heater install

How I installed the complete heater and blower motor assembly (non-AC).   Unfortunately the restored original heater box and blower motor assembly was lost at the paint shop, but the repro one is practically identical. After a few failed attempts I managed to find a new radiator core that will fit. It’s deeper than the original but the pipes are in the right place at the right angles, so it’ll…
Read the full post

Sound deadener and carpet underlay

Got round to finishing the sound deadening.   I used a layer of foil backed butyl (dynamat or dodo mat) on the painted metal to reduce vibrations…   … and then a layer of foam on top of that to reduce sound… … on top of this the carpet can be laid…   … I still need to trim the edges to install it properly, secured under the kick panels,…
Read the full post