
The window glass was installed – I reused almost all of the original mechanisms, apart from the front vent window because it had rusted through.
-
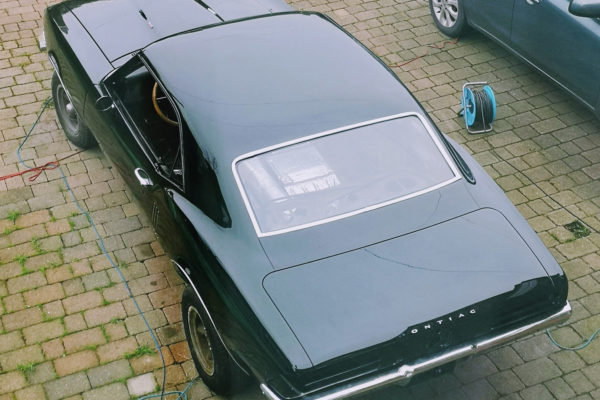
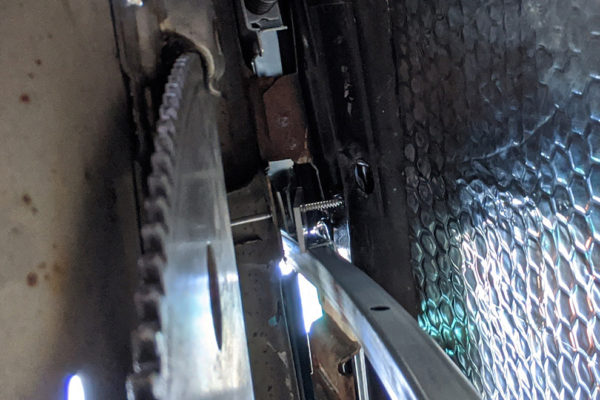
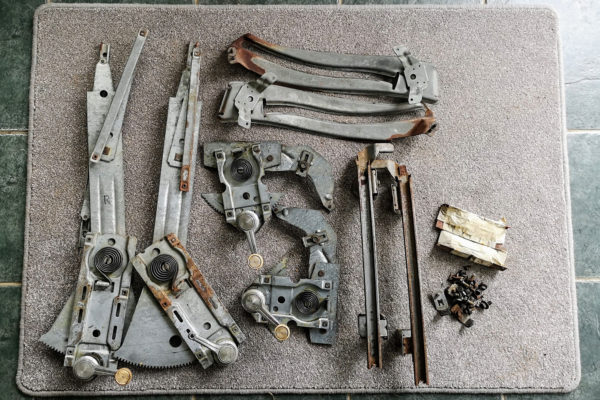
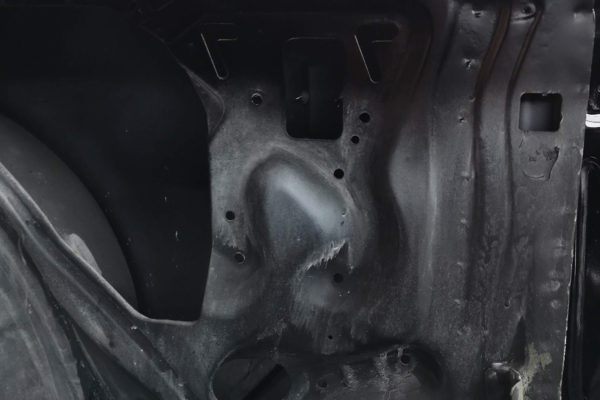
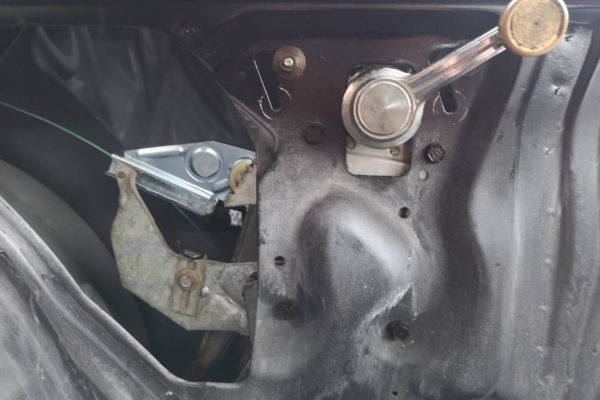
- This is the last picture I have before the windows went in
First, vent window went in. This was a bit tricky to manoeuvre into place without scratching the paint, the trick was to rotate it 90 degree then when half win in rotate it back to normal, some other rotations got it into the final position. Unfortunately I lost most of the pictures of this.
-
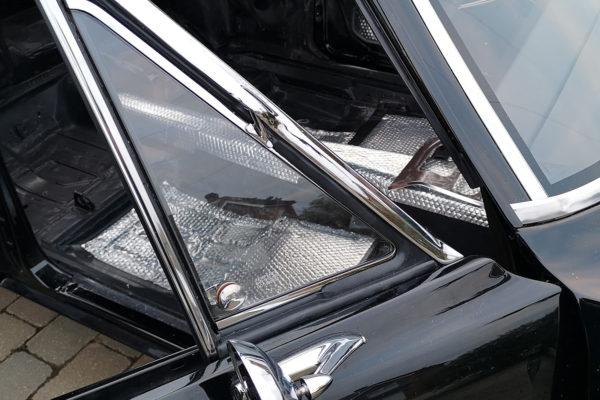
- Vent window in
-
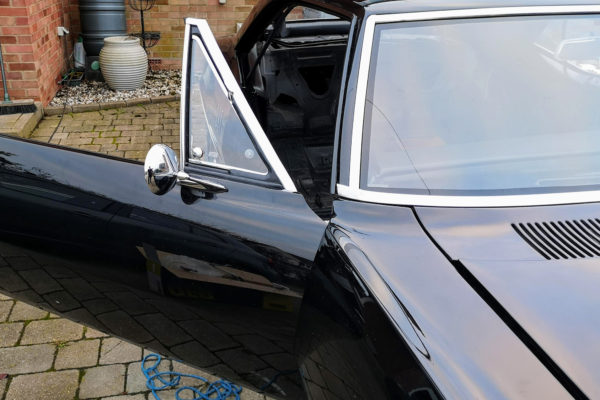
- Vent window in
-

- Vent window in
-
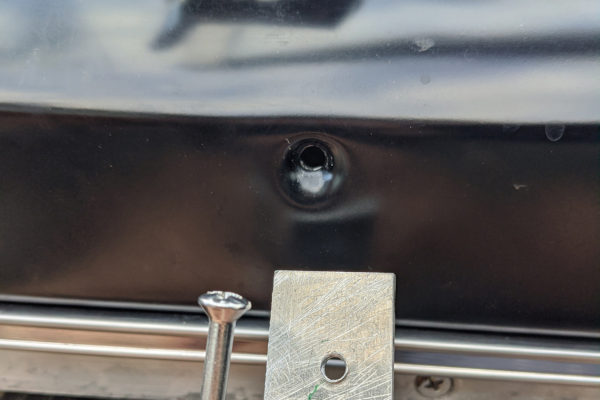
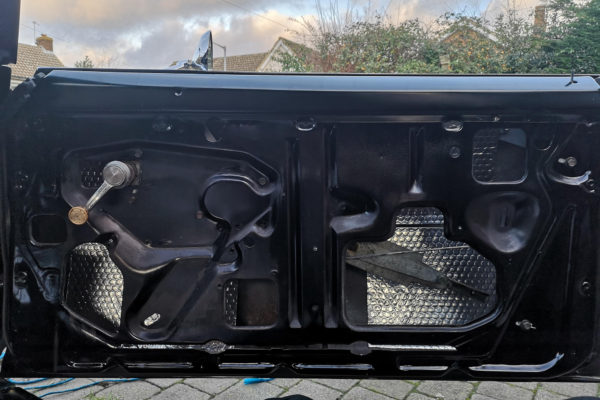
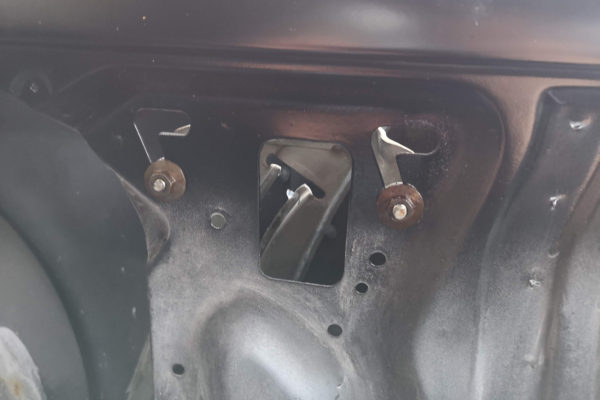
- The driver side vent window would not screw in on the screw that goes through the top section of the door. I didn’t find this out until after the windows were aligned! So I had to come up with a bodge to secure it. This works well, acting like a clamp pulling the back side of the vent window up against the door, liek the screw hole should’ve done.
-
- You can see the bodge in the middle, the screw is threaded all the way through
These are the original door and quarter mechanisms. I just cleaned them up and re-greased them.
-
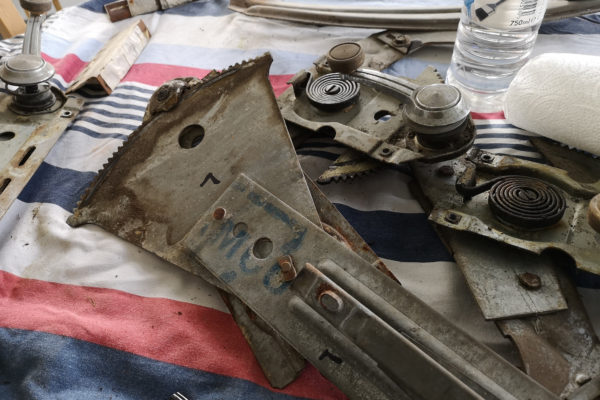
- Dirty mechanism
-
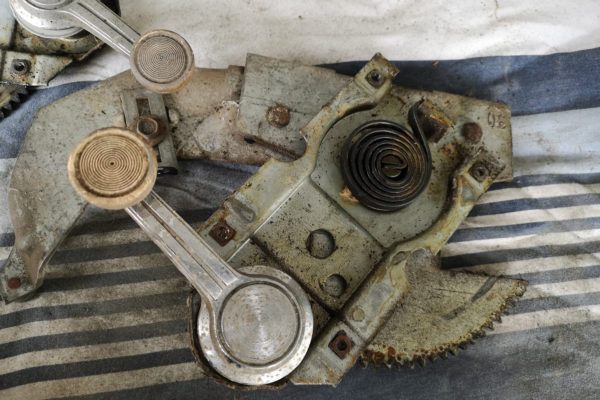
- Dirty mechanism
-
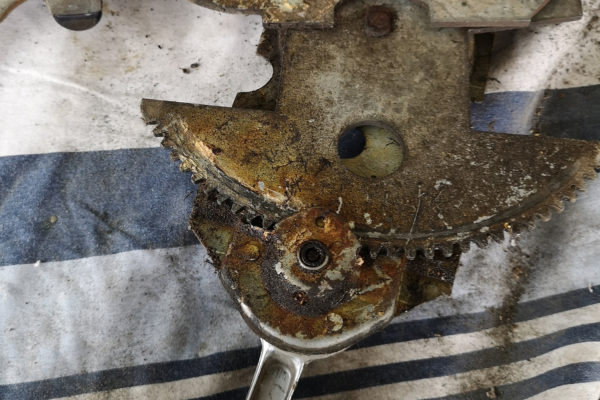
- Dirty mechanism
-
- All cleaned
Next the door window mechanism was installed into the door. The door glass was fit into the channel and the assembly then mounted to the mechanism.
-
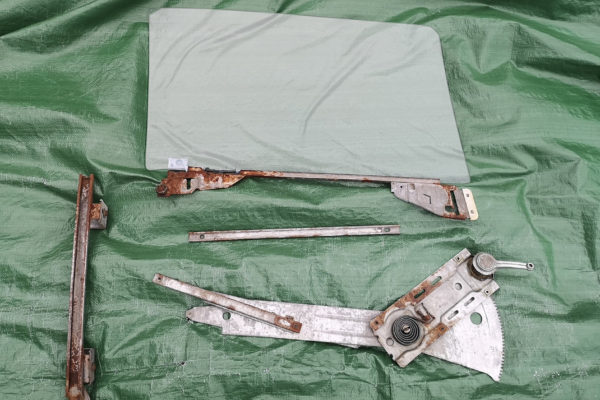
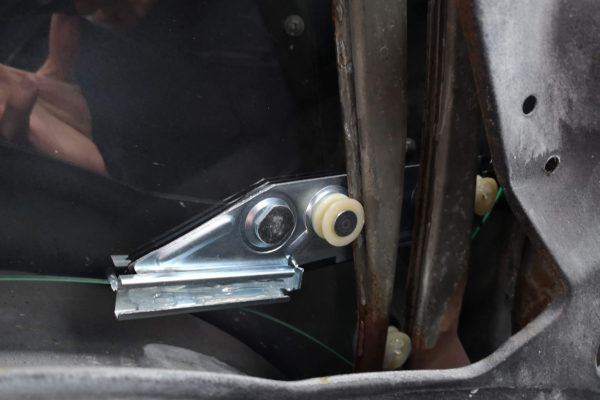
- The glass assembly, the channel and the mechanism. The white plastic part on the glass assembly run throught the vent window channel, the runner at the back runs through the channel on the left of the image which gets bolted to the door frame
-
- The mechanism and the channel have been installed
Finally the quarter glass and mechanism went in. First the channel, then the mechanism and finally the glass.
-
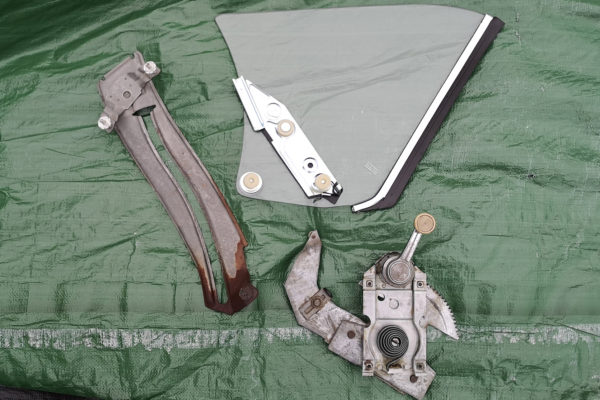
- The quarter glass, the channel and the mechanism
-
- The empty window location
-
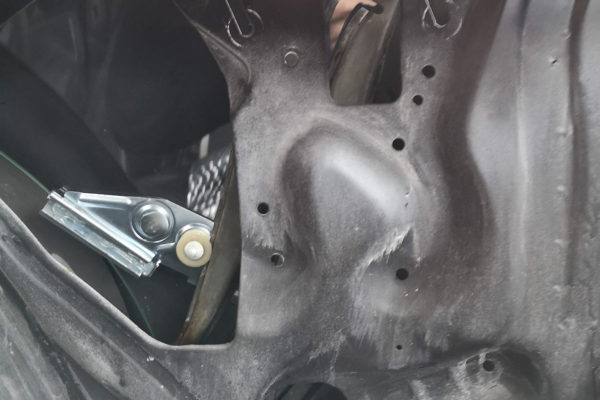
- The channel in position, note where the screws are in the ‘7’s
-
- Thwe glass is slid through the window gap and the runners are mated to the channel
-
- The assembly is moved and up and out a bit – note the position of the screws in the ‘7’s
-
- The mechanism installed and attached to the glass
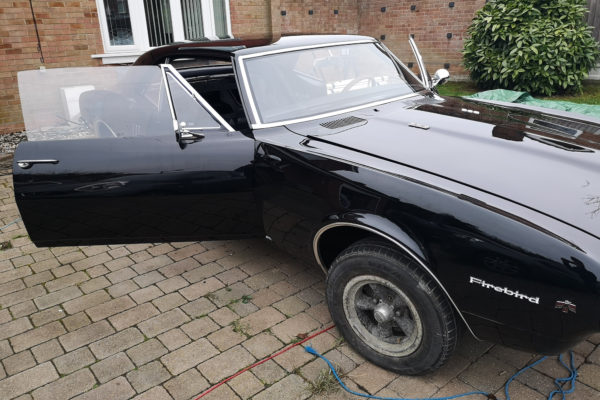
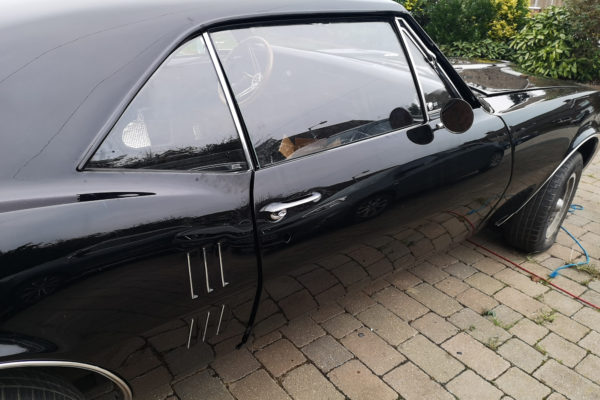
Alignment still needs to be done, for now these are just roughed into place. Here are some pictures of how it’s looking
No comments yet.