
Today I got the windscreen wipers, the wiper linkage, the wiper motor and washer pump installed.
-
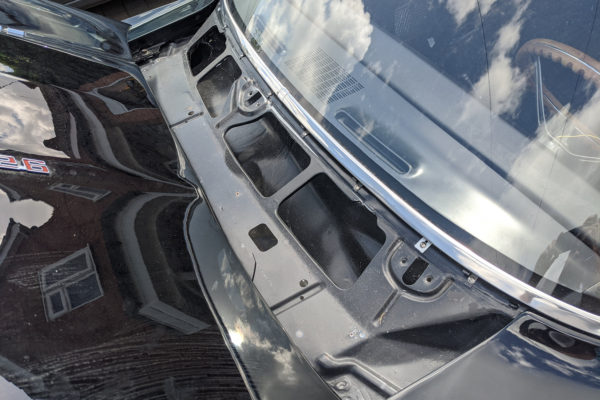
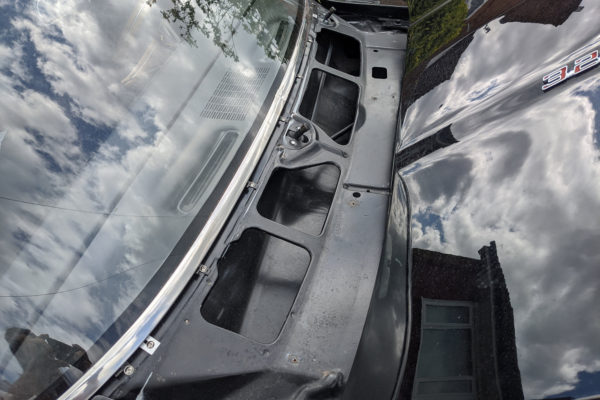
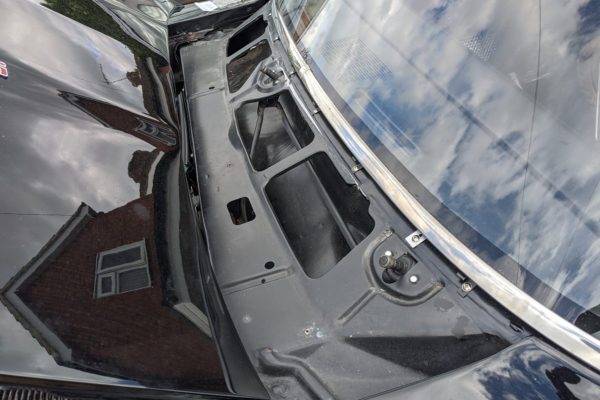
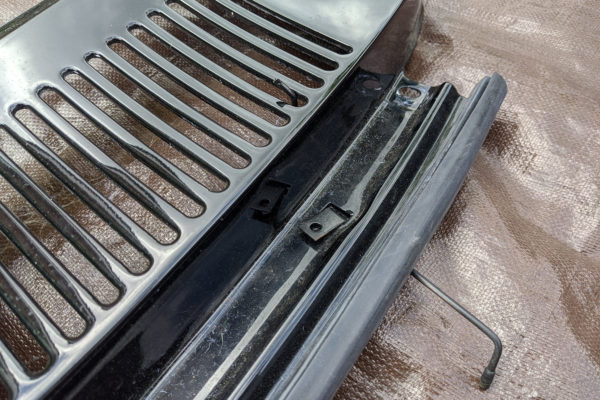
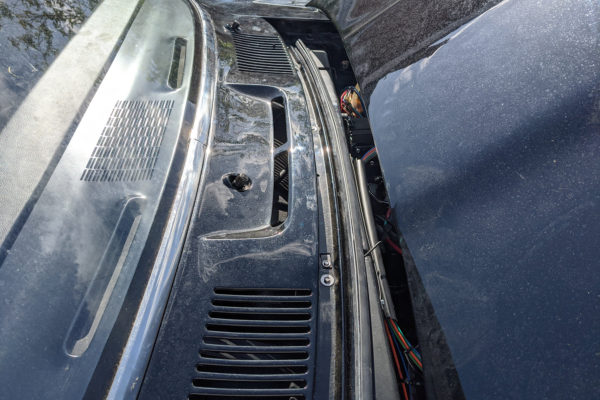
- Removed the cowl panel to access all the wiper mount points
First the washer pump was mounted to the wiper motor. The replacement looked a little different to the original, but it works fine. I had to remove the plastic cover to find a second mounting point on this wiper motor. I reused the original connecting linkage
-
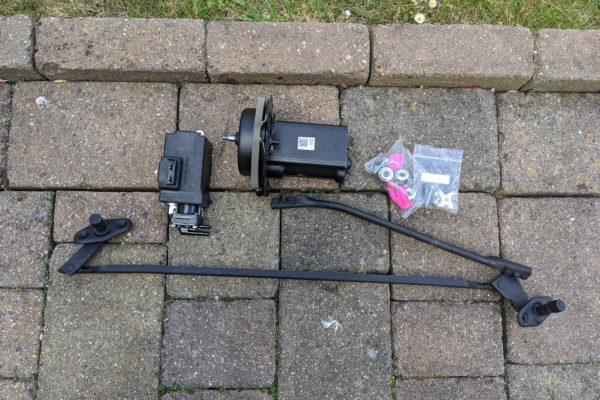
- The new wiper and washer pump. The old linkage.
-
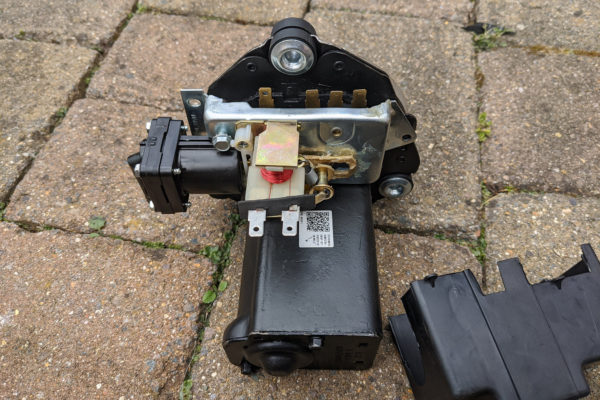
- Mounting the washer pump to the wiper motor
-
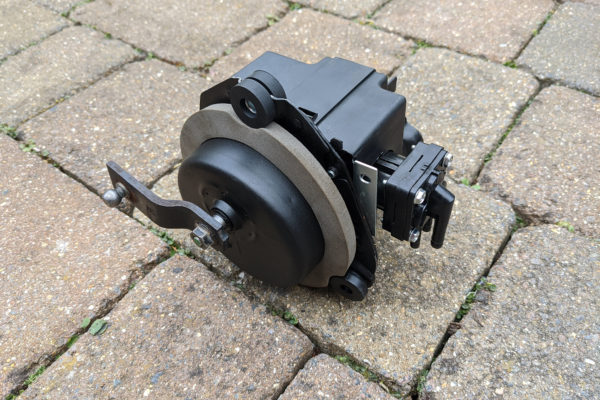
- The back of the wiper motor with new seal and reusing the old connector link
The original mounting points on the car was shot. The previous bolts had rusted themselves in pretty good so had to be drilled out. It seems I didn’t finish that job 10 years ago so I finished it today. I enlarged the holes and used a new locking nut on the back.
-
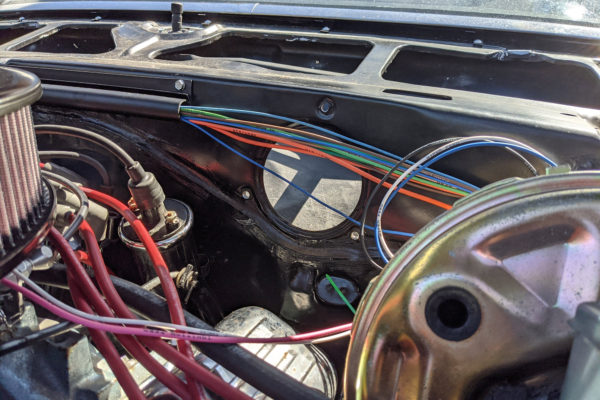
- The hole for the wiper motor. All three mounting nuts were in bad shape so had to be drilled out
-
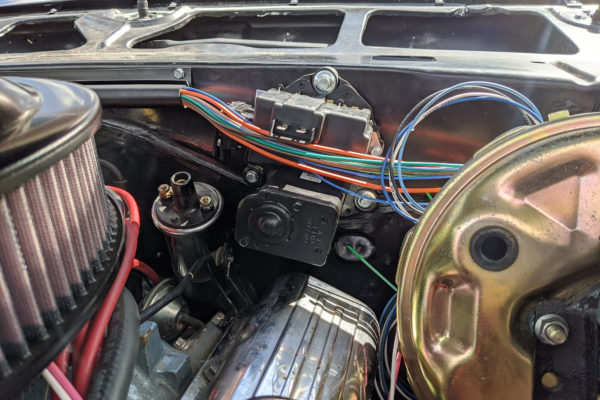
- The wiper motor and washer pump mounted up
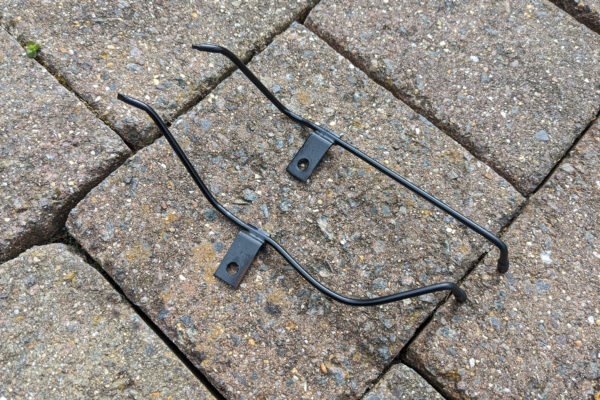
The wiper linkage was in pretty good shape, I had to re-tap one of the threaded mount holes but the rest just needed a quick lick of paint.
-
- The linkage installed
-
- The linkage installed
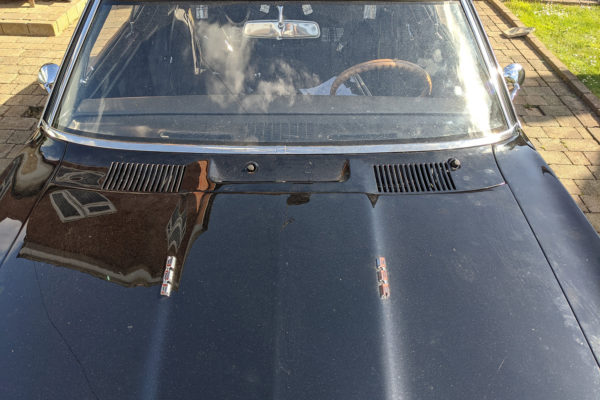
It took me a while to figure out how the washer jets mounted. They are secured by a square tab that passes up through a slot in the cowl panel… Then the cowl went back on with new seals installed.
-
- The washer jets
-
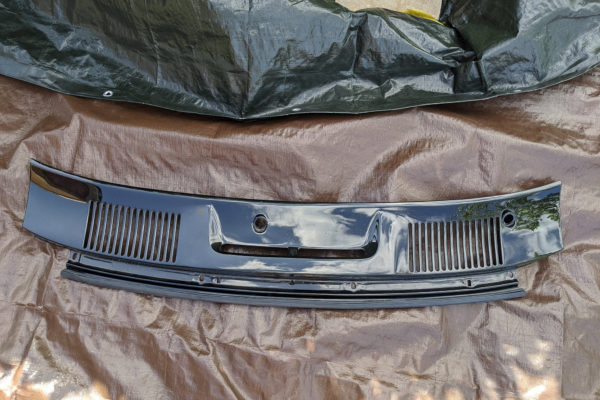
- The cowl with new hood-to-cowl seal pushed on to the lower lip
-
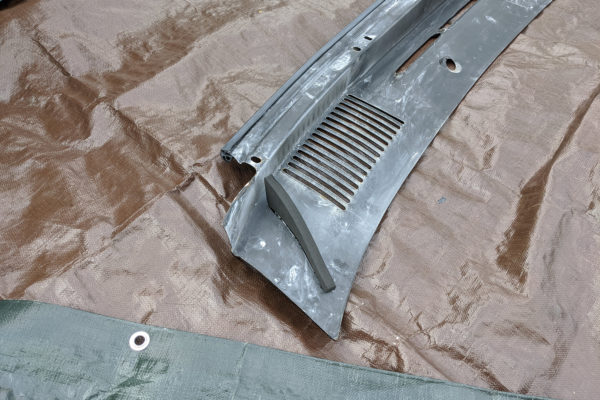
- Foam wedge seals attached to the underside of the cowl panel
-
- The was jets have tabs that slot through the cowl panel
-

- You can see the washer jets running along the groove on the firewall
-
- The cowl panel on the car with the wiper studs poking through
The new chrome wipers were the final step.
-
- Ready for the wiper arms
-
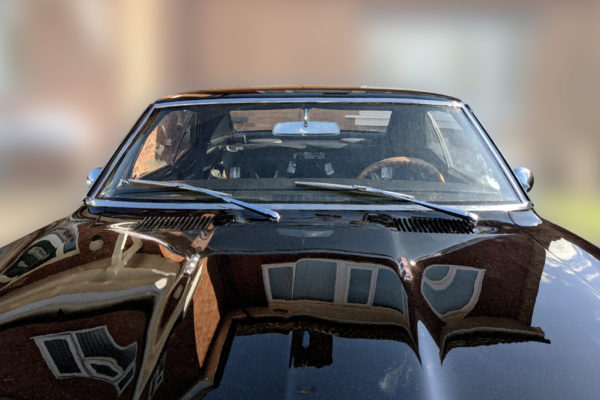
- The wiper arms on
-

- The wiper arms on
The hood-cowl seal makes the bonnet (hood) sit a bit high in the back but hopefully that’s an easy fix on the hinge mounts. The car could really do with a wash…
No comments yet.