
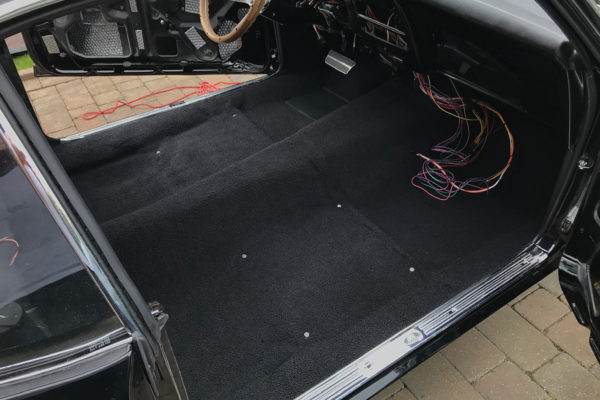
With the sound deadening underlay in, the wiring runs to the back of the car laid, and the kick panels in, the carpet can now be installed. It was a relatively pain-free process, I just took it slow and iterated cutting a little more each time.
Here is the car and the carpet ready for fitting. Before putting the carpet in it’s a good idea to install all the screws that the carpet would cover up: the seat mounts (4 per side) and the seat belt points (2 per side, just behind the seat mounts)
-
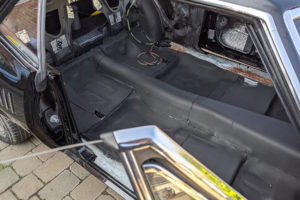
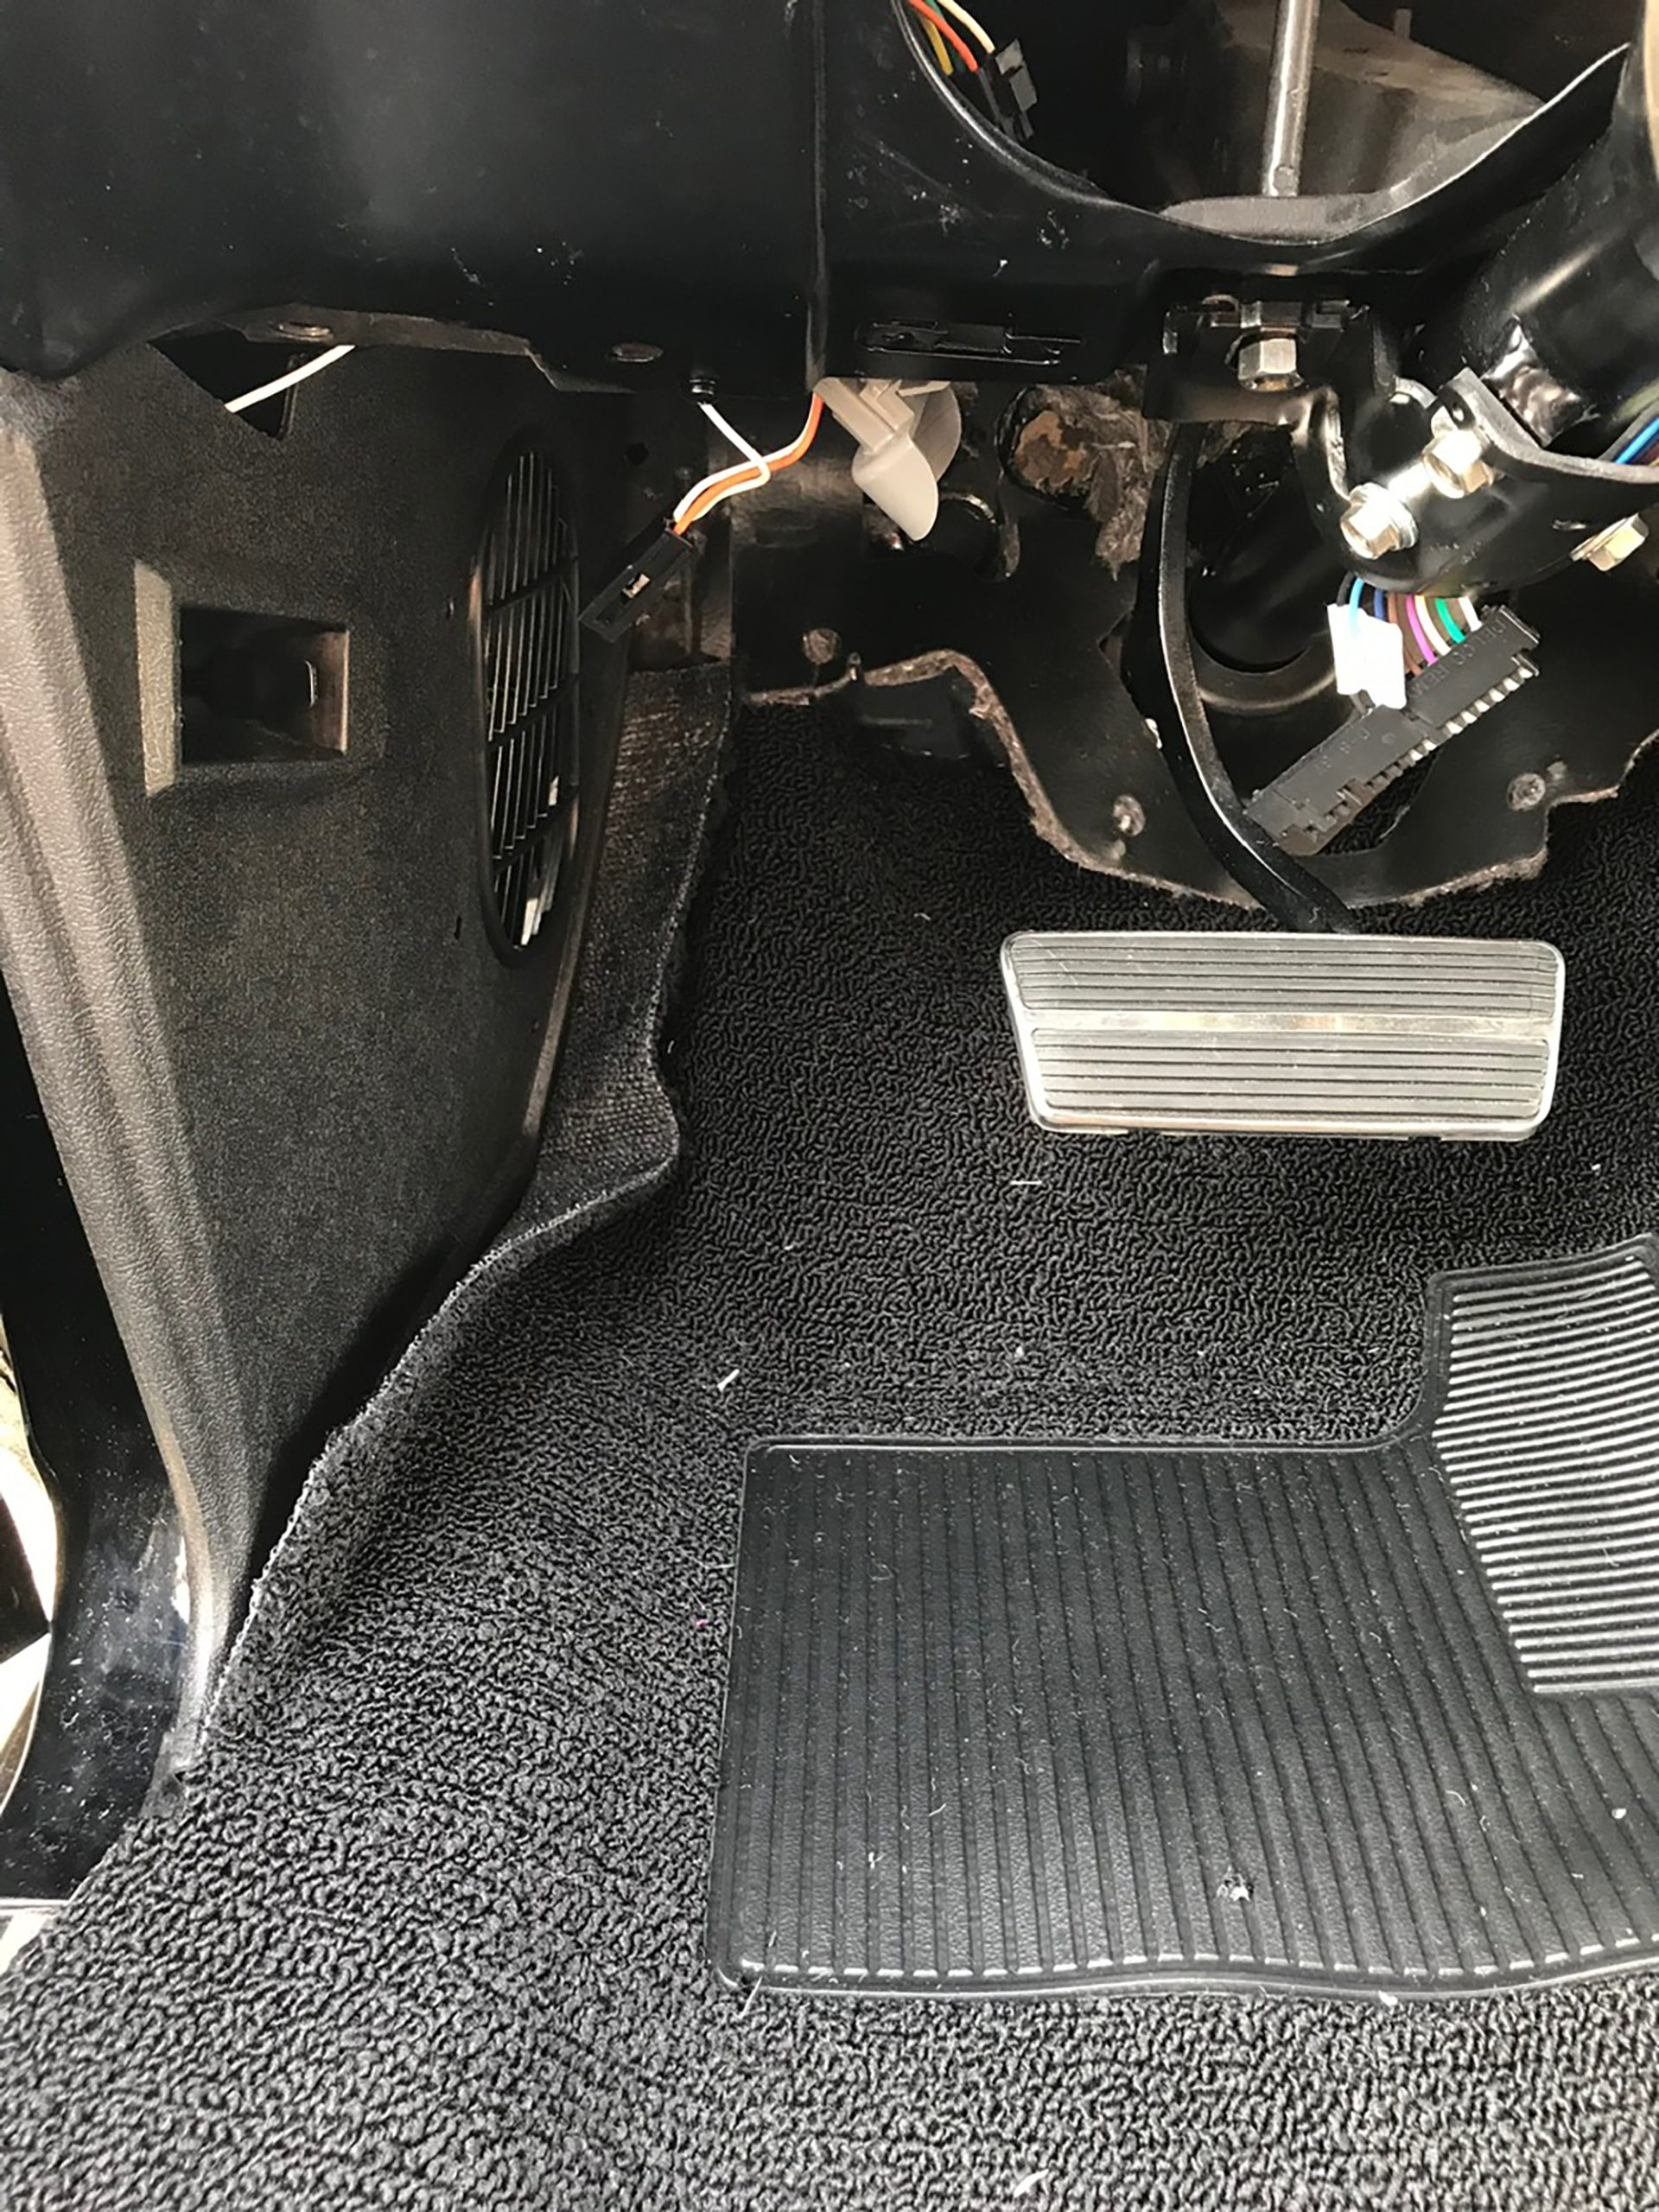
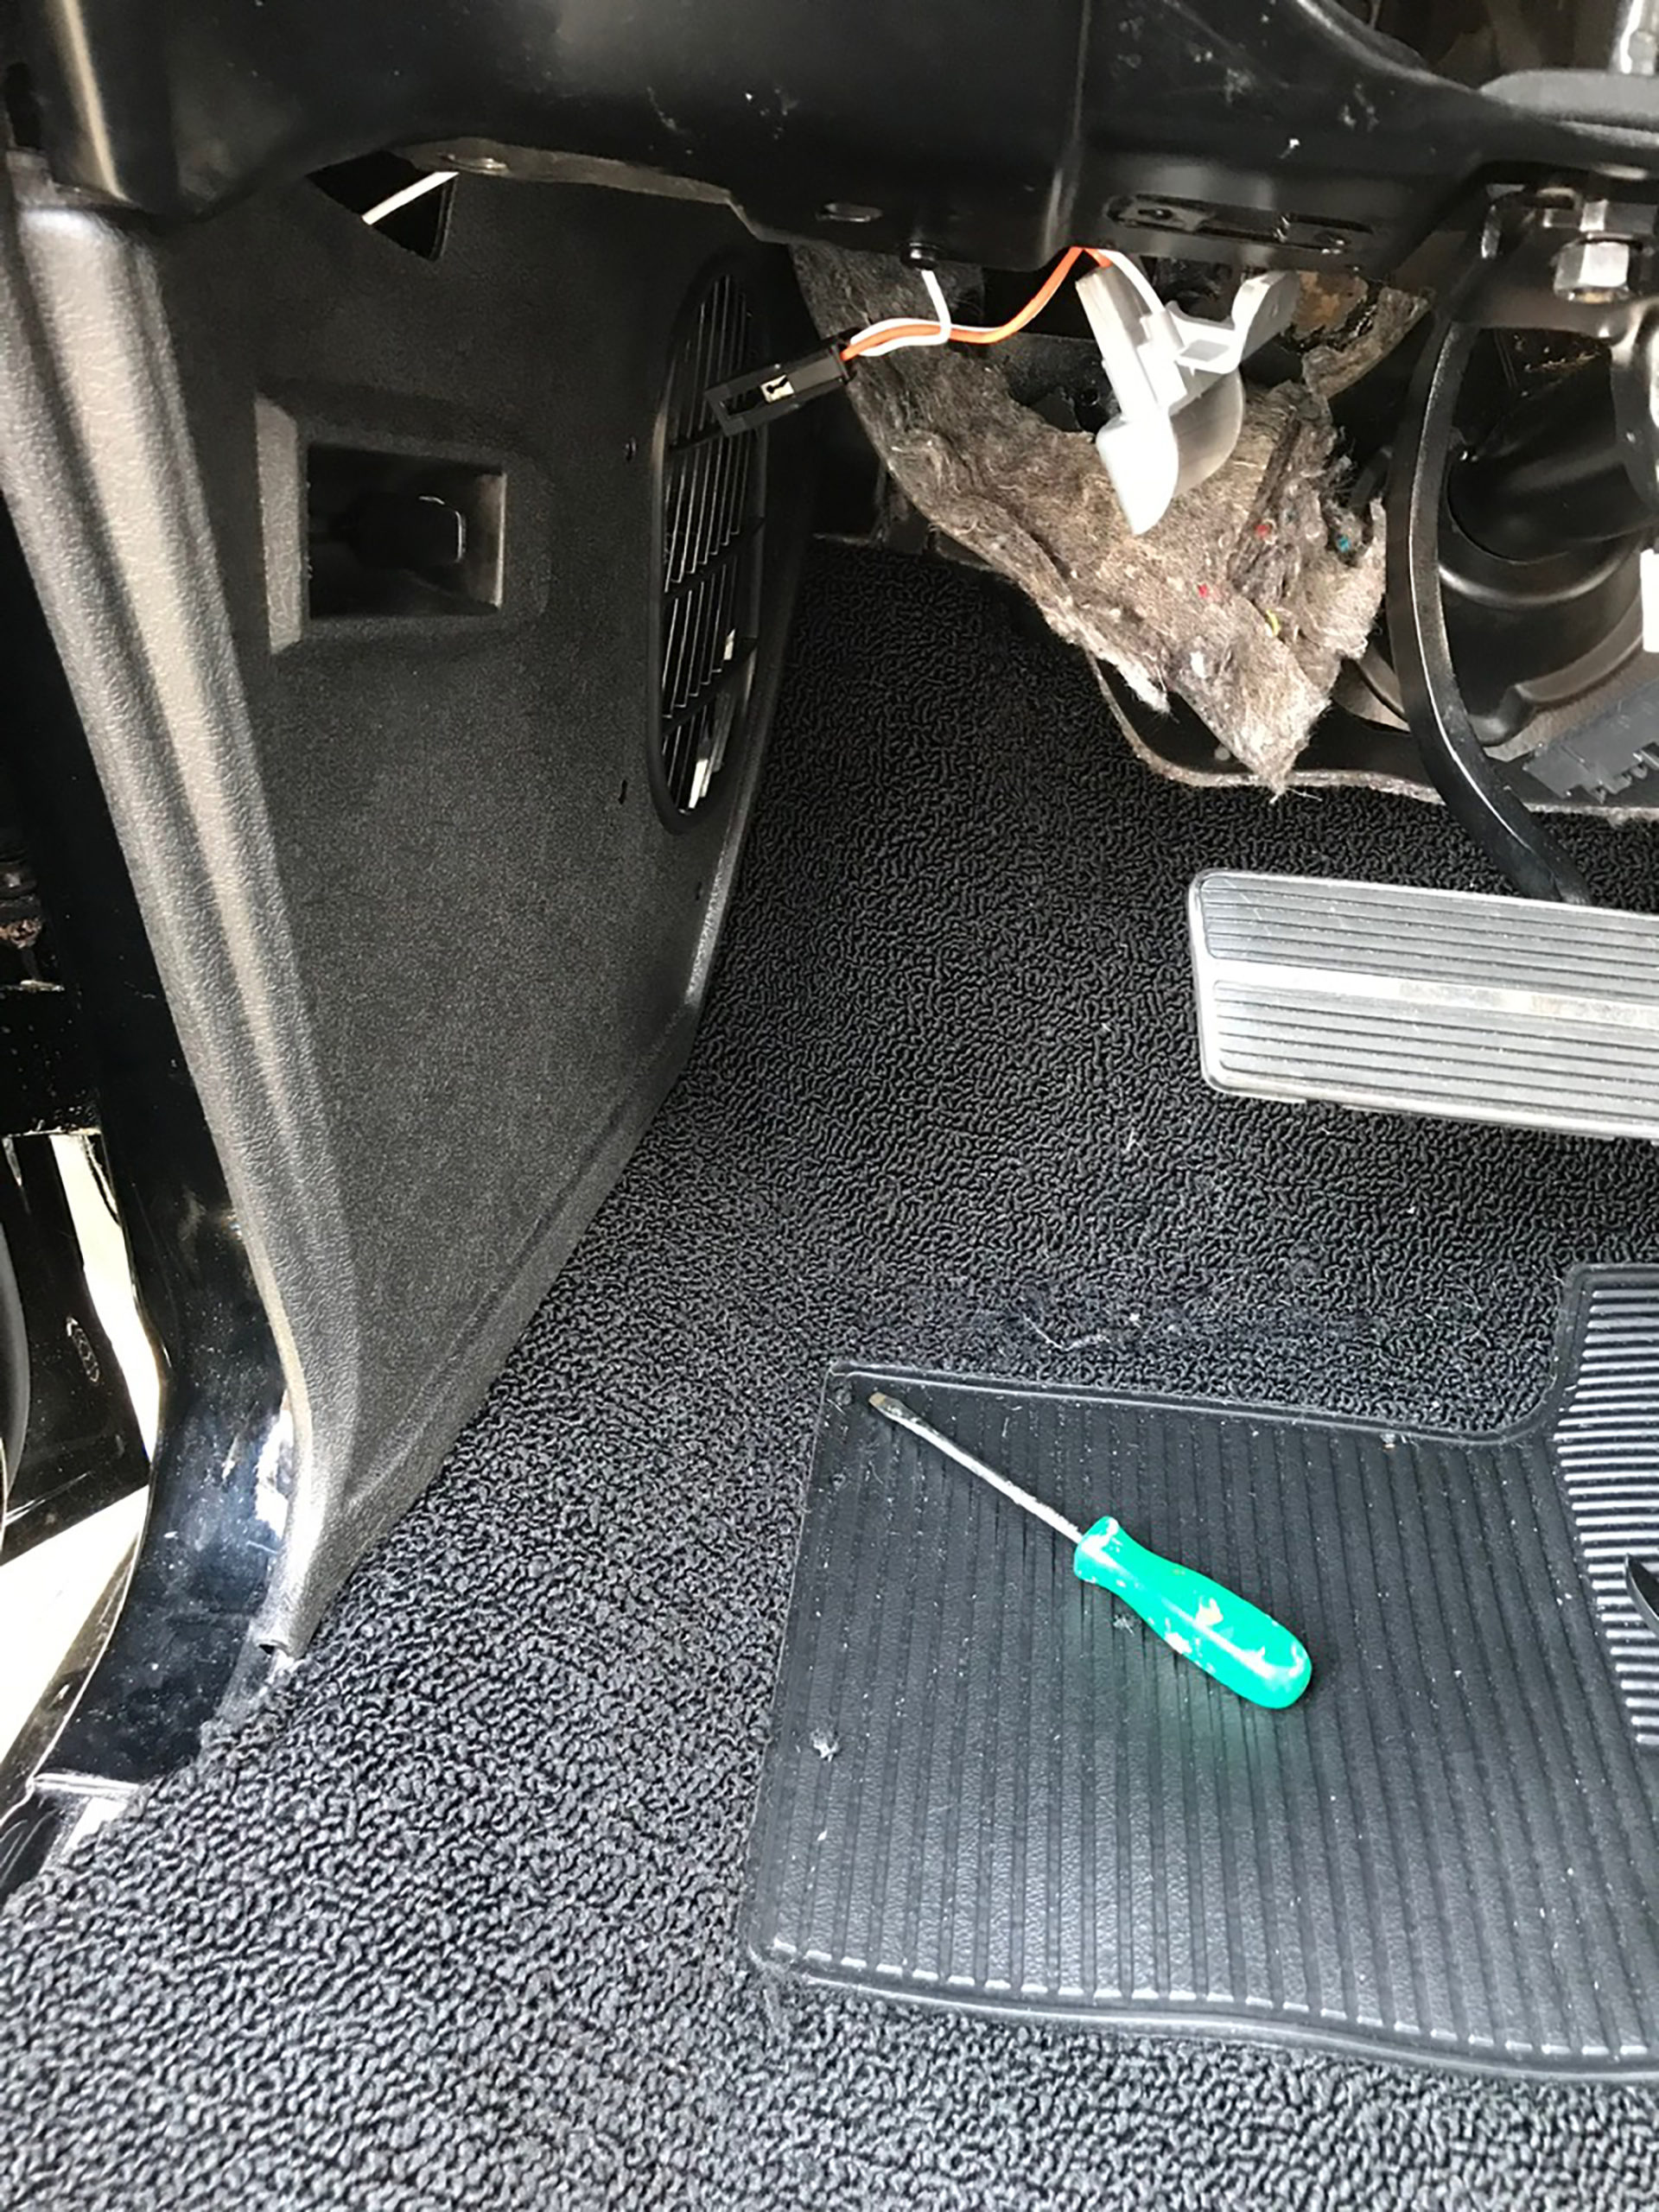
- The underlay is laid, the wires are the part of the loom serving the rear of the car
-
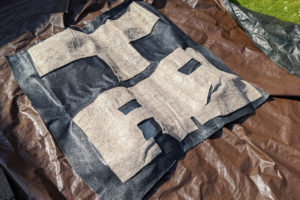
- The carpet comes as one-piece, is moulded and has extra underlay bonded to the underside. Here I’m leaving it in the sun to get a little more pliable
-
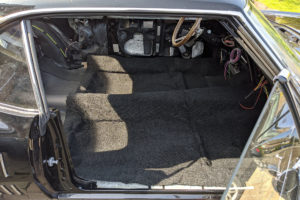
- Here the carpet is laid inside the car and the moulded areas aligned to the car as best as possible. Looking pretty good. Now it’s a case of slowly trimming the edges and installing the carpet underneath the kick panels, the firewall pad and the door sill plates.
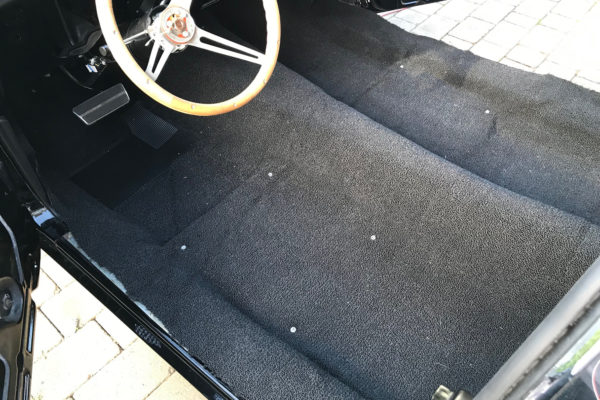
Once the carpet is in the car it is screwed down and slowly trimmed to size. Here is the passenger side.
-
- First job was to get the seat bolts in place to help hold down the carpet during the install. You can see the edges need trimming, mainly around the kick panels and a little bit along the door sill.
-
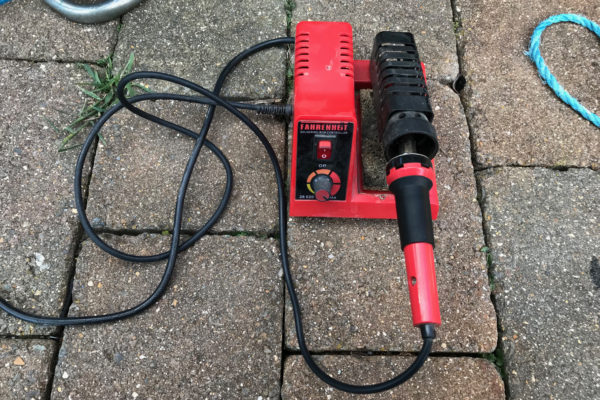
- A cheap soldering iron helped massively in burning holes for all the screws that need to go through the carpet. There are quite a few screw hoels needed: for the seats, seat belts, dimmer switch, firewall pad.
-
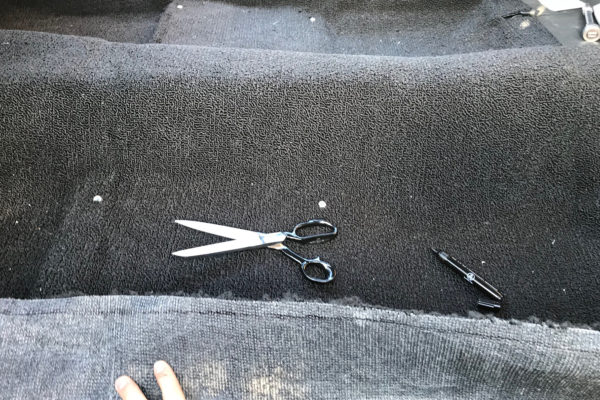
- Cutting the carpet to size
-
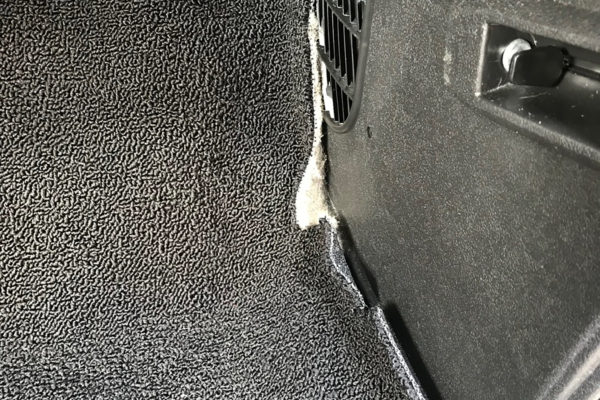
- The trimmed edge near the kick panel. Go bit by bit, contnuously test-fitting to avoid cutting too much. The excess is pushed up underneath the kick panel which is why the screws are off to allow room enough for a few fingers. The top edge of the carpet gets pushed underneath the firewall pad.
-
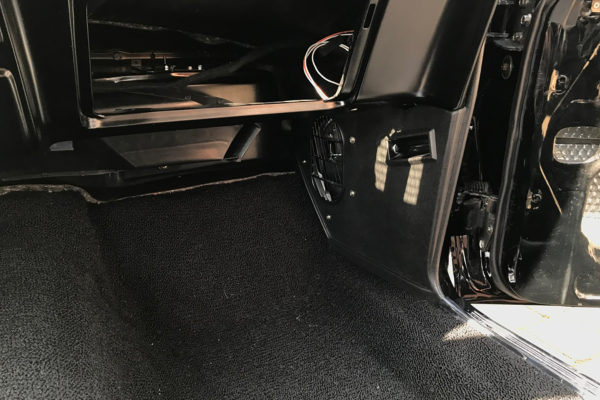
- The complete passenger side. I’ve screwed the kick panel in which pulls it in compressing the seal. The only problem area here is the point where the carpet transition from the door sill to the kick panel.
Next is the driver side
-
- The driver side roughly trimmed. I’ve cut it into place along the door sill and now starting on the transition to under the kick panel.
-
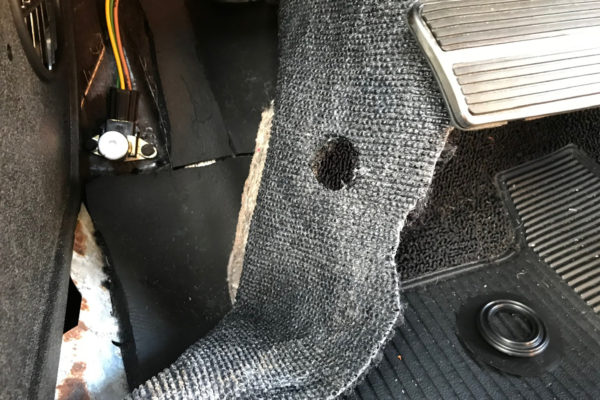
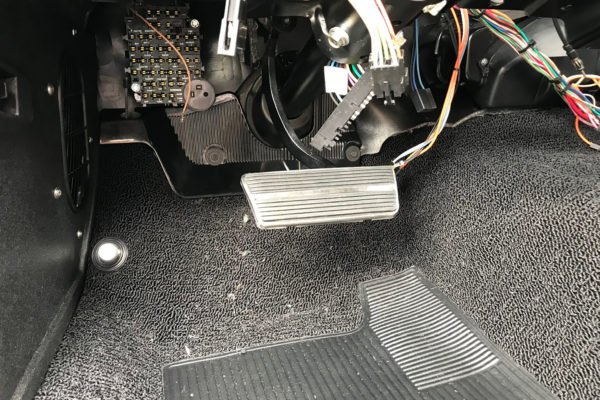
- Here is the carpet tucked up and under, the sizing of the excess is good. However, we need a hole for the floor mounted dimmer switch.
-
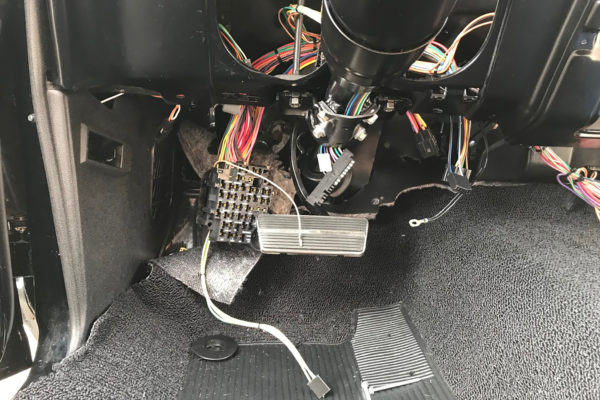
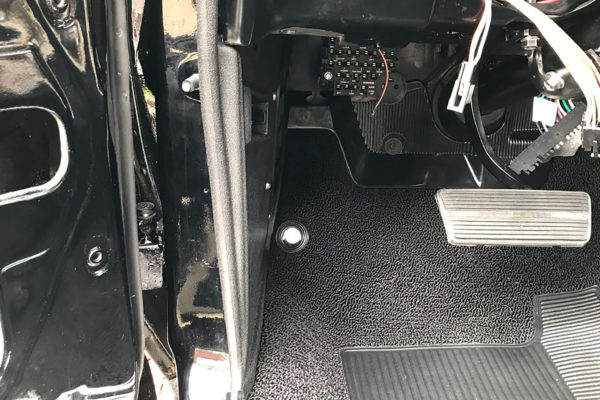
- The dimmer switch has wires that go straight to the fuse box, so the fuse box has to be installed.
-
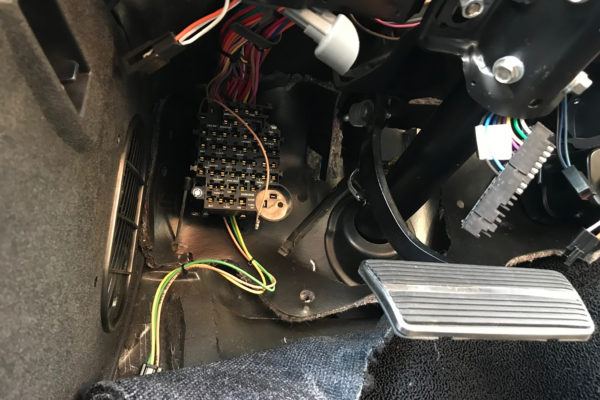
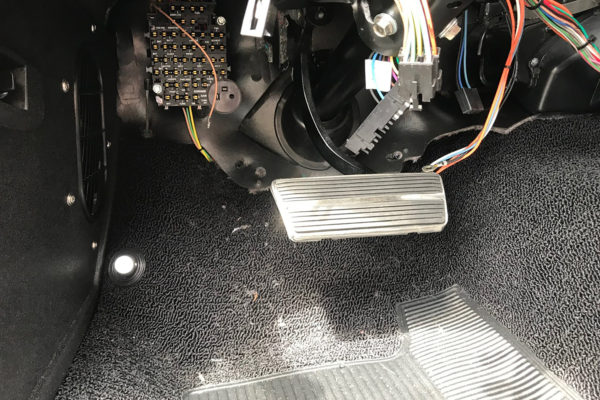
- Here is the dimmer switch and fuse box mounted and connected.
-
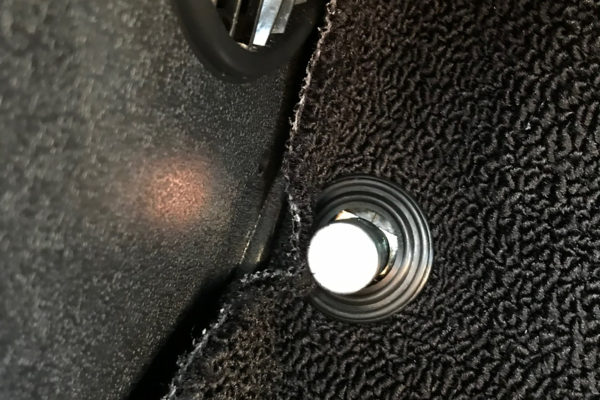
- I used the soldering iron to cut out this hole for the dimmer switch.
-
- The carpet comes with the plastic trim piece to tidy up the hole edges.
-

- The driver side all finished, with kick panel screwed in.
Now with the kick panels the front edge can be finished by tucking underneath the firewall pad and installing the cover plate on the driver side
-
- I melted holes through the carpet and had to make new holes in the firewall pad
-
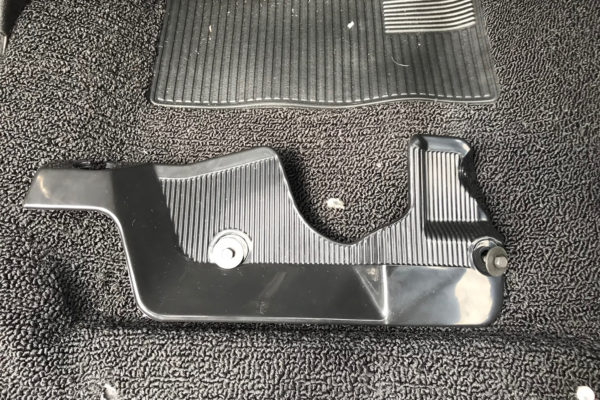
- The guard coverplate. The screws are extra long with large washers
-
- The plate installed, finishing up the front end of the carpet install
Now all that is left is to install the scuff plates along the door sills
-
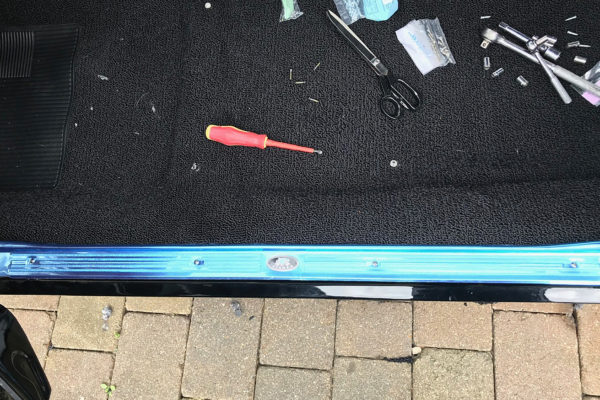
- The new sill plates. The screws that came with this piece were too narrow and went straight throught the holes so luckily I had spare from a stainless screw kit
-
- The driver side sill plate in place. It sits on top of the kick panel.

I have a few things to sort out with the rear interior and once that’s done the sill plate will come off and then sit on top of the rear windlace. But for now it’s looking great and ready to crack on with the wiring…
No comments yet.