
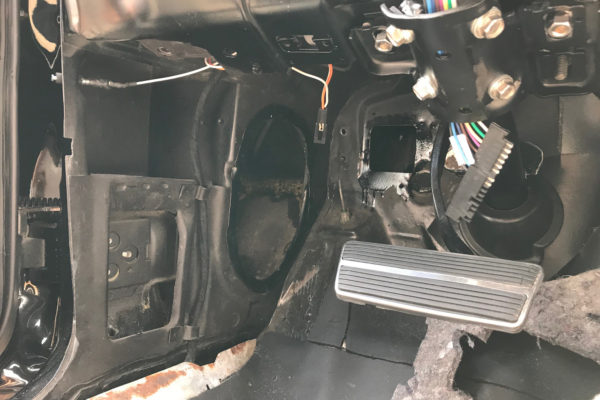
I installed the kick panels today. I removed the fuse box, parking brake and the dimmer switch for this but left the heater box in place. I installed the door jamb switches before the kick panels, and I also ran the wiring loom to the back lights along the driver side, as well as running speaker and antenna wire along the passenger side. Considering people say these Firebirds/Camaros were built around the kick panels the job went a lot smoother than I was anticipating, but no means fun. I’d say the Firebird or Camaro was built around the heater core that was a pig of a job.
I found it easiest to get the closest lower lip of the vent pushed in first, then work around (gently) ramming the rest of the vent in, then the outer edge can be wrapped around the metal under the dash, in the door opening.
I will leave them loosely pushed into place for now and screw them in later. This will give me more wiggle room to install the carpet, pushing it up underneath the lower lip of the kick panels.
-
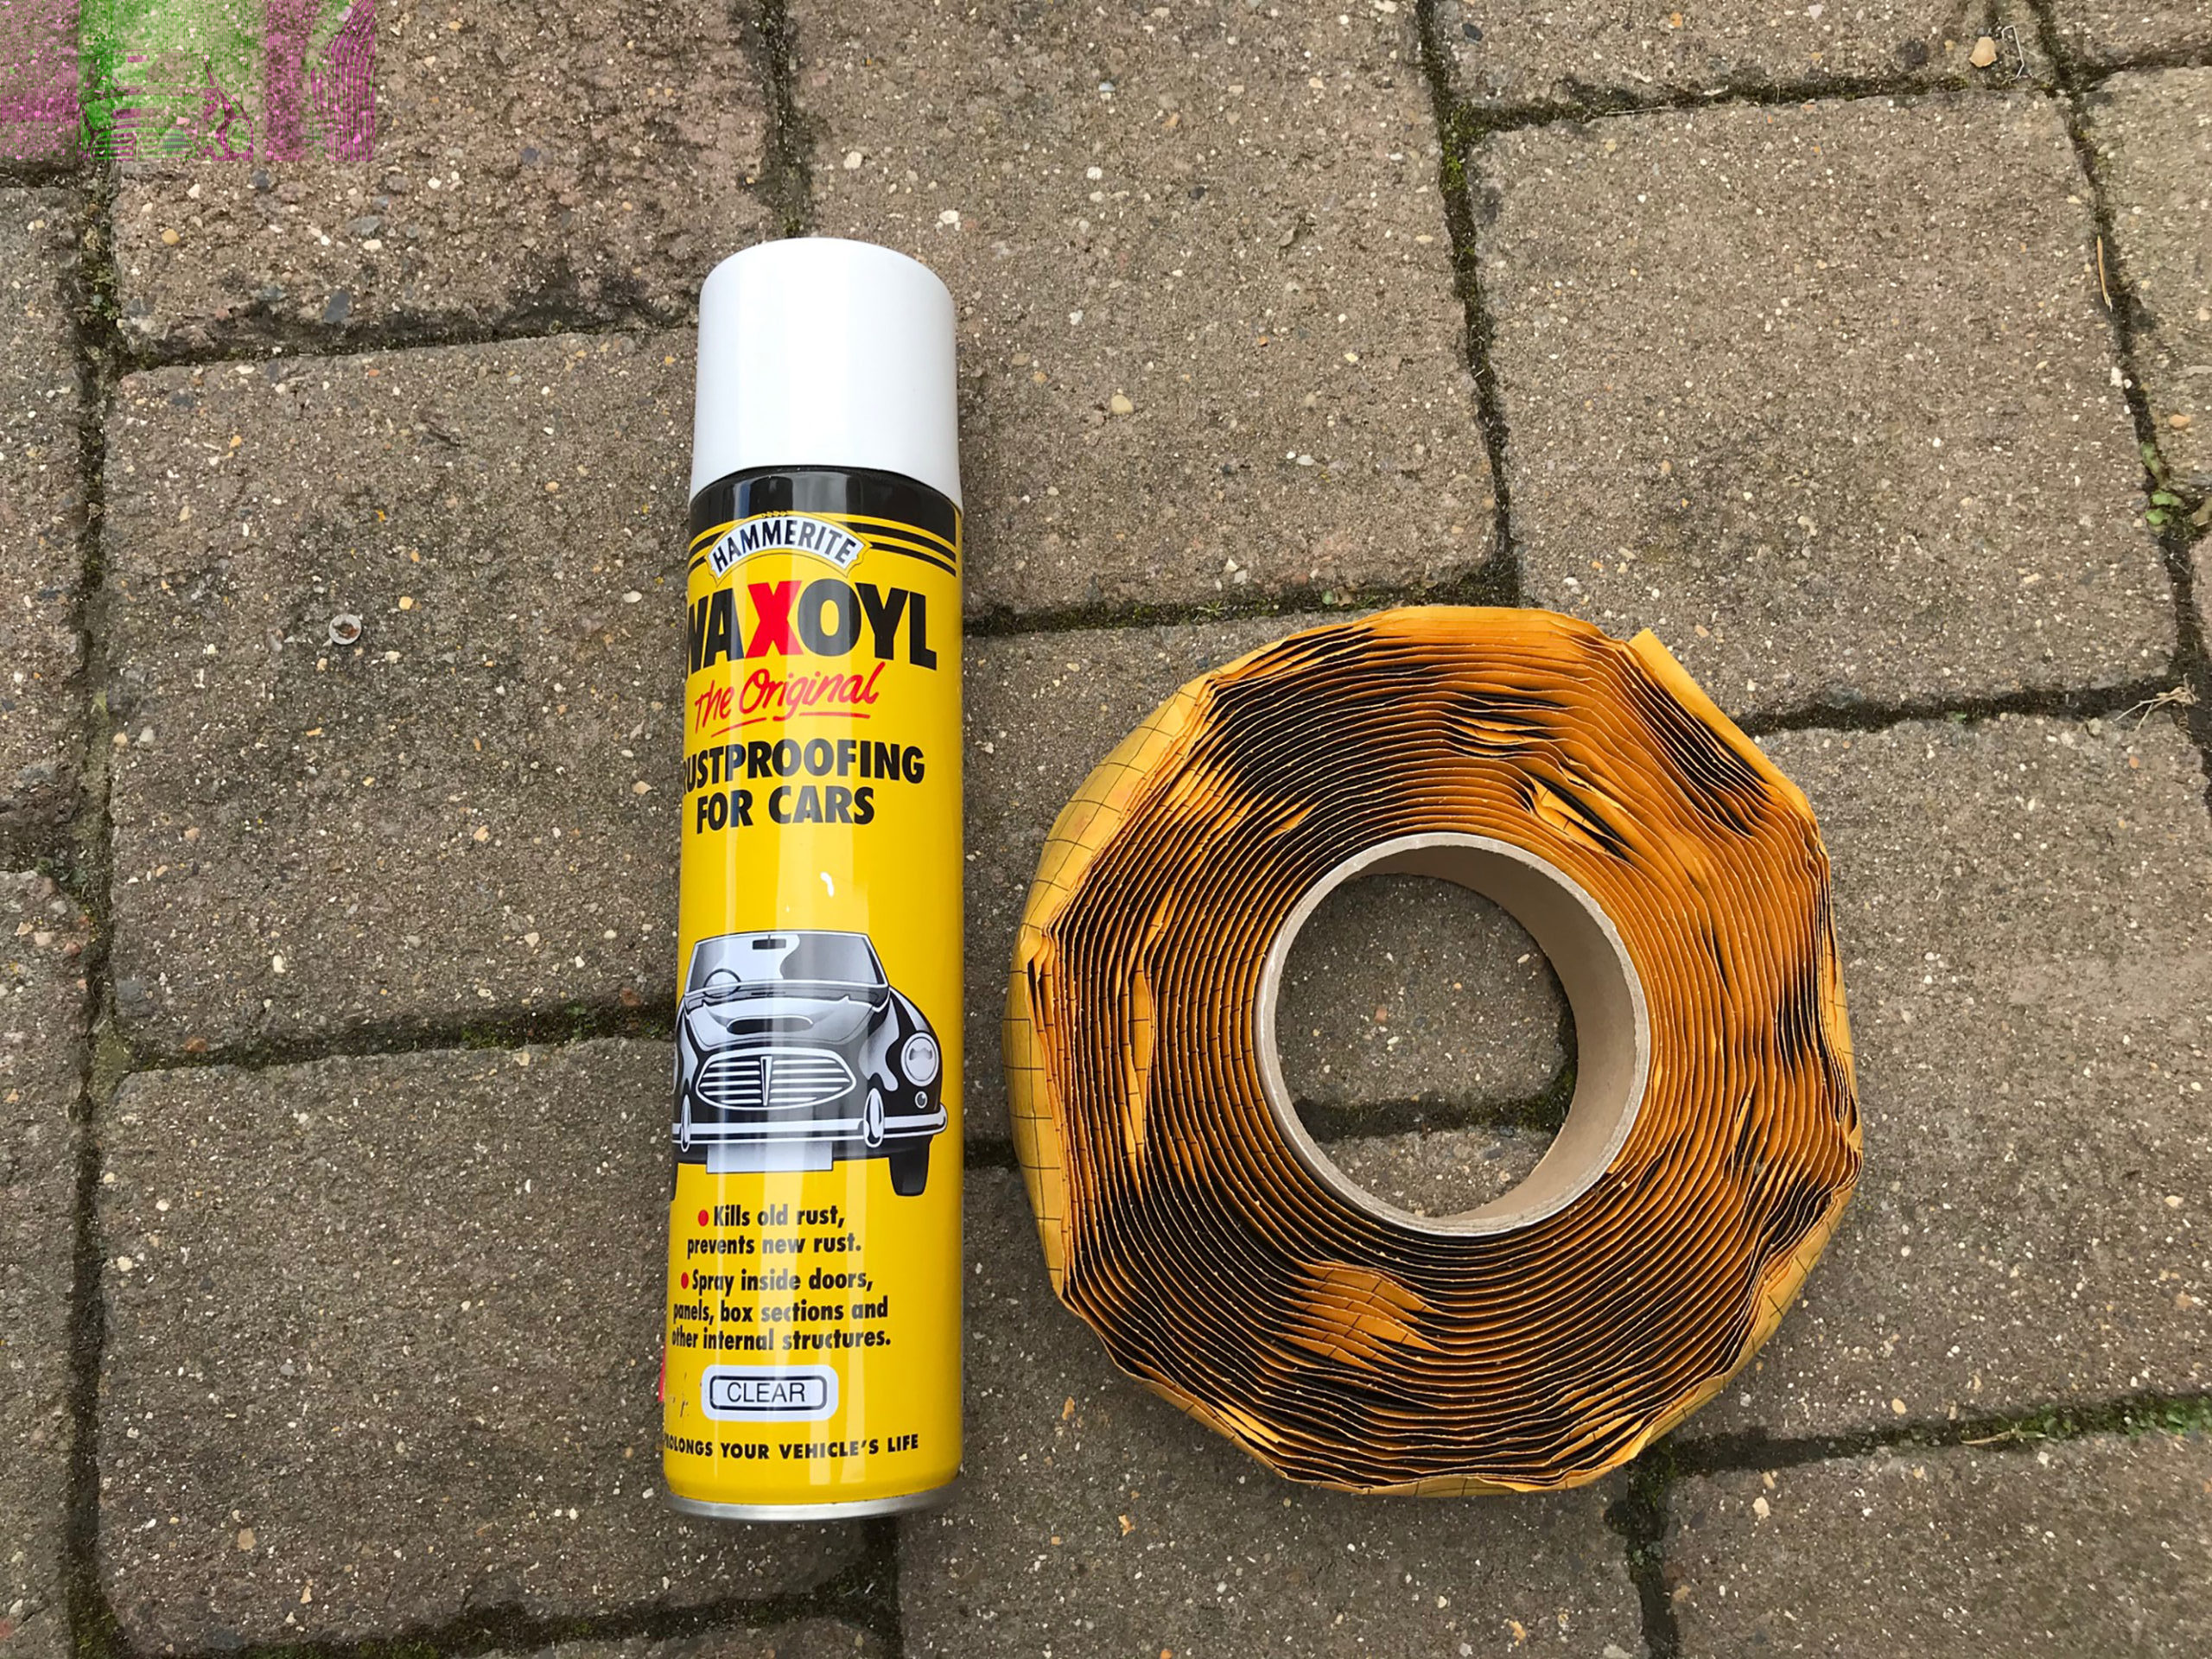
- Butyl tape to seal the kick panel vent and Waxoyl to spray into the vent cavity
-
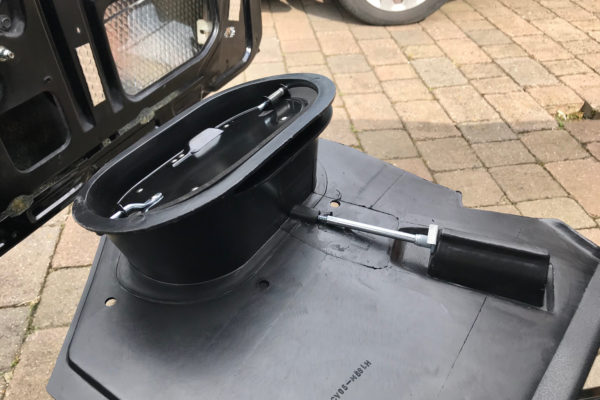
- The kick panel
-
- A thick layer of butyl tape around the vent mating surface to seal against the car
-
- A thin layer of butyl tape around the vent opening, just to be safe
-
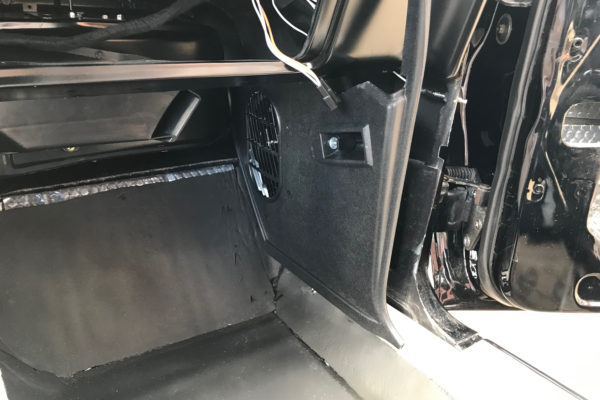
- The driver side kick panel installed. The lip where it meets the dash will get pulled under when it’s screwed in. I removed the fuse box, parking brake and the dimmer switch to make this possible.
-
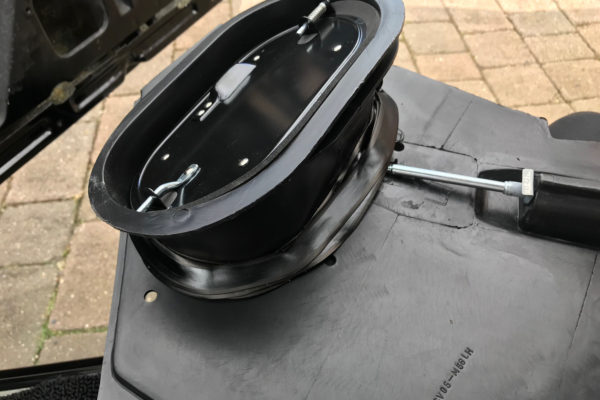
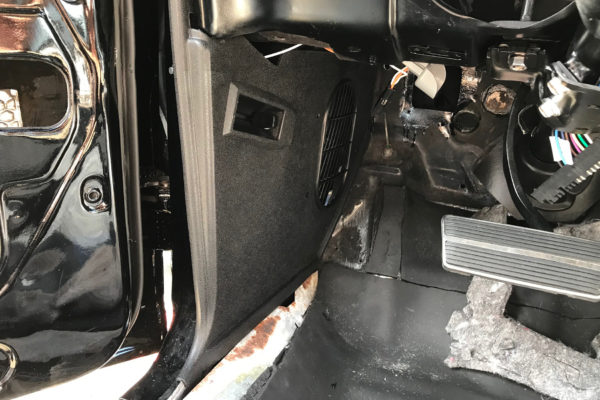
- The passenger side kick panel. This was a little more tricky with the heater box in place, but by no means impossible. I found it easiest to get the lower lip on the vent in first then push the rest into the hole.
-
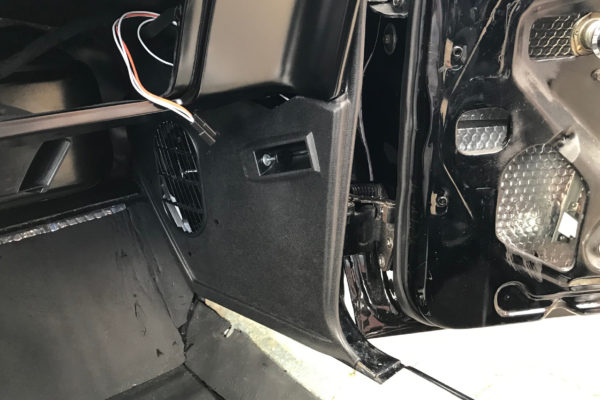
- Once the vent is in the hole the outer lip can pulled pulled and worked around the metal
-
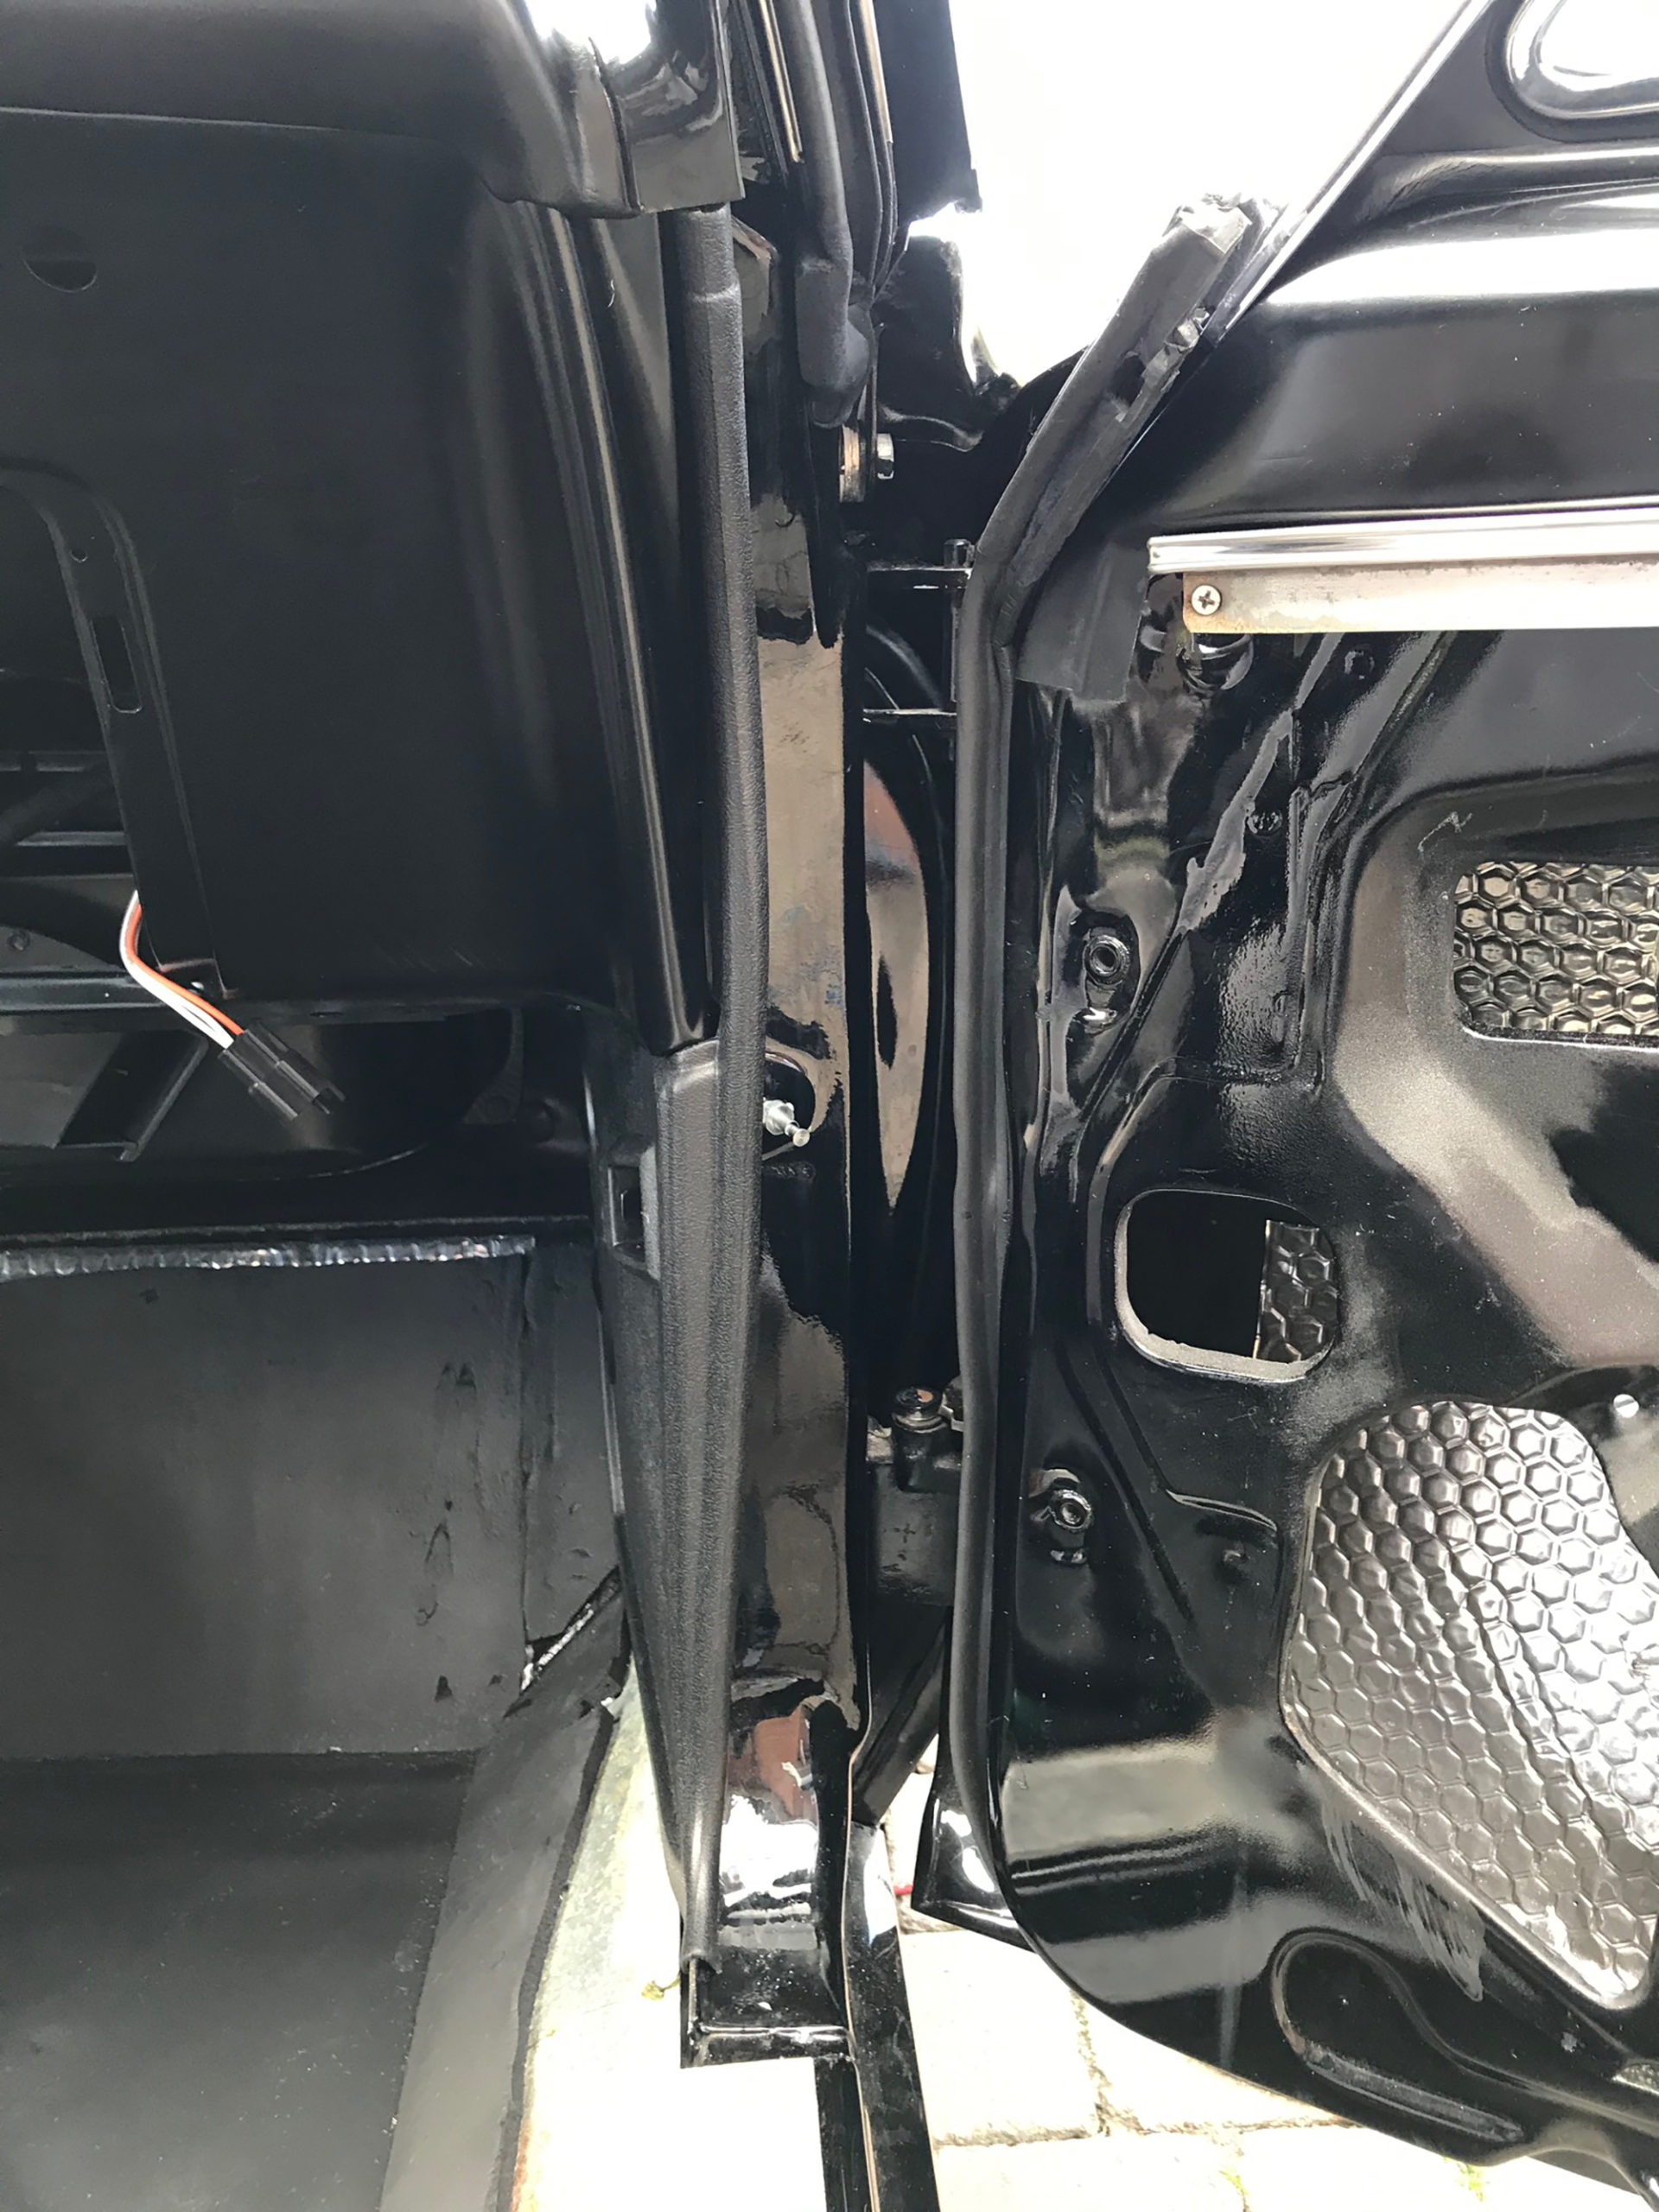
- A side view
No comments yet.