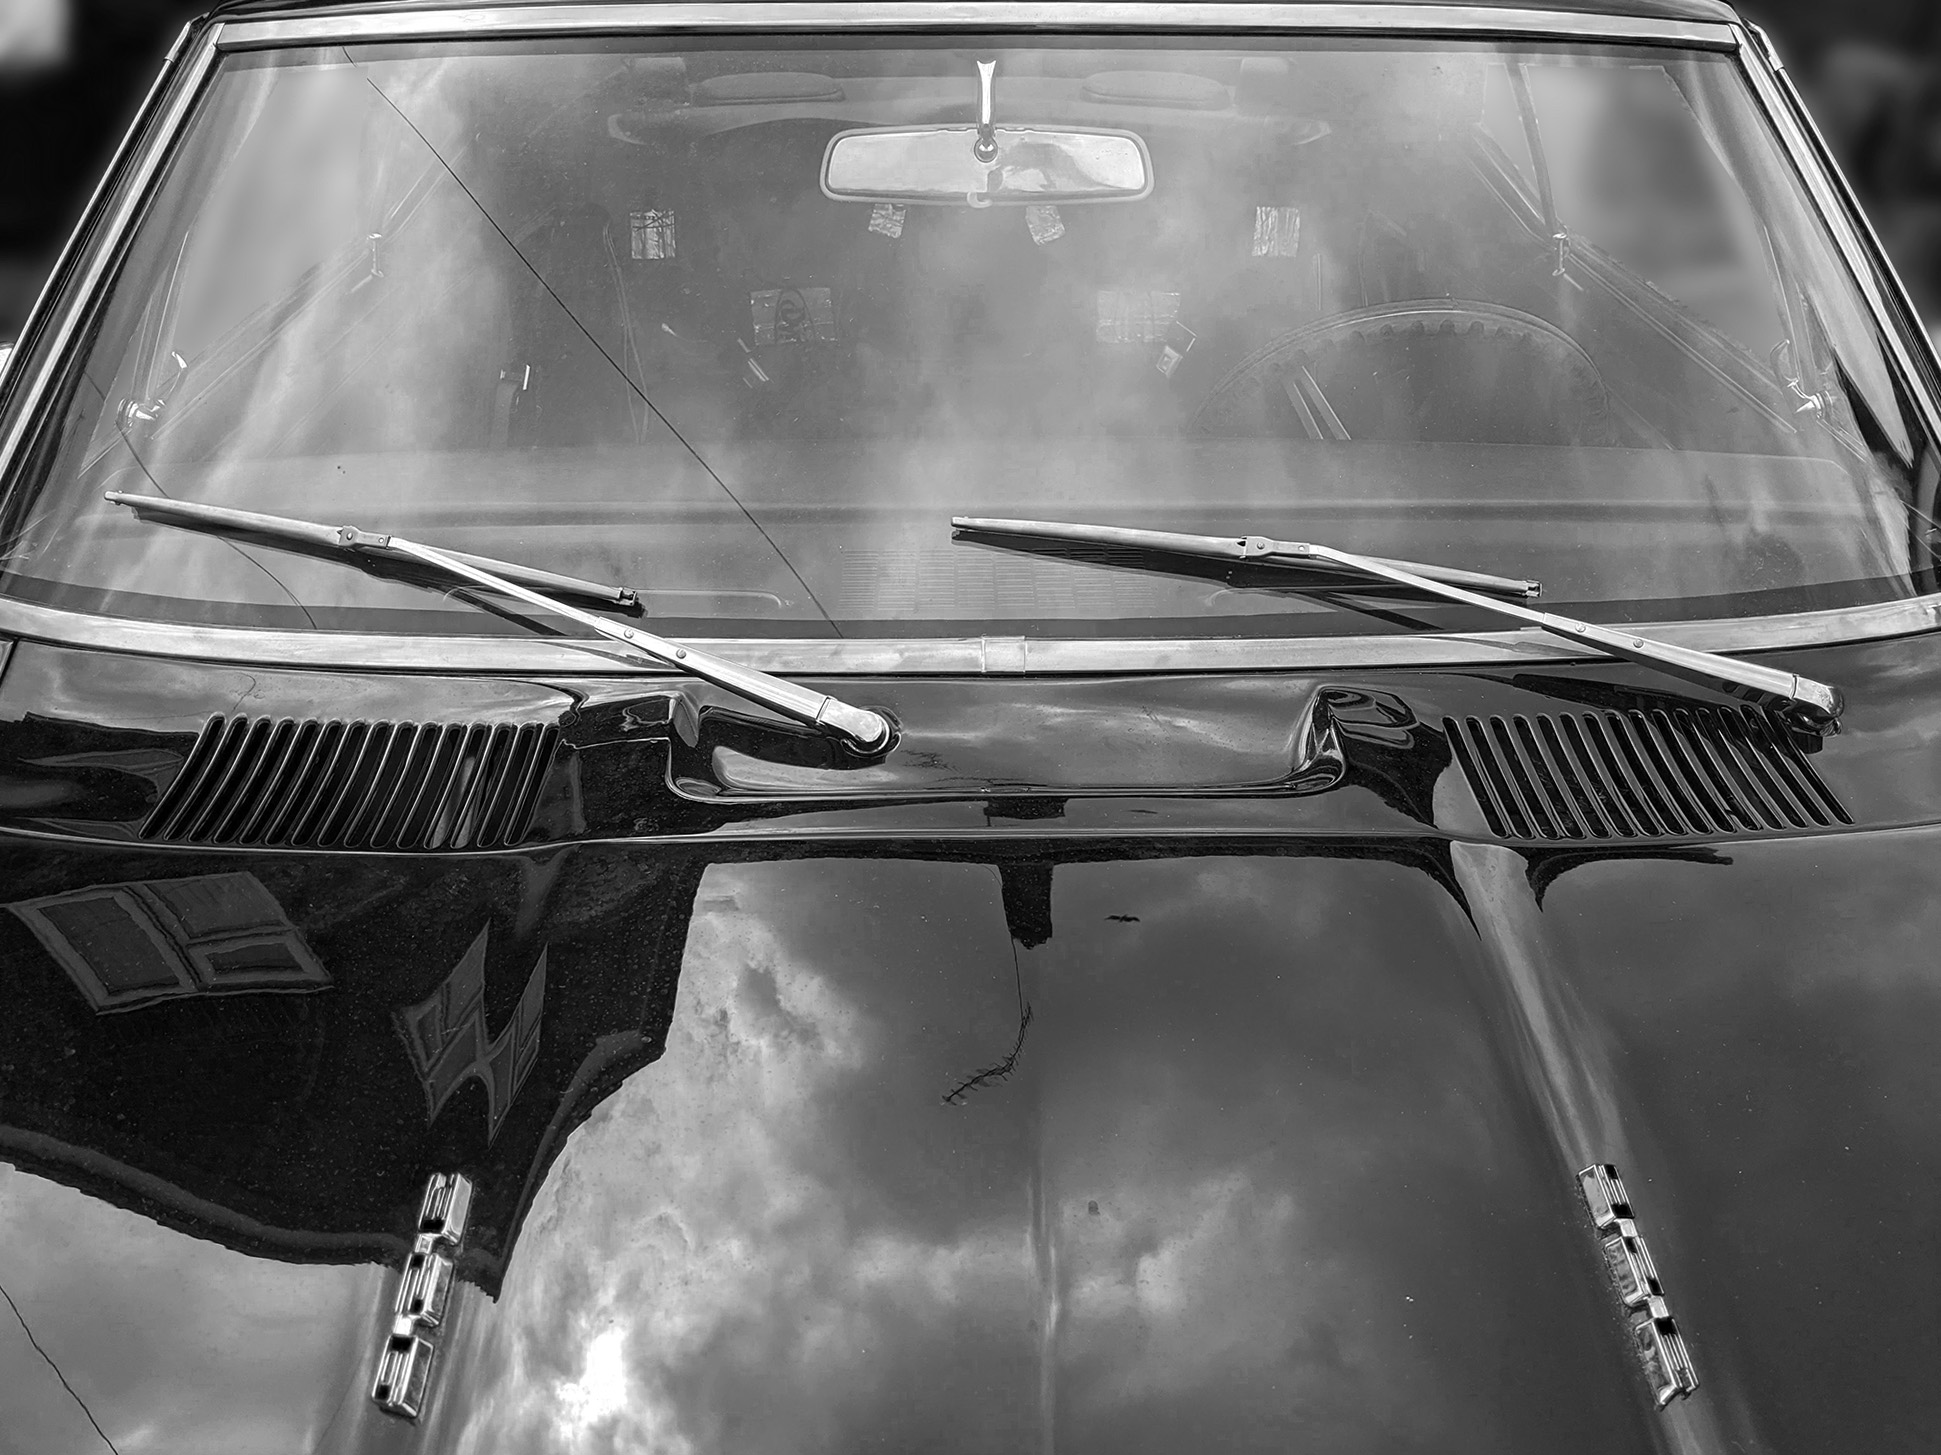
Today I got the windscreen wipers, the wiper linkage, the wiper motor and washer pump installed.
First the washer pump was mounted to the wiper motor. The replacement looked a little different to the original, but it works fine. I had to remove the plastic cover to find a second mounting point on this wiper motor. I reused the original connecting linkage
The original mounting points on the car was…
Archive:
May 2020
Rear 3-point seat belts
I upgraded the rear seat belts to a 3-point harness. I used a kit from Morris Classic. Like the front belts the install was straight forward, though here a couple holes were required to be drilled through the rear deck (parcel shelf). With the shelf, speakers and belts now in place the next thing on the interior to-do list will be to get the rear bench seat and surrounding…
Rear quarter sail panels
The sail panels I previously installed turned to sh!t. I think it was poor quality contact adhesive that melted in the heat… I had previously made these panels myself as I thought they needed to be a little larger than original to cover up a couple errors in the headliner install. As it turns outs the stock size will work, just about, though if you push and look closely you…
Parcel shelf and speakers
I installed a pair of 6×9″ RetroSound speakers on the rear parcel shelf. I also put in the rear parcel shelf (or rear deck) on top of a layer of sound deadening foam. These speakers will be getting paired with a Retrosound dash speaker and radio. Note that I installed the rear seat belts at the same time, see that post here.…
Front 3-point seat belts
To upgrade the safety I’m installing new 3-point seat belts to replace the stock lap-belts. A kit from Morris Classic makes this very easy. There is no fabrication needed, all mounting points exist: the bottom two points are the same as the stock belts and the top shoulder mount point exists but is unused on the stock Firebirds/Camaros.
During the headliner install I made sure to install the upper belts…
Carpet fitting
With the sound deadening underlay in, the wiring runs to the back of the car laid, and the kick panels in, the carpet can now be installed. It was a relatively pain-free process, I just took it slow and iterated cutting a little more each time.
Here is the car and the carpet ready for fitting. Before putting the carpet in it’s a good idea to install all the…
Kick panels
I installed the kick panels today. I removed the fuse box, parking brake and the dimmer switch for this but left the heater box in place. I installed the door jamb switches before the kick panels, and I also ran the wiring loom to the back lights along the driver side, as well as running speaker and antenna wire along the passenger side. Considering people say these Firebirds/Camaros were built…
Trunk carpet
Installation of the moulded trunk carpet.
First the sheet metal is lined with foil-backed butyl pads to reduce vibrations
Next the foil is covered with a layer of high density foam to reduce sound further
Finally the carpet simply sits on top.…
Heater install
How I installed the complete heater and blower motor assembly (non-AC).
Unfortunately the restored original heater box and blower motor assembly was lost at the paint shop, but the repro one is practically identical. After a few failed attempts I managed to find a new radiator core that will fit. It’s deeper than the original but the pipes are in the right place at the right angles, so it’ll…
Sound deadener and carpet underlay
Got round to finishing the sound deadening.
I used a layer of foil backed butyl (dynamat or dodo mat) on the painted metal to reduce vibrations…
… and then a layer of foam on top of that to reduce sound…
… on top of this the carpet can be laid…
… I still need to trim the edges to install it properly, secured under the kick panels,…